Growing Sweet Alyssum From Seed: a Fragrant Addition
Sweet alyssum is a charming, low-growing flower that’s perfect for garden borders and containers. You’ll love how easy it is to grow from seed – just press them onto well-draining soil in full sun or partial shade, and keep them consistently moist. These delicate bloomers reward you with a honey-sweet fragrance and carpet of white, purple, or pink flowers that attract beneficial insects to your garden. Let some flowers go to seed, and you’ll uncover nature’s clever way of bringing them back year after year.
TLDR
- Start seeds indoors 6-8 weeks before last frost or sow directly outdoors after frost, pressing seeds onto soil surface without covering.
- Sweet Alyssum needs light to germinate, consistent moisture, and temperatures between 60-75°F for optimal growth.
- Plant in well-draining soil with pH 6-7, choosing locations that receive 6-8 hours of sunlight daily.
- Maintain regular deadheading and shear plants by one-third mid-summer to encourage continuous blooming and fuller growth.
- Allow some blooms to go to seed at season’s end for natural reseeding and future garden growth.
Understanding Sweet Alyssum’s Charm
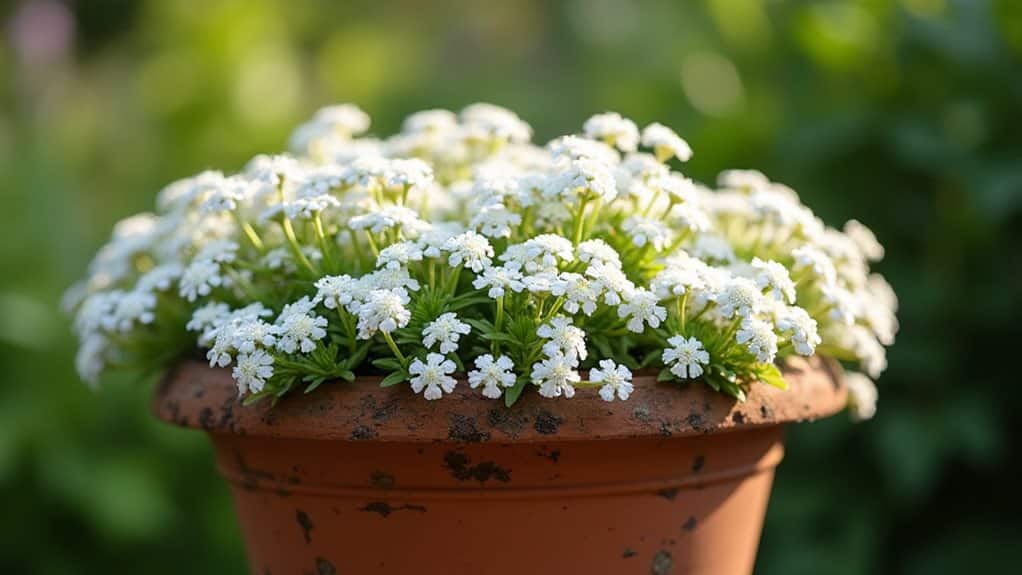
Sweet Alyssum is one of those charming garden treasures that’ll make you wonder how such a tiny flower can pack such a powerful punch!
With its honey-sweet fragrance and carpet of delicate blooms, you’re in for a treat. Whether you’re planting it in containers, rock gardens, or as a ground cover, this versatile little plant attracts beneficial insects and creates a stunning display. This tough plant is surprisingly heat and drought tolerant, making it a reliable choice for various garden conditions. Additionally, incorporating coffee grounds into the soil can enhance its nutrient content, promoting optimal growth for your Sweet Alyssum.
Selecting the Perfect Growing Location
Now that you’re familiar with this enchanting flower’s allure, let’s make sure you give it the perfect home in your garden!
You’ll want to choose a spot that gets plenty of sunshine – about six to eight hours daily – but if you’re in a hot climate, providing afternoon shade will keep your alyssum happy. Additionally, be cautious of soil acidity that may affect plant growth, especially in shaded areas under trees.
While it’s quite adaptable, remember that good drainage is essential for success. Choose spots near walkways, edges, or in containers since Sweet Alyssum makes an excellent living mulch under taller plants.
Essential Soil Requirements
While getting the right soil mix might seem challenging, creating the perfect foundation for your alyssum isn’t as tricky as you might think!
You’ll want well-draining soil with a pH between 6 and 7, and here’s the best part – alyssum isn’t picky about soil type. Just make certain it’s not waterlogged, keep it consistently moist but not soggy, and you’re good to go! Additionally, incorporating organic matter can enhance soil structure and fertility, providing a more supportive environment for your plants.
Temperature and Climate Considerations
When you’re planning to grow sweet alyssum, you’ll find it thrives best in temperatures between 60-75°F, making it perfect for USDA zones 9-11 as a perennial, though you can grow it as an annual almost anywhere.
To protect your plants from cold snaps, keep an eye on frost forecasts and be ready to cover them with garden fabric, or if they’re in containers, bring them indoors when temperatures threaten to dip below freezing.
If you’re dealing with summer heat waves, you’ll want to provide some afternoon shade and consistent moisture to prevent heat stress, as these lovely flowers actually stop blooming when temperatures climb above 75°F.
Ideal Temperature Growing Zones
Sweet alyssum thrives in several growing zones across North America, with USDA hardiness zones 5-9 offering the perfect conditions for these delicate bloomers.
You’ll find they’re remarkably hardy down to 20°F, though if you’re gardening in zones 9-11, you’ll want to provide some afternoon shade.
While they’ll tolerate coastal conditions beautifully, remember to choose varieties that match your specific climate’s quirks.
Cold Weather Protection Tips
Although sweet alyssum can handle a light frost or two, you’ll want to take some precautions to keep your delicate blooms thriving when temperatures start to dip.
Cover your plants with horticultural fleece during unusual cold snaps, and if you’re growing in containers, bring them indoors where night temperatures stay around 50-55°F.
In warmer zones, simply cut plants back by half and adjust your watering schedule to prevent waterlogged soil.
Heat Stress Management
Just as you prepare your alyssum for cold weather, managing heat stress requires equal attention to keep your garden flourishing through summer’s challenges.
You’ll notice your sweet alyssum might wilt during intense heat, but don’t worry! Increase your watering frequency, provide afternoon shade in hot climates, and guarantee well-draining soil.
If the heat’s taking its toll, try cutting back the plants – they’ll bounce right back when temperatures cool down.
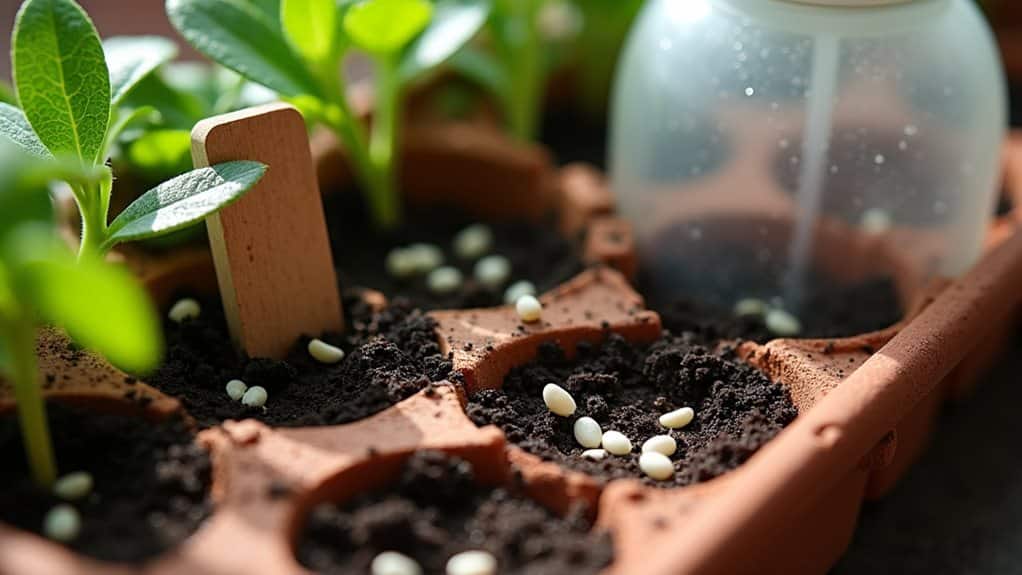
Starting Seeds Indoors Vs Outdoors
Whether you’re starting your sweet alyssum seeds indoors or outdoors, you’ll find each method has its own special benefits, from getting earlier blooms with indoor growing to letting Mother Nature do more of the work outside.
If you’re planning to start indoors, you’ll need a setup with proper lighting and temperature control, plus you’ll want to keep those tiny seeds right on the soil surface since they need light to germinate.
While outdoor growing lets you skip the indoor equipment and transplanting steps, you’ll need to be patient and wait until after the last frost date in your area to guarantee your seeds have the best chance of success.
Indoor Preparation Steps
Two main approaches exist for growing sweet alyssum: starting seeds indoors or sowing directly outdoors, and each method has its unique advantages.
If you’re enthusiastic to get a head start on the growing season, you’ll want to begin indoors 6-8 weeks before the last frost, using seed trays filled with moistened starting mix.
Don’t forget to provide plenty of light since these tiny seeds need it to germinate!
Sowing Location Benefits
Deciding between indoor and outdoor seed starting can greatly impact your sweet alyssum’s success, and you’ll want to reflect on the unique advantages of each approach before getting started.
While indoor sowing offers faster germination and better protection for your delicate seedlings, direct outdoor sowing lets your plants naturally adapt to their environment and eliminates the need for transplanting later on.
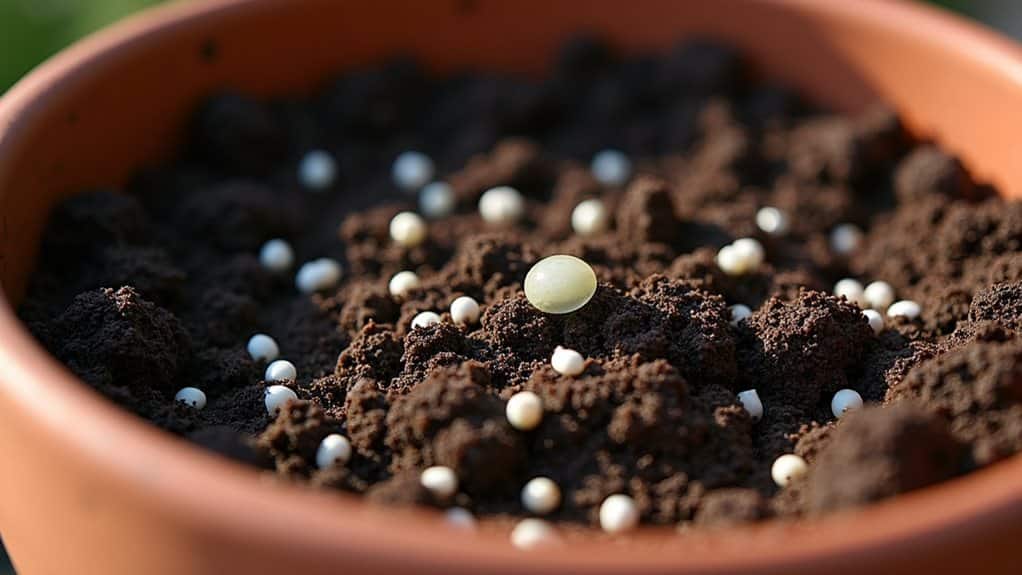
Proper Seed Sowing Techniques
Three key factors make sowing sweet alyssum seeds successfully: proper timing, the right soil conditions, and correct seed placement.
When you’re ready to sow, simply press the seeds onto the soil surface without covering them, as they’ll need light to germinate.
You’ll want to maintain temperatures between 55-75°F and use sterile seed-starting mix if you’re starting indoors 4-8 weeks before spring’s last frost.
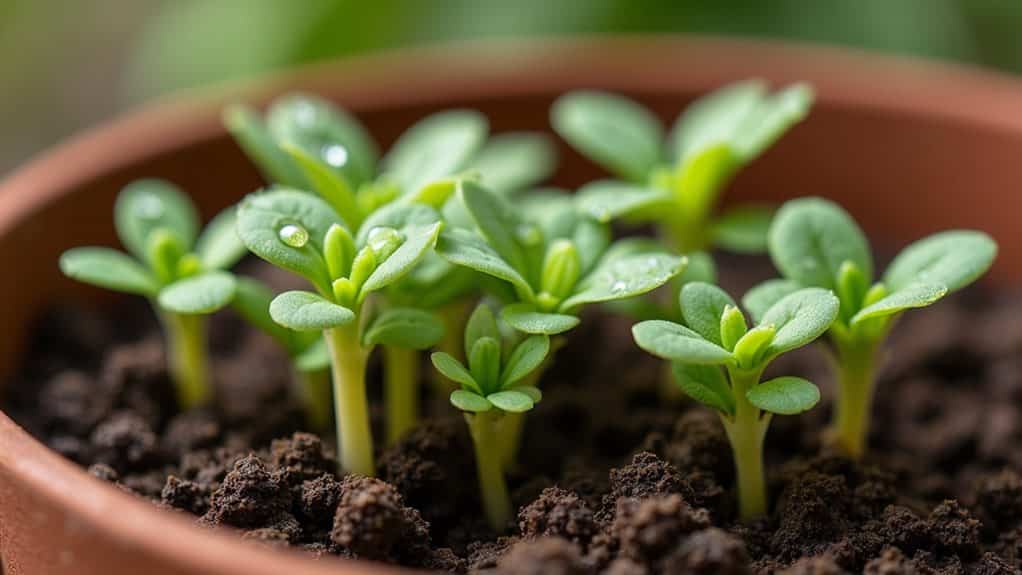
Watering and Moisture Management
When you’re starting your sweet alyssum from seed, you’ll want to keep the soil consistently moist but not waterlogged, which means checking the top inch of soil daily and watering gently when it feels dry.
To prevent devastating root problems that can kill your seedlings, make sure you’re using well-draining soil and containers with proper drainage holes, as too much moisture can lead to root rot faster than you can say “garden disaster.”
Once your seedlings are established, you can shift to a regular watering schedule of about an inch per week, divided into multiple sessions to keep your plants happy and blooming their hearts out!
Initial Watering Schedule
Since proper watering during the first stages of growth can make or break your sweet alyssum’s success, establishing the right moisture schedule is absolutely essential!
You’ll need to check your soil’s moisture daily, keeping it consistently damp but never waterlogged.
During these early days, water gently in the morning, and if you’re growing in containers, don’t let the soil dry out completely between waterings.
Preventing Root Problems
Building on your initial watering routine, let’s tackle one of the biggest challenges sweet alyssum gardeners face – preventing those pesky root problems!
You’ll want to regularly check your soil’s moisture level and make certain you’ve got excellent drainage in place.
Add organic matter to heavy soils, use mulch around your plants, and always water at the base instead of sprinkling the leaves, which can lead to fungal issues.
Common Growing Challenges
Although sweet alyssum is generally easy to grow, you’ll want to stay on top of several common challenges that can pop up along the way!
Watch out for pesky aphids when your plants are stressed, and don’t forget those sneaky slugs that love munching on young seedlings.
You’ll also need to master the balance of keeping soil moist but not waterlogged, while maintaining proper temperature and humidity levels.
Companion Planting Benefits
When you pair sweet alyssum with other plants in your garden, you’re creating a powerhouse of natural benefits that’ll make your whole garden thrive!
Your alyssum will attract beneficial insects like ladybugs and hoverflies that feast on pesky aphids, while its dense growth acts as a living mulch to keep weeds at bay.
Plus, you’ll get the bonus of beautiful, carpet-like blooms that look fantastic spilling over garden edges.
Seasonal Care and Maintenance
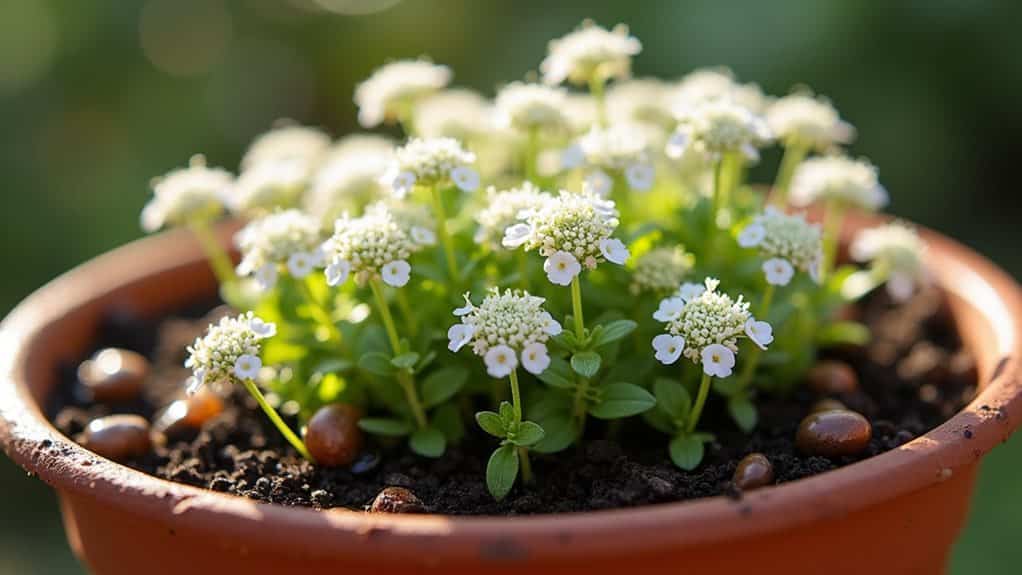
Now that you’ve got your garden allies in place, let’s focus on keeping your sweet alyssum happy and healthy throughout the growing season!
You’ll want to give your plants about an inch of water weekly, but let the soil dry between waterings.
For the best blooms, deadhead regularly or shear the plants by one-third mid-summer, and you’ll be rewarded with gorgeous fall flowers!
Encouraging Natural Re-seeding
Since sweet alyssum’s natural reseeding ability is one of its most pleasing traits, you’ll be thrilled to uncover how easy it’s to encourage these charming flowers to return year after year!
To get nature working in your favor, let some blooms go to seed, and don’t cover them up – these tiny seeds need light to germinate.
With well-draining soil and consistent moisture, they’ll happily spread throughout your garden.
Harvesting and Using Sweet Alyssum
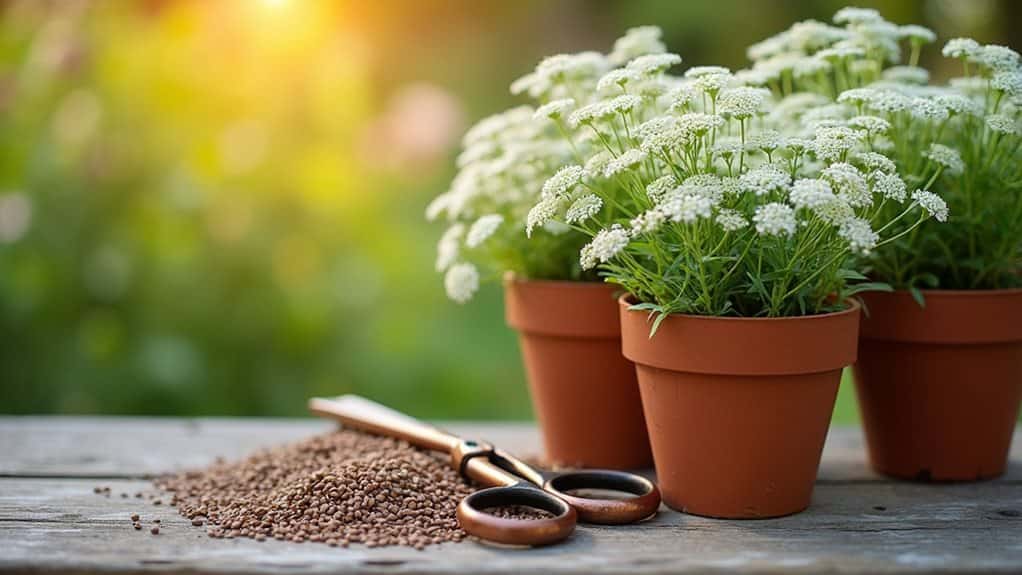
The joy of growing sweet alyssum doesn’t end with watching it reseed naturally – you can take an active role in collecting and preserving these tiny garden treasures!
Look for tan or brown seed pods at the plant’s base, and simply cut back the flowering spikes when they’re done blooming.
You’ll find it’s easy to shake the seeds into a container, sieve out any debris, and store your bounty in labeled, airtight bags for next season’s garden escapades.
Overall
You’ll find that growing sweet alyssum from seed isn’t just rewarding – it’s downright addictive once you experience those honey-sweet clouds of tiny blooms drifting through your garden! Whether you’ve scattered the seeds directly in your borders or started them indoors, these hardy little flowers will quickly become one of your favorite garden companions, attracting beneficial insects and filling your outdoor space with their charming fragrance all season long.