Pollinating Squash, Cucumbers, and Pumpkins: DIY Guide
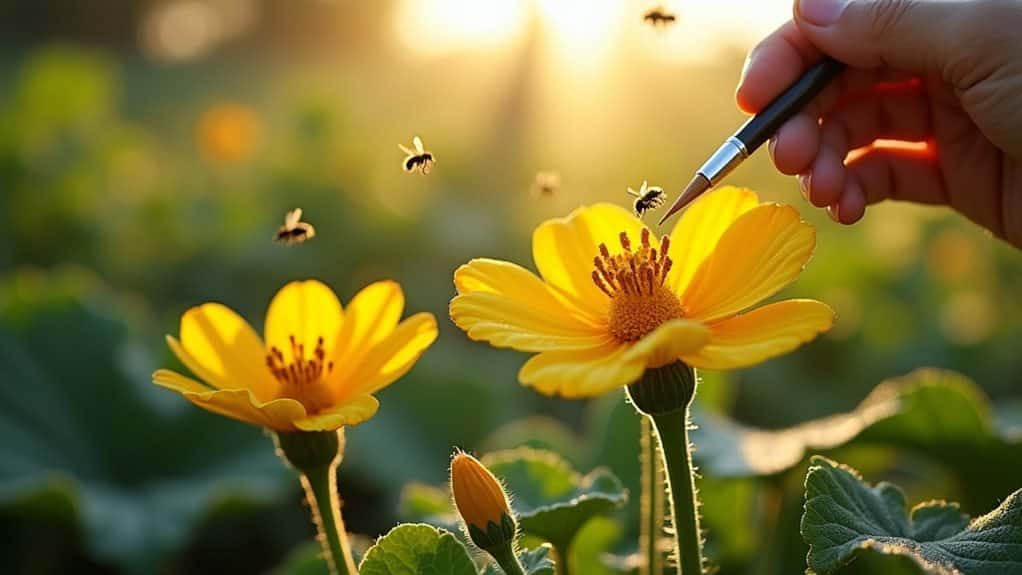
To successfully pollinate your squash, cucumbers, and pumpkins, you’ll need to act like a busy bee in the early morning hours! Identify female flowers (they have tiny fruits behind the petals) and male flowers (they’re on longer stems with pollen-covered stamens). Using a small paintbrush or Q-tip, gently transfer pollen from male to female flowers between 6-10 AM when they’re most receptive. Keep track of pollinated blooms with colorful ribbons, and you’ll realize there’s so much more to perfecting this garden-to-table magic.
TLDR
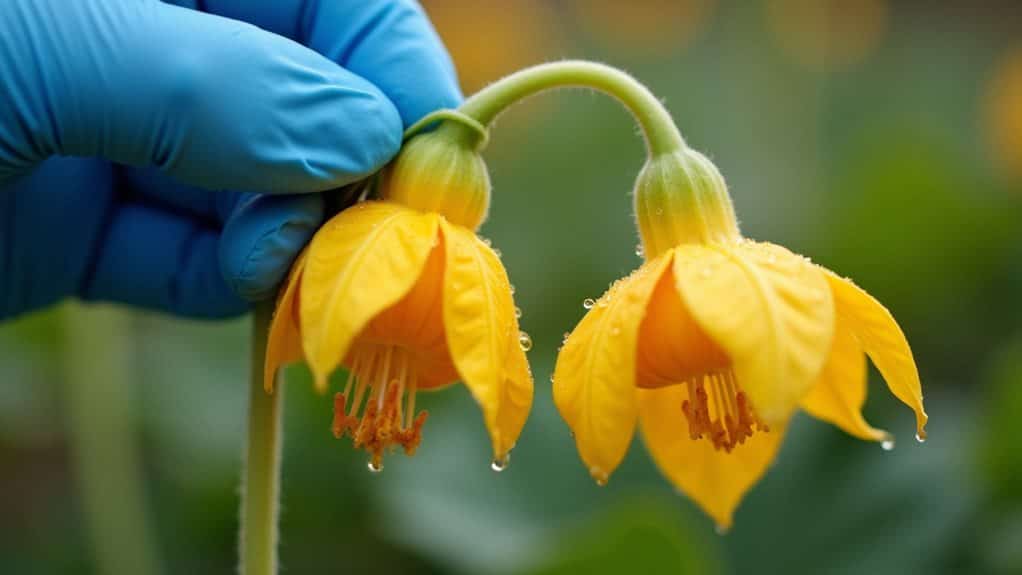
- Identify female flowers by the small fruit behind petals, and male flowers by their longer stems and pollen-producing stamens.
- Hand pollinate between 6 AM and 10 AM using a small paintbrush or Q-tip to transfer pollen from male to female flowers.
- Ensure successful pollination by gently brushing pollen onto the center stigma of female flowers when blooms are fresh and open.
- Protect pollinated flowers with organza bags and mark them with cable ties or ribbons to track development.
- Monitor for fruit development within days of pollination, looking for plump, firm growth rather than shriveled blossoms.
Understanding Male and Female Flower Differences
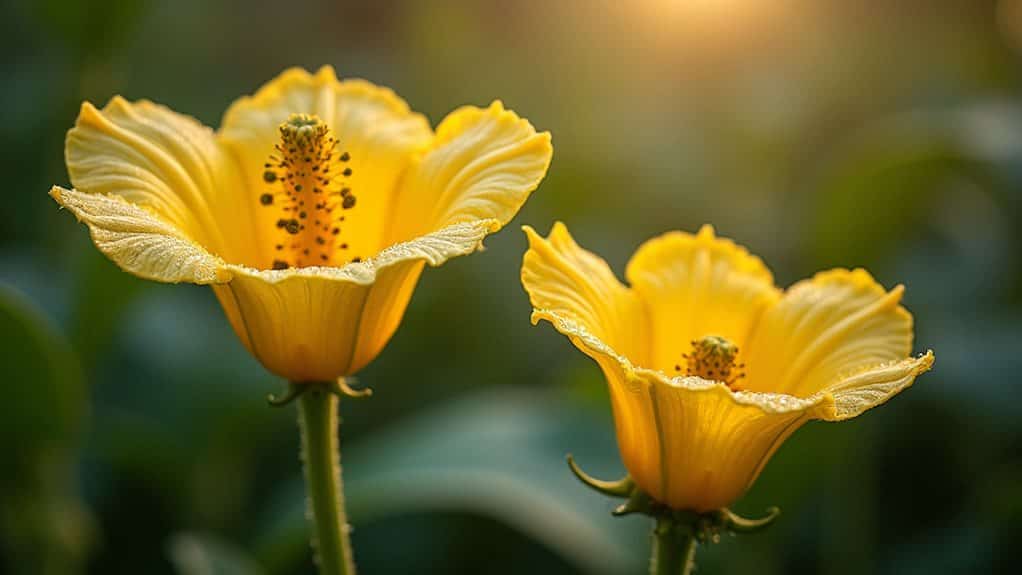
Nature’s intricate design of squash, cucumber, and pumpkin plants never ceases to amaze gardeners, especially when it comes to their fascinating flower system!
You’ll notice that male flowers, which appear first and more abundantly, have long stems and pollen-producing stamens, while female flowers are easy to spot with their mini fruit behind the petals and shorter stems. Understanding the importance of essential nutrients ensures that your plants remain healthy and capable of producing fruit.
Once you understand these differences, you’re ready to become a pollination pro! No pollinators means your plants won’t produce any fruit, making proper pollination essential for a successful harvest.
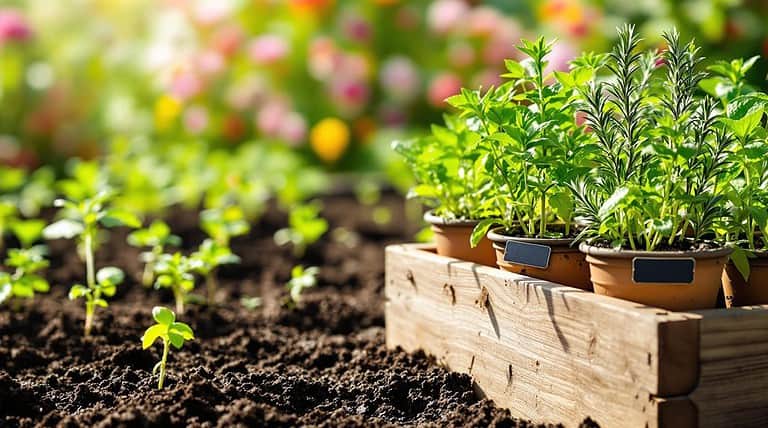
Essential Tools for Hand Pollination Success
You’ll want to gather your basic pollination tools before getting started, including small paintbrushes, cotton swabs, and protective bags, which will make the process so much easier and more effective. Additionally, using coffee grounds can improve soil health, providing a more robust environment for your plants to thrive.
While you can definitely use the male flower itself as a natural pollination brush, having these additional tools on hand gives you more flexibility and control when working with different flower sizes and shapes.
Female flowers only will develop into fruit after successful pollination, so identifying these blooms is crucial for your efforts. For the best results, you’ll need to time your pollination efforts for early morning when the flowers are fresh and fully open, usually between 6 AM and 10 AM when the pollen is most viable.
Basic Pollination Tool Kit
Success in hand pollination starts with having the right tools at your disposal, and assembling a basic pollination kit doesn’t have to be complicated or expensive.
You’ll need a pollination applicator (available at most garden stores), some organza bags to protect your pollinated flowers, and cable ties or markers to track your progress.
For extra precision, add a few small brushes or swabs to your collection.
Watch Your Flower Timing
The delicate dance of flower timing makes all the difference when you’re hand-pollinating your squash, cucumbers, and pumpkins, and knowing exactly when to catch these fleeting blooms can mean the difference between a bountiful harvest or disappointment.
You’ll want to set your alarm early, as these flowers only stay open for about 5-6 hours from sunrise, closing up shop by noon.
Plan your pollination mission for before 10 AM to catch nature’s perfect pollination window.
Best Time of Day to Pollinate Your Plants
Bright, early mornings provide the perfect window of opportunity for pollinating your cucurbits, when nature’s conditions align to give you the best chance of success.
You’ll want to head out just as those flowers are opening up, when the pollen’s at its freshest and before the day heats up.
Not only will you beat the afternoon heat, but you’ll also catch those flowers when they’re most receptive to pollination. Additionally, ensuring your plants have optimal nutrient availability can significantly enhance their overall health and productivity.
Step-by-Step Hand Pollination Guide
Getting your hands dirty with hand pollination isn’t just rewarding – it’s actually pretty simple once you know what you’re doing!
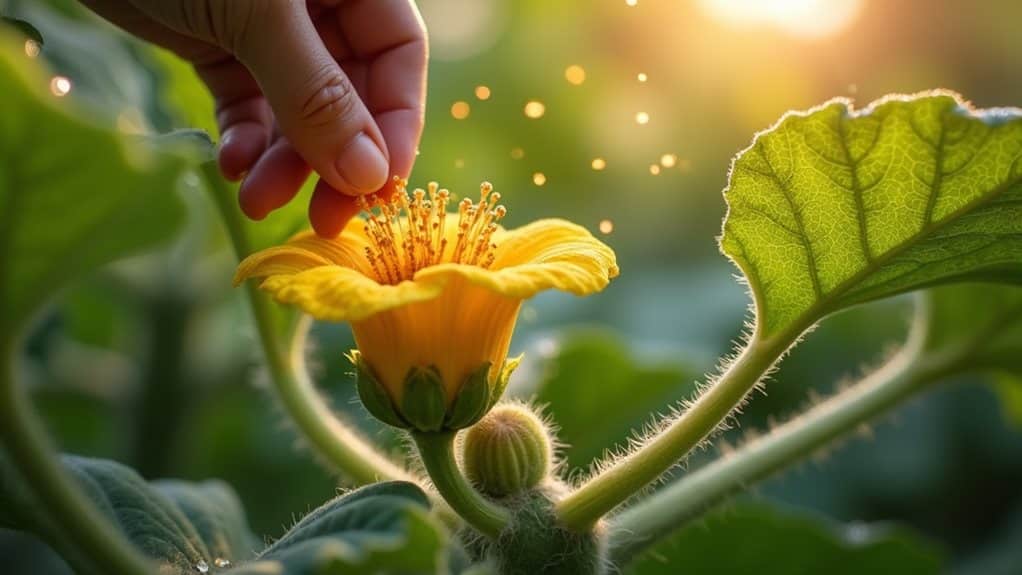
Just grab a fresh male flower (that’s the one without the tiny fruit at its base), gently peel back its petals, and brush its pollen-covered center against the center of your female flower.
You can use one male flower to pollinate several females – talk about flower power!
Common Mistakes to Avoid During Pollination
When you’re selecting flowers for hand pollination, you’ll want to avoid two critical mistakes that can derail your entire pollination effort: choosing wilted or damaged flowers, and grabbing the first flowers you see without checking if they’re actually male or female.
While you’re working with the flowers, remember to handle them with extreme care, as rough handling can damage the pollen-bearing anthers in male flowers or the sticky stigma in female flowers, making successful pollination nearly impossible.
To make your pollination efforts count, you’ll need to look for fresh, fully opened flowers in the early morning, and use a gentle touch when transferring pollen – think of it as carefully painting with a delicate brush rather than scrubbing with a sponge.
Wrong Flower Selection Process
Most gardeners run into trouble with pollination simply because they haven’t perfected the art of flower selection, but don’t worry – you’re about to become an expert!
You’ll need to avoid three common flower-picking mistakes:
- Choosing already-opened male flowers that’ve lost their pollen,
- Mixing up male and female flowers (remember, females have that tiny fruit at the base!), and
- Collecting pollen after the morning window has closed.
Damaging Delicate Flower Parts
The delicate art of pollinating squash and its cousins requires a gentle touch, much like handling a fragile butterfly’s wings!
You’ll want to avoid using coarse tools or applying too much pressure when transferring pollen, as you can easily damage those sensitive flower parts.
Don’t make the mistake of using thick paintbrushes or rough cotton swabs – they’re like bringing a sledgehammer to hang a portrait!
Identifying Signs of Successful Pollination
Successful pollination leaves behind clear signs that any attentive gardener can spot, and you’ll feel like a plant detective once you know what to look for!
Watch for fruits that start growing rapidly within days, staying plump and firm rather than shriveling up.
If you’re seeing lots of healthy, uniform fruits developing on your vines, along with dropped blossoms, you’ve got successful pollination happening!
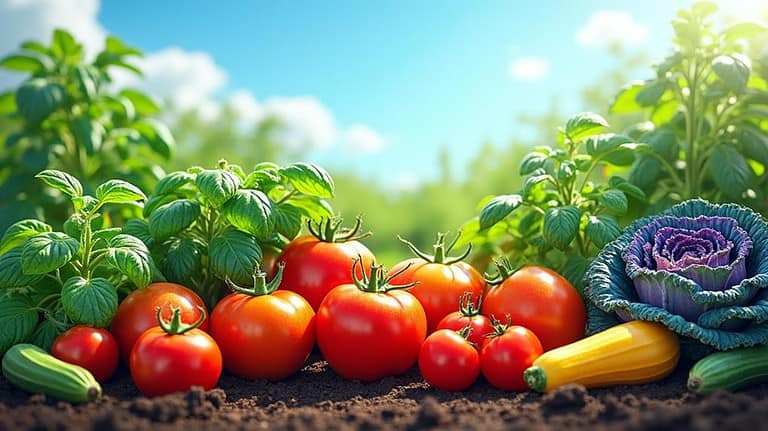
Maximizing Fruit Production Through Proper Technique
To get the most from your squash, cucumber, and pumpkin plants, you’ll want to time your pollination efforts for early morning, when both male and female flowers are fresh and receptive.
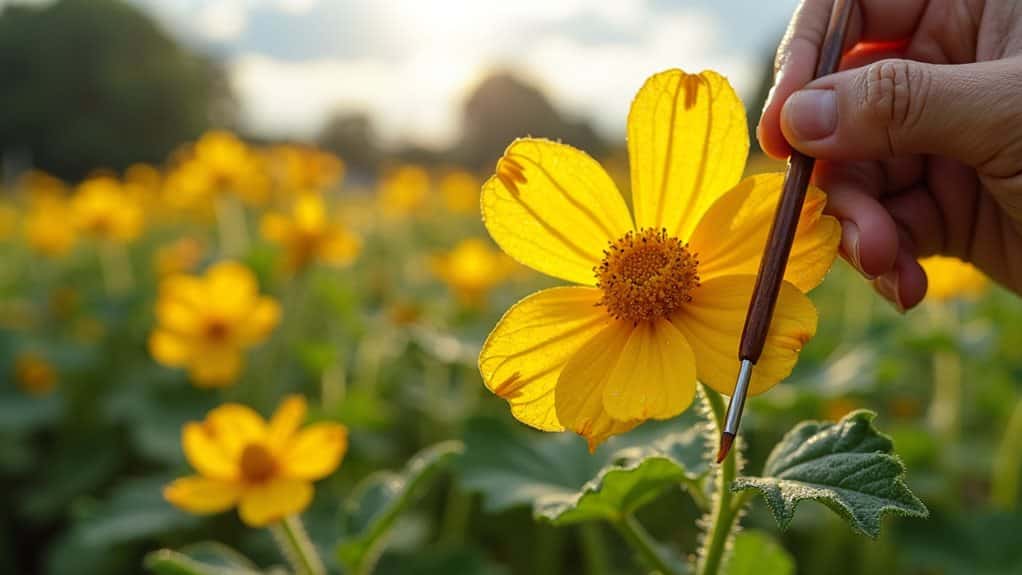
By gently transferring pollen using a small paintbrush or by removing the male flower to directly touch it to the female flower’s center, you’re giving your plants the best chance at producing plump, well-formed fruits.
Once you’ve perfected these techniques, keep a simple garden journal to track which methods work best for your plants, noting successful pollinations by watching for tiny fruits that start growing at the base of the female flowers.
Timing For Peak Success
When you’re aiming for the best possible harvest from your squash, cucumber, or pumpkin plants, timing your pollination efforts couldn’t be more critical!
Head out to your garden early in the morning, right as the sun rises, because that’s when fresh flowers open up. You’ll want to complete your hand-pollination before noon since these delicate blooms only last about 5-6 hours before wilting.
Hand Pollination Best Practices
Now that you’ve got your timing down, let’s perfect the art of hand pollination, which can make the difference between a bountiful harvest and a disappointing one!
Start by gently removing the petals from a male flower, exposing its pollen-covered stamen, then carefully rub it against the stigma of an open female flower, which you’ll recognize by its swollen base.
You can also use a small paintbrush to transfer pollen for extra precision!
Track Your Pollination Results
Success in hand pollination starts with keeping detailed records of your pollination efforts, which can help you become a true garden detective!
Track which flowers you’ve pollinated by gently tying colorful ribbons around their stems, and make daily notes about how many flowers develop into fruits.
You’ll soon uncover patterns about what works best, like ideal morning pollination times and which flowers are most receptive.
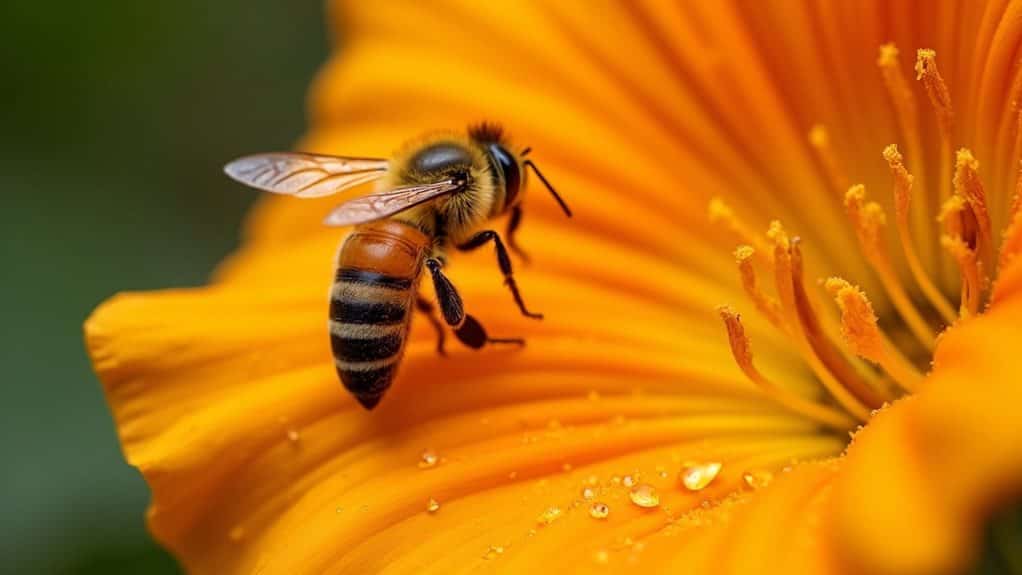
Weather Considerations for Pollination
Since weather plays such an essential role in successful pollination, you’ll need to keep a close eye on temperature patterns during your squash plants’ flowering period.
Your best pollination results will occur between 65-85°F, when bees are most active. If temperatures soar above 95°F or dip below 51°F, you’ll want to contemplate hand pollination, as your insect friends won’t be as effective in these extreme conditions.
Plant-Specific Pollination Methods
The fascinating world of plant-specific pollination opens up endless possibilities for gardeners who want to take control of their cucurbit harvest.
You’ll find that different plants have unique needs – while squash, cucumbers, and pumpkins all require insect pollination due to their separate male and female flowers, you can easily step in as nature’s helper.
Simply grab a Q-tip or small paintbrush, and gently transfer pollen between flowers in the morning when they’re most receptive.
Monitoring and Supporting Plant Growth After Pollination
After your diligent work hand-pollinating those precious squash blossoms, you’ll want to make certain your plants receive all the TLC they need to produce a bountiful harvest!
Keep the soil consistently moist, maintain good air circulation, and watch for any pesky squash bugs or powdery mildew.
Don’t forget to add a layer of mulch to keep those roots happy, and make sure your vines get at least 6 hours of direct sunlight daily.
Overall
Now that you’ve learned these essential pollination techniques, you’ll be well-equipped to help your squash, cucumbers, and pumpkins thrive in your garden! Remember, it’s all about timing, patience, and proper identification of those male and female flowers. Don’t worry if you don’t get it perfect right away – even experienced gardeners were once beginners. With practice and these handy tips, you’ll soon be harvesting an abundance of homegrown vegetables.