Repotting Seedlings 101: A Step-by-Step Guide
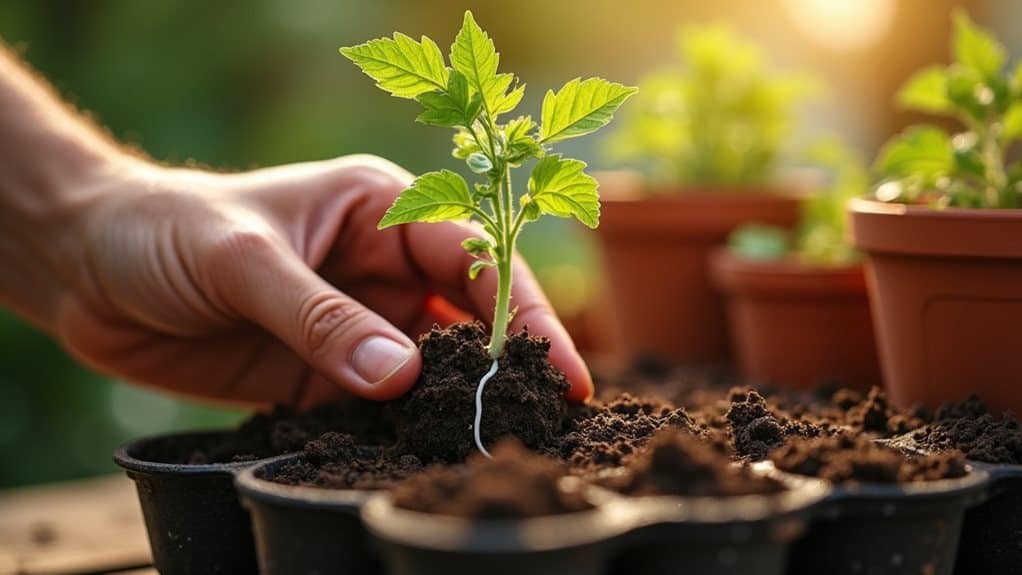
You’ll know your seedlings are ready for their big move when they’ve sprouted three to four true leaves beyond those adorable baby cotyledons, and roots start peeking out drainage holes like tiny escape artists! Water them thoroughly a few hours beforehand, then gently coax them out by handling leaves (never stems), squeezing container sides to release intact soil blocks. Plant in well-draining potting mix, provide indirect light for 48 hours, and keep soil moist but not soggy—stick around to perfect the complete process!
Quick Guide
- Wait until seedlings develop 3-4 true leaves beyond cotyledons or roots appear through drainage holes.
- Prepare containers with drainage holes and quality potting mix that drains well and stays fluffy.
- Water seedlings thoroughly a few hours before transplanting to minimize shock and keep roots hydrated.
- Handle seedlings by leaves only, gently squeeze containers to release intact soil blocks during removal.
- Provide indirect light for 48 hours post-transplant and maintain moist but not soggy soil conditions.
Signs Your Seedlings Are Ready for Repotting
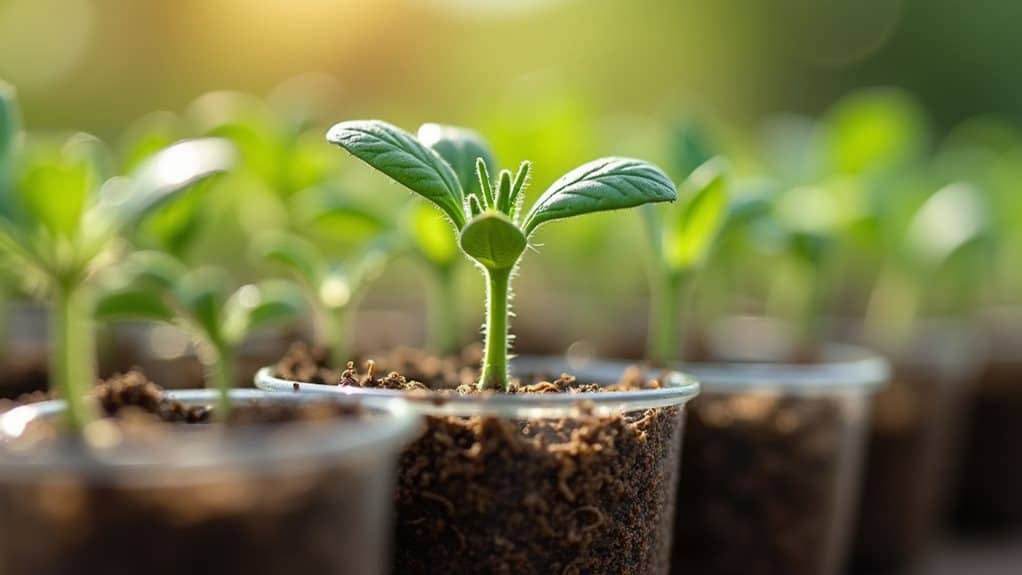
While your seedlings might look adorable sitting in their tiny starter pots like little green soldiers in formation, they won’t stay content in those cramped quarters forever. Knowing when to move them to bigger homes is absolutely essential for their survival and your gardening success. Watch for three to four true leaves emerging beyond those initial cotyledons. You’ll also notice roots poke out of the drainage holes at the bottom of containers, which is a clear signal that your seedlings need more space to continue their healthy development. Additionally, proper soil quality is critical for ensuring that your seedlings thrive in their new pots.
Essential Supplies and Container Preparation
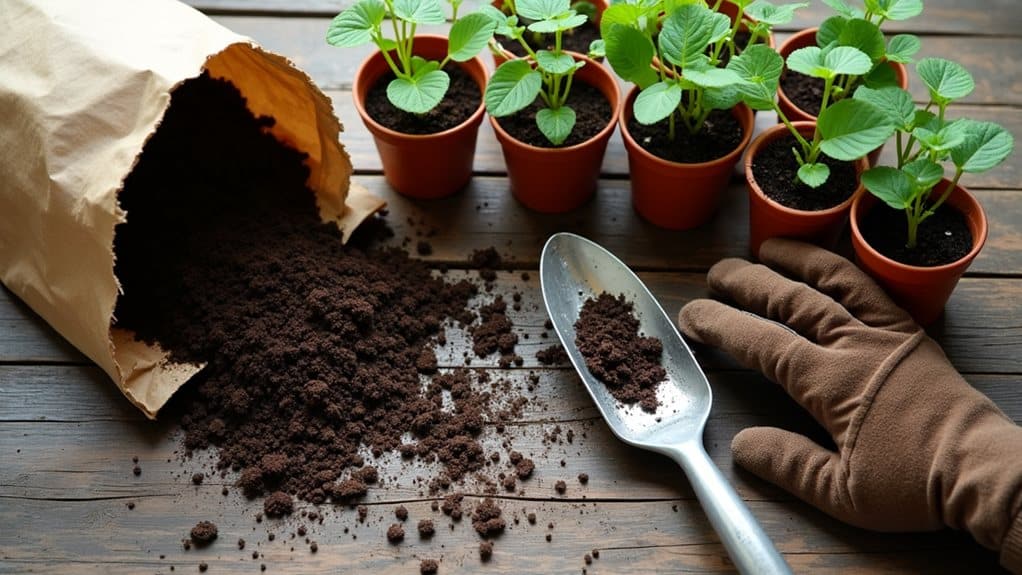
Before you start moving your little green babies to their new homes, you’ll need to gather three absolutely essential supplies that can make or break your repotting journey – and trust me, I learned this the hard way when I tried to wing it with whatever containers I’d lying around my kitchen!
First up is selecting a quality potting mix that’s light, fluffy, and drains well (think of it like choosing the perfect sleeping bag for your camping trip – comfort and breathability matter), followed by setting up containers with proper drainage holes that won’t turn into tiny swimming pools for your seedlings’ roots. For even better results, consider making your own DIY seed starting mix using equal parts coco coir, perlite, and vermiculite, which provides superior drainage and aeration compared to heavy commercial potting soils. Keeping your soil well-draining is crucial to prevent pest attraction that can harm your seedlings.
Finally, you’ll want to create a clean workspace with sanitized tools, because nothing ruins a successful repotting session quite like introducing nasty bacteria to your precious plants – it’s like bringing dirty camping gear into your tent and wondering why everything goes wrong!
Quality Potting Mix Selection
Since your seedlings are about to set off on their first big adventure from tiny starter cells to roomier homes, you’ll want to roll out the red carpet with a potting mix that’s absolutely perfect for their delicate needs.
Think coco coir or peat moss as your base, then add perlite for drainage and vermiculite for moisture balance—it’s like packing the perfect camping gear!
Proper Container Drainage Setup
The foundation of any successful seedling transplant lies in creating a drainage system that works like a well-planned campsite—you wouldn’t pitch your tent in a puddle, and your seedlings definitely don’t want their roots sitting in soggy soil either!
Check those drainage holes first, drill extras if needed, and position containers where water escapes freely.
Clean Tools and Workspace
Just like setting up camp requires clean gear and an organized basecamp, successful seedling repotting demands spotless tools and a well-prepared workspace that’ll give your little green adventurers the best possible start in their new homes!
You’ll want to disinfect your mini trowels with alcohol, sanitize containers thoroughly, and keep everything tidy to prevent nasty diseases from crashing your gardening party.
Proper Watering Before Transplanting
How exciting is it when your seedlings finally outgrow their tiny starter pots and you know it’s time to give them a bigger home?
Before you start transplanting, you’ll want to water your seedlings thoroughly a few hours beforehand—this helps minimize shock and keeps those delicate roots happy during their big move to new digs! Maintaining consistent moisture is crucial for strong root growth, so ensure your seedlings are adequately hydrated before repotting.
Safe Removal Techniques From Original Containers

Now that you’ve given your seedlings a good drink, it’s time for the exciting part – carefully coaxing them out of their cozy containers without turning your little green babies into plant casualties!
Just like when I’m carefully packing my camping gear to avoid breaking anything important, you’ll want to perfect some gentle container release methods that’ll keep those delicate roots intact and happy.
Whether you’re dealing with stubborn seedlings that seem super glued to their pots or flexible seed trays that pop out easily, the right handling techniques will make this process feel less like plant surgery and more like helping your seedlings take their first big step toward garden greatness!
Gentle Container Release Methods
When you’re ready to move your precious seedlings from their cramped starter homes to roomier digs, the way you coax them out of their original containers can make or break their future success in your garden.
Start by giving them a good drink first, then gently pinch flexible cell bottoms to push those root balls upward like tiny elevator passengers.
Proper Seedling Handling Techniques
Success in transplanting hinges on perfecting the delicate art of seedling extraction, and trust me, I’ve learned this lesson the hard way after accidentally decapitating more baby tomatoes than I care to admit!
Always grab seedlings by their leaves, never the fragile stem, and gently squeeze container sides to release the intact soil block.
Root System Care and Preparation
Three critical factors determine whether your seedlings will thrive or struggle after repotting, and understanding their delicate root systems tops that list every single time.
You’ll want to water your seedlings beforehand, making removal easier while protecting those fragile roots from damage.
Then gently loosen any circling roots to encourage healthy outward growth.
Planting Seedlings in Their New Homes
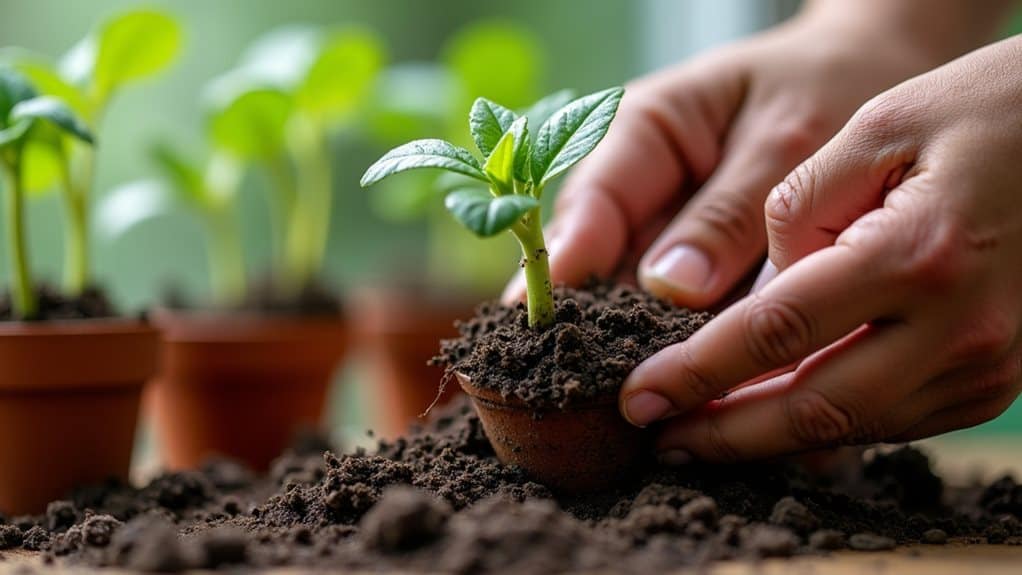
Once you’ve carefully prepared those delicate roots, it’s time for the exciting moment when your seedlings finally get to stretch out in their spacious new homes!
Plant them at exactly the same depth they were growing before, unless you’re dealing with tomatoes or eggplants, which actually love being buried deeper for stronger roots.
Critical After-Care for Transplanted Seedlings
Just like when you’re setting up camp after a long day of hiking and need to carefully tend to your gear so everything stays in perfect condition, your newly transplanted seedlings require some serious TLC during their first critical weeks in their new homes.
Keep soil moist but not soggy, provide indirect light for 48 hours, and watch closely for stress signs!
Common Pitfalls and Expert Tips for Success
While you might think you’ve perfected the art of transplanting after successfully moving a few seedlings, there are sneaky pitfalls lurking around every corner that can turn your gardening triumph into a plant parent’s nightmare!
Don’t transplant too early—wait for true leaves, handle by leaves not stems, and gradually harden off your precious seedlings over seven days.
Wrapping Up
You’ve got this repotting thing down pat now, and honestly, there’s something pretty magical about watching those tiny seedlings change into thriving plants in their spacious new homes! Remember, don’t rush the process—your green babies will tell you when they’re ready, and if you follow these steps carefully, you’ll be amazed at how quickly they’ll bounce back and start showing off their happy, healthy growth in just a few days.