Shingle Plant Care: A Unique Indoor Greenery
You’ll love how a shingle plant climbs like a tiny green campsite tarp—give it bright, indirect light (east or a few feet from west windows), warm temps around 65–80°F, and high humidity like a rainforest tent; water when the topsoil feels just damp, use a chunky, well‑draining mix, and train stems up a mossy pole or board so leaves lie flat. Pinch tips to thicken, watch for pests, fertilize in spring, and if you want more tips, keep going.
TLDR
- Provide bright, indirect light (east/west windows or filtered) and avoid harsh afternoon sun to prevent leaf scorch.
- Keep temperatures 65–80°F (18–27°C) and humidity high using humidifiers, pebble trays, or grouped plants.
- Water when topsoil feels slightly moist, using a chunky, well‑draining mix to prevent soggy roots.
- Train vines on a textured moss pole or board to encourage the shingling, overlapping leaf habit.
- Fertilize lightly during spring–early fall, inspect for pests regularly, and prune damaged leaves for tidy growth.
What Is a Shingle Plant and Why Grow One Indoors?
Think of the shingle plant as the camper of the plant world that loves to hug trees and crawl into tight spots—Rhaphidophora hayi is a tropical climber that literally “shingles” its way up surfaces, laying its flat leaves flush like tiny green roof tiles; it starts out sprawling horizontally along logs or boards when it’s young, then, as it matures and finds a good support, it flips into a vertical climber, throwing down aerial roots that cling to textured surfaces to hold it fast. It prefers bright, indirect light and will grow best when given warm, humid conditions. You’ll love growing one indoors: it’s compact, easy, fast, humid-friendly, great for beginners, and oddly satisfying to watch travel upward like a tiny green camper. Many growers pair it with ergonomic tools to make maintenance easier.
Ideal Light Conditions for Shingle Plants
You’ll want to give your shingle plant bright, indirect sunlight—think filtered forest light rather than a sunbathing spot on a hot beach—so place it near an east or west window where it gets steady, gentle brightness without harsh rays.
If your room’s like a cave or you’re away on a camping trip and can’t keep an eye on things, set up a cool-white LED or fluorescent grow light a foot or two above the leaves, on a timer so the plant gets about 10–12 hours of consistent light.
Try it out and tweak distance or duration based on leaf color and growth, and don’t be afraid to move the plant a little if you see pale new leaves or crispy spots—your eyes and a pocket flashlight from a backpacking trip will tell you a lot. Climate-driven shifts in insect activity can affect indoor plants by altering pollinator and pest presence, so monitor for changing pest risks and benefits to plant health and consider phenological shifts when observing seasonal issues.
Shingle plants are native to lowland rainforests and prefer very warm temperatures.
Bright, Indirect Sunlight
I usually tell new shingle plant owners that bright, indirect light is like giving your plant a cozy campsite under a leafy canopy—plenty of usable light, but no blistering sun to singe the leaves—so aim for a spot near an east- or west-facing window, or a few feet back from a north-facing one, where morning or late afternoon rays get nicely diffused through a curtain or blinds.
Keep it bright, not harsh, rotate occasionally, and enjoy watching rich green shingled vines thrive; avoid direct afternoon sun, or they’ll complain with scorched patches, and gradually acclimate them when increasing light so they don’t sulk.
Artificial Light Placement
Let’s set up your shingle plant’s “campfire” with artificial lights so it feels cozy and well-fed even when natural sun’s off the schedule; I’ve hung LED strips above my own plants and watched them fill out like happy campers around a warm glow.
Keep LEDs or fluorescents 12–24 inches away, give 10–12 hours, rotate regularly, and avoid hot incandescents.
Temperature and Seasonal Comfort Zones
When the days warm into that comfy 65–80°F (18–27°C) sweet spot, your shingle plant perks up like it’s ready for a mini-vacation—leaves glossy, growth steady, and even the tiniest aerial roots looking optimistic—so try to keep daytime temps in that range and avoid drops below about 55°F (13°C), which can lead to yellowing, leaf drop, or a sad, slow-down vibe.
Move it away from cold windows, vents, or doors in winter, bring outdoor plants inside if nights dip too low, and remember warmth promotes growth, watering needs, and that happy, slightly adventurous vibe your plant shows when it’s comfy.
Also monitor soil conditions and test pH regularly to ensure nutrient availability for healthy growth, as optimal pH helps plants access essential elements like nitrogen and iron for robust foliage and root development (soil pH).
Humidity Tips to Mimic Tropical Habitats
Want your shingle plant to feel like it’s on a tropical camping trip right in your living room? You can enhance ambient humidity by running a cool-mist humidifier or grouping plants together to create a mini rainforest effect, and for localized enhancements, pop the pot on a pebble tray, wrap climbing supports with damp sphagnum, or tuck the vine into a terrarium section so its aerial roots stay happy and clingy.
Try what I do when I travel and miss the jungle—set a timer on a humidifier and check a hygrometer, you’ll see faster shingling and fewer brown leaf edges, plus it’s oddly satisfying to watch them stick like tiny green campers on a mossy pole. Pellet stoves also use a convection blower to circulate warm air, which is why maintaining steady room humidity can be important when running heating appliances.
Increase Ambient Humidity
If you want your shingle plant to feel like it’s living in a tiny tropical rainforest right in your living room, increasing ambient humidity is the trick—think humidifiers, pebble trays, and little water bowls working together so the air around the leaves stays pleasantly damp; I’ve stuck a humidifier on a bookshelf and watched my plants perk up in days, so I know it really helps.
Use a humidifier set near plants, place trays of pebbles with water, cluster plants in humid rooms, and raise devices off floors to avoid damp damage, while cleaning trays often so algae or mosquitoes don’t crash the party.
Localized Humidity Boosts
Think of localized humidity enhancements as setting up a tiny rainforest campsite for your shingle plant—cozy, a little steamy, and just the right amount of damp so it feels at home—and you get to be the camp leader.
Use pebble trays, group plants, mist carefully, or run a cool-mist humidifier, mount on mossy boards, and watch aerial roots grab on—fun, effective, and low-maintenance.
Watering Schedule and Moisture Management
Usually you’ll water your shingle plant every 7 to 10 days, but don’t treat that like a strict camping itinerary—check the soil and the pot’s weight first, because plants aren’t great at following schedules like we’re on a road trip.
Feel the top inch for dryness, aim for moist not soggy soil, mist or pebble-tray for humidity, and reduce watering in winter to avoid root rot.
Best Soil Mixes and Pot Selection
You’re going to love making a chunky, well-draining mix for your shingle plant — think peat or coco coir blended with perlite and orchid bark so the soil stays airy like a campsite pillow that never gets soggy.
Wondering about pot size? Pick a shallow, slightly wide container with good drainage holes so roots can sprawl and you only repot when they start peeking out, and trust me, it’s way more satisfying than fumbling with tents.
Keep the mix light and breathable, and you’ll have a happy climber that’s ready to trek up a mossy pole or chill on a cedar board, just like taking your plant on a little camping trip.
Well-Draining Chunky Mix
If you want your shingle plant to thrive, think of its pot like a tiny campsite: you wouldn’t sleep in a swamp, so don’t let the roots either, and a chunky, well-draining mix gives them the airy, drier-than-a-rainforest-floor home they love.
Mix rich soil with orchid bark and charcoal, use a drained terracotta pot, check moisture, refresh mix yearly, and enjoy happier roots.
Right Pot Size
You treated the pot like a tiny campsite for your shingle plant before—well-draining bedding, chunky mix, no swampy sleeping bags—and now it’s time to pick the right tent size for those adventurous roots.
Start small (2–4″ for seedlings), bump up 1–2″ each repot, watch roots through holes, prefer terracotta for airflow or plastic if you travel, and never hide drainage.
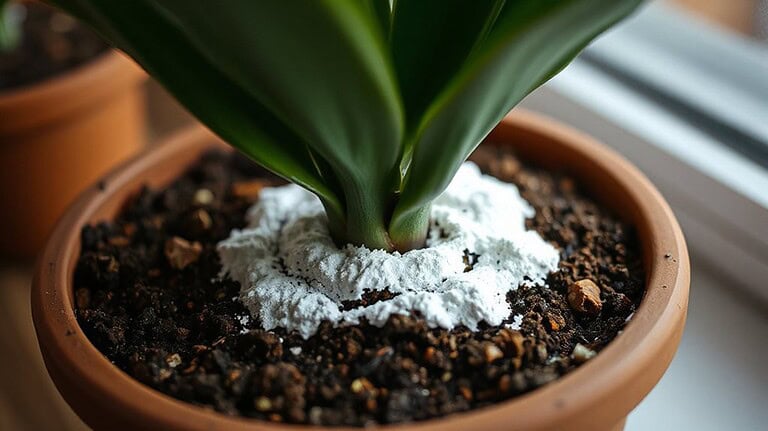
Fertilizing Routine for Healthy Foliage
Usually, you’ll want to feed your Shingle plant regularly during its active growth season, from early spring through early fall, because consistent, gentle fertilizing is like packing the right snacks for a long hike — it keeps the energy up and the scenery (aka your leaves) looking great.
Feed monthly with diluted liquid or a spring slow‑release, skip winter, watch for burn.
Pruning, Training, and Supporting Vines
Think of pruning and training your shingle plant like packing for a backpacking trip — trim the excess, secure the gear, and set up good routes so everything stays tidy and you can enjoy the view; pull off yellow or damaged leaves and pinch new tips to encourage thick, shingled growth, then guide the stems onto a board or trellis so those neat overlapping leaves really shine.
Use clean shears, tie gently, mist often.
Propagation Methods: Stem Cuttings and Moss
Grab a sharp pair of clean scissors and get ready—propagating shingle plants from stem cuttings in damp sphagnum moss is like setting up a tiny campsite for new roots: you’ll want a healthy node (or two) wearing a few leaves, a cozy bed of moist moss to hold humidity like a sleeping bag, and a warm, bright spot that’s out of direct sun so your cutting doesn’t get scorched.
Trim healthy vines, press nodes into moist moss, optionally dust with rooting hormone, seal in a clear bag, check for roots in about six weeks, and air briefly every few days to avoid mold—it’s easy, fun, and oddly satisfying, like camping with plants.
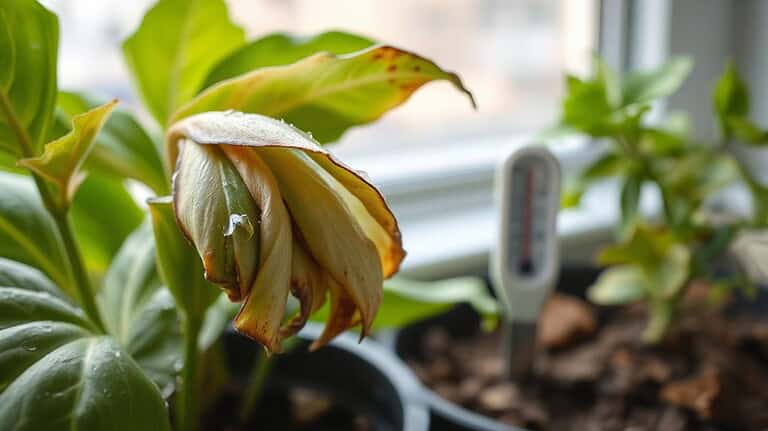
Common Pests, Diseases, and Prevention
Now that you’ve had fun setting up a cozy moss “campsite” for new shingle plant cuttings, it’s time to talk about the uninvited campground guests—pests and diseases—that can ruin the trip. Check leaves and soil often for aphids, mealybugs, spider mites, or thrips, isolate newcomers, use insecticidal soap, prune moldy spots, avoid overwatering, and keep air moving to prevent outbreaks.
Safe Placement Around Children and Pets
Because you’re basically setting up a little campsite in your home, it’s smart to think about where you pitch that shingle plant so curious kids and pets don’t end up nibbling the scenery; place it up high in a hanging basket or inside a glass terrarium, out of reach of tiny hands and wagging tails, and you’ll sleep better at night knowing you didn’t accidentally create a botanical buffet.
Keep emergency numbers handy, check placement after rearranging, choose pet-safe alternatives if worried, and ask a vet or pediatrician right away if anyone nibbles, since mild toxicity can still cause vomiting or irritation.
Overall
You’ve done great exploring shingle plants, and if you’re ready to bring one home, go for it—these trailing tropicals love bright, indirect light, warm temps, and humid air, so set them near a window, mist or use a pebble tray, and water when the topsoil dries; prune and train the vines, try stem cuttings in moss to propagate, watch for pests, and keep curious kids and pets safe, because caring for them is like camping with a leafy friend—adventurous, rewarding, and fun.