How to Stop Blossom End Rot Naturally
Keep your tomatoes happy by treating them like a well‑packed campsite: steady water is the reliable stream, a pH around 6.5 is the sturdy tent, and a calcium boost—crushed eggshells, gypsum, or calcium nitrate—is the extra gear that keeps the fruit walls firm. Mulch with two inches of organic material to lock moisture, use a low‑nitrogen, high‑phosphorus fertilizer, and spray a foliar calcium mix a few times a week when buds appear. Pick rot‑resistant varieties like Pink Bumblebee, and you’ll be camping on a rot‑free adventure—keep going for more tips.
TLDR
- Keep soil consistently moist with deep, regular watering to ensure steady calcium transport to fruit.
- Maintain soil pH around 6.5 (6.0‑6.8) using lime or dolomitic limestone for optimal calcium availability.
- Add calcium‑rich amendments such as crushed eggshells, gypsum, or calcium nitrate without dramatically altering pH.
- Mulch with 2 inches of organic material to conserve moisture, regulate temperature, and support uniform calcium uptake.
- Use low‑nitrogen, high‑phosphorus fertilizers and apply foliar calcium sprays (2‑3 times weekly) during fruit set.
Why Calcium Deficiency Triggers Blossom‑End Rot
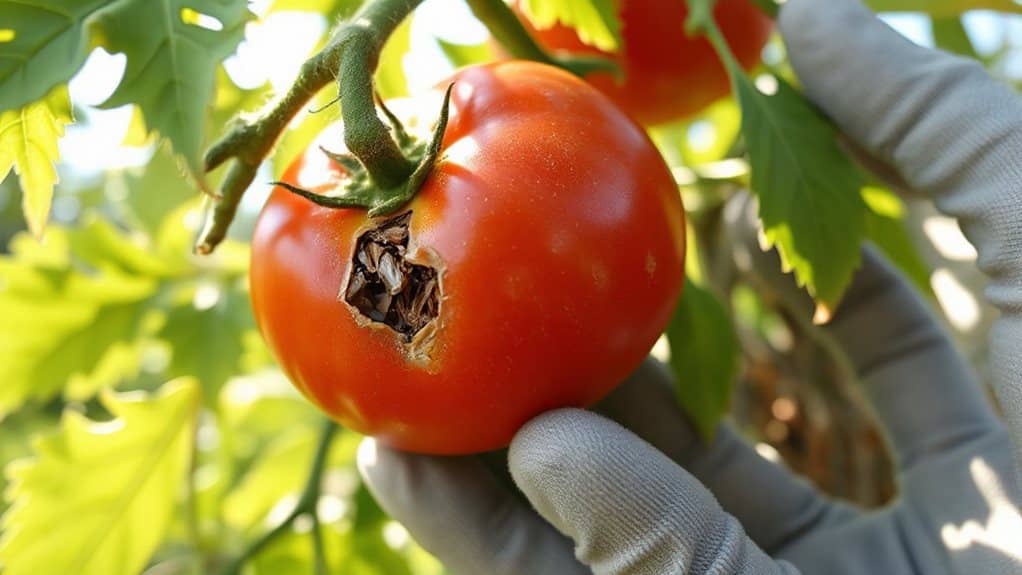
Why does a tomato turn into a brown‑spotty mess at its tip? You see, calcium builds the fruit’s cell walls, keeping them firm and healthy, but when water‑driven calcium transport falters—thanks to drought, overwatering, or damaged roots—the walls break down, turning the tip into rot. Imagine camping without enough food; your body weakens, just like a tomato lacking calcium. Keep roots happy, water steady, and calcium flowing. High levels of ammonium in the soil can interfere with calcium uptake and worsen the condition. Adding well‑rotted compost and maintaining consistent moisture can help maintain soil calcium.
Check Soil pH and Boost Calcium Uptake to Prevent Blossom‑End Rot
You’ll want to check that your soil sits snugly between 6.5 and 6.8, because that sweet spot lets calcium stay soluble and ready for your tomatoes—think of it like setting up a perfect campsite where the temperature is just right for a good night’s sleep.
If the pH is off, grab some fast‑acting lime or dolomitic limestone and work it into the top foot of soil a couple of months before planting, then sprinkle in calcium‑rich goodies like gypsum or crushed eggshells to keep the nutrient “fire‑starter” burning strong.
And remember, keep the watering steady, avoid high‑nitrogen fertilizers, and you’ll be camping out with healthy, rot‑free fruit faster than you can pitch a tent!
Edge soils often retain extra moisture and nutrients from nearby surfaces, which can encourage stronger root uptake of calcium at pavement borders.
Optimal Soil pH Range
Ever wondered why your tomatoes sometimes end up with that dreaded brown patch on the bottom? You’ll love keeping soil pH between 6.0 and 6.8—ideally 6.5—because that sweet spot releases calcium, iron, and phosphorus, preventing lock‑up and blossom‑end rot. Test with a meter, adjust with lime or sulfur, and watch your garden thrive like a campsite sunrise.
Calcium‑Rich Amendments
Keeping your soil in the sweet spot of 6.0‑6.8 is great, but even a perfectly balanced pH can’t rescue a tomato that’s starving for calcium, so let’s talk about the real‑life “snacks” you can give your plants to crank up that calcium intake. Toss crushed eggshells, sprinkle gypsum, or drench with calcium nitrate; each boosts calcium without wrecking pH, keeping your garden thriving and your friends impressed.
Water Consistently to Stop Blossom‑End Rot
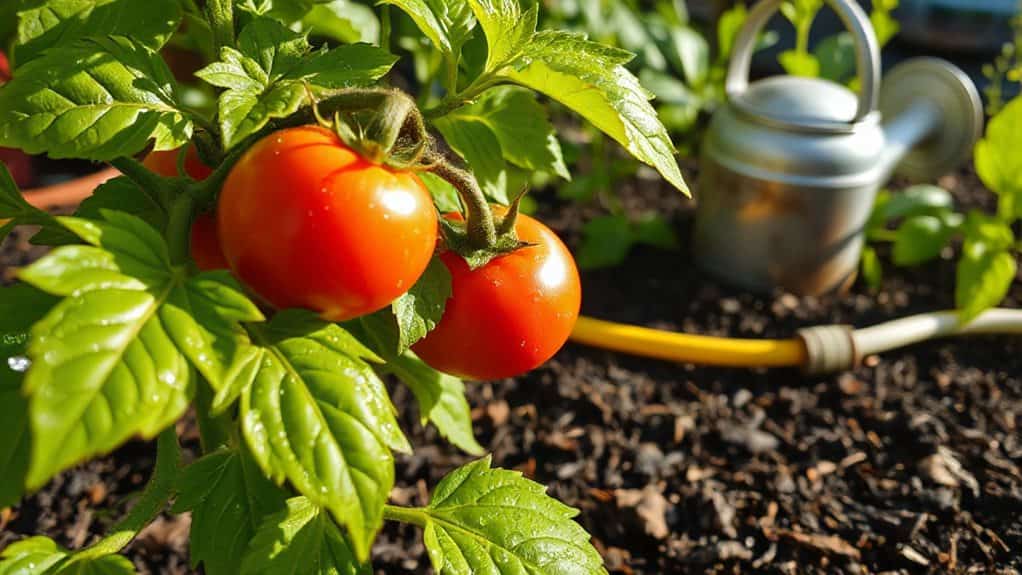
Since you’re dreaming of a garden that looks as radiant as a campsite sunrise, the secret sauce is simple: keep the soil consistently moist, because calcium can’t travel to the fruit if the water road is dry. Water deeply to six inches, aim for one inch weekly, use drip hoses, double‑up in heat, and check moisture daily—your plants will thank you, and your guests will marvel at the juicy harvest. Choose well‑drained, loamy soil to help roots absorb nutrients effectively and reduce the risk of disorders caused by uneven moisture well‑drained soils.
Mulch Properly to Reduce Blossom‑End Rot Risk
You’ll love picking the right organic mulch—think straw, wood chips, or shredded leaves—because they hold moisture and keep the soil from drying out, which is key to beating blossom‑end rot.
Spread a steady 2‑inch layer in a wide circle around each plant, making sure you don’t pile it against the stems, and you’ll see the soil stay evenly damp while weeds stay down.
Give it a try after the soil warms up, and you’ll feel like a camping‑trip pro, mastering the perfect “ground cover” for your garden’s health.
Keeping mulch in place also helps maintain slightly warmer soil temperatures, which can prevent issues when cold reduces vaporization of nearby propane tanks might affect greenhouse heating.
Choose Conservation Mulch Types
Ever wondered why a simple layer of mulch can feel like setting up a cozy campsite for your tomatoes and peppers, keeping them safe from the dreaded blossom‑end rot? Choose organic mulches—hardwood, shredded, or double‑ground—to lock in moisture, insulate soil, and feed microbes; they act like a warm blanket, reducing evaporation, stabilizing temperature, and preventing calcium stress while you share bountiful harvests.
Apply Mulch Evenly Around Plants
Picture your garden as a campsite, and the mulch as the cozy sleeping bag that wraps around each tomato’s “tent” – you want it spread out evenly, not piled up on the pole. Lay a two‑inch‑thick circle of shredded wood chips or newspaper, keeping a gap around stems, so moisture stays steady, weeds stay away, and your tomatoes stay happy and rot‑free.
Maintain Mulch Moisture Balance
Now that your mulch is spread like a snug tent‑cover, the next step is keeping that moisture level steady so your tomatoes don’t get the dreaded blossom‑end rot.
Check the soil daily, water when the top inch feels dry, and never let the mulch sit soggy; a 2‑inch layer holds water like a camp‑fire blanket, preventing evaporation swings that stress calcium uptake.
Use straw or shredded bark, keep a 2‑foot radius, and enjoy the thriving garden expedition.
Pick Fertilizers Low in Nitrogen and High in Phosphorus for Blossom‑End Rot Control
Ever wondered why your tomatoes get those ugly brown spots on the bottom? Pick a fertilizer where the middle number beats the first—low‑N, high‑P formulas like 5‑10‑5 or organic bone meal. They enhance fruit growth, keep calcium free, and curb rapid leaf spurt. Follow label directions, apply at blossom, and water consistently; you’ll see healthier tomatoes, just like a well‑planned camp trip. Cold soil produces weaker root systems that struggle with water absorption, so avoid cold soil by ensuring proper planting timing and soil warming before transplanting.
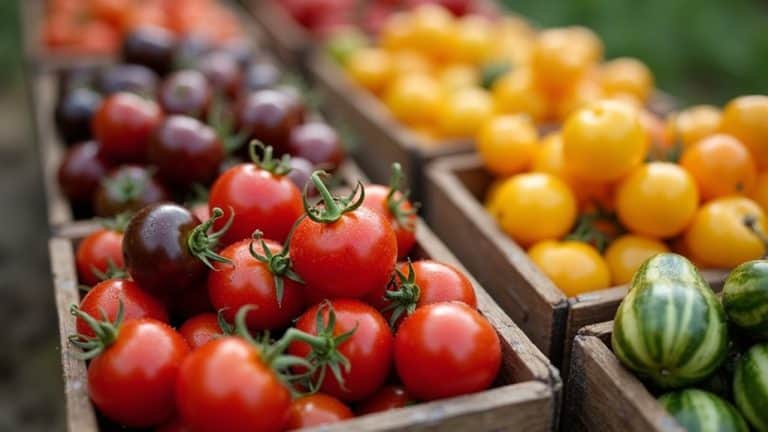
Plant Rot‑Resistant Tomato Varieties for Blossom‑End Rot Protection

Wondering which tomato buddies will keep your garden from turning into a brown‑spot disaster zone? Try Pink Bumblebee, Principe Borghese, or Purple Bumblebee for cherry‑type resilience, and pick Celebrity or Big Boy for slicing power; Mountain Fresh and Red Racer F1 add disease‑proof flair. For paste lovers, Saucey and Rio Grand stay rot‑free. Indeterminate vines usually dodge rot better, so plant them and share thriving harvests!
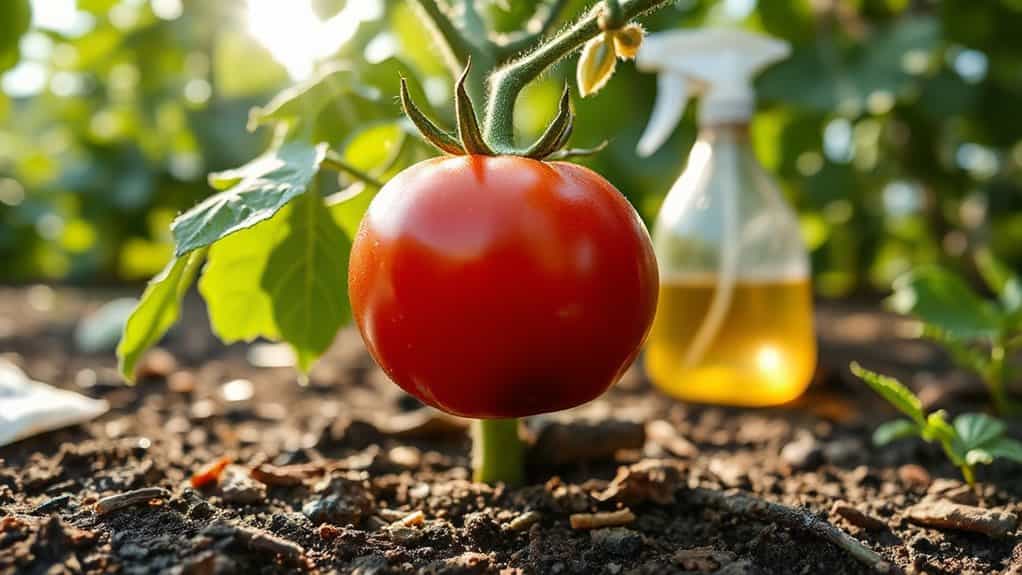
Apply Foliar Calcium Sprays for Quick Fix
Ever wondered why a quick spray can sometimes rescue those sad, brown‑spotted tomatoes? Grab a foliar calcium mix and mist your vines two to three times a week, starting when buds appear, because the leaves can’t ship calcium to fruit, but a spray gives a temporary lift; use Bonide Rot‑Stop or DIY acetate, aim at tomatoes, peppers, cucumbers, and combine with root calcium for best short‑term relief.
Overall
Now you’ve got the low‑down on beating blossom‑end rot, so grab your watering can, test that pH, and toss on some mulch—think of it as giving your tomatoes a cozy camp‑ground. Mix a nitrogen‑light, phosphorus‑rich fertilizer, and if you’re in a hurry, spritz that foliar calcium like you’re spraying bug spray on a hike. Choose hardy varieties, stay consistent, and watch those juicy fruits thrive—your garden expedition just got a whole lot brighter!