Bird House Maintenance Tips for a Happy Habitat
To maintain a thriving birdhouse habitat, you’ll want to follow a consistent seasonal care schedule. Clean out old nests in late February, sanitize thoroughly with wildlife-friendly products like vinegar solutions (1:9 ratio), and inspect monthly for damage. During winter prep, line the interior with straw or wood shavings, guarantee ventilation holes stay clear, and position the house facing downward away from winds. The right maintenance routine alters your simple birdhouse into a cozy sanctuary that’ll keep your feathered friends coming back year after year.
TLDR
- Clean birdhouses thoroughly twice per season using wildlife-friendly cleaners like vinegar solutions and remove old nesting materials completely.
- Check structural integrity monthly, ensuring tight joints, proper drainage holes, and secure connections to maintain a safe environment.
- Prepare for winter by adding natural insulation materials and positioning the house away from harsh winds with afternoon sun exposure.
- Use weather-resistant materials like cedar or redwood, and seal joints with waterproof glue and galvanized screws for longevity.
- Provide appropriate nesting materials nearby and implement pest management strategies to create a healthier habitat for birds.
Essential Seasonal Care Schedule
Just as birds follow nature’s rhythms throughout the year, you’ll need to maintain your birdhouses according to a reliable seasonal schedule that keeps your feathered friends happy and healthy!
Start by cleaning out old nests in late February, getting ready for spring breeding season, and don’t forget to inspect your houses monthly for damage. Dragonflies, which serve as natural pest controllers, can help create a healthier environment for birds by reducing mosquito populations.
When fall arrives, you’ll want to sanitize everything thoroughly before winter roosting begins. Before cleaning, always tap and shine a flashlight inside to ensure no birds or eggs are present.
Deep Cleaning Best Practices
When it’s time to give your birdhouse a thorough cleaning, you’ll want to start by choosing safe, wildlife-friendly products like enzyme-based cleaners or a mild bleach solution that won’t harm your feathered friends. It’s crucial to ensure that the cleaning process does not inadvertently attract house centipedes that thrive in damp conditions. Once you’ve gathered your supplies, follow a systematic approach by removing all old nesting material, scrubbing every nook and cranny with a sturdy brush, and making sure to pay special attention to those tricky corners where parasites love to hide. Performing this deep clean twice per season helps protect birds during crucial breeding periods. After you’ve done the heavy scrubbing, don’t forget to give your birdhouse a good rinse with clean water and let it dry completely in the sun, which will help eliminate any remaining bacteria or mold that could harm future nest-builders.
Safe Cleaning Product Selection
Since maintaining a healthy environment for your feathered friends is essential, selecting the right cleaning products for your birdhouse deserves careful consideration.
You’ll find that natural disinfectants, like white vinegar mixed with water (1:9 ratio), or mild dish soap solutions work wonderfully.
Just remember, don’t combine vinegar with hydrogen peroxide, as this creates a harmful acid that’s unsafe for birds.
Annual Deep Clean Steps
Every birdhouse needs an annual deep clean to keep your feathered visitors healthy and happy, and doing it right makes all the difference.
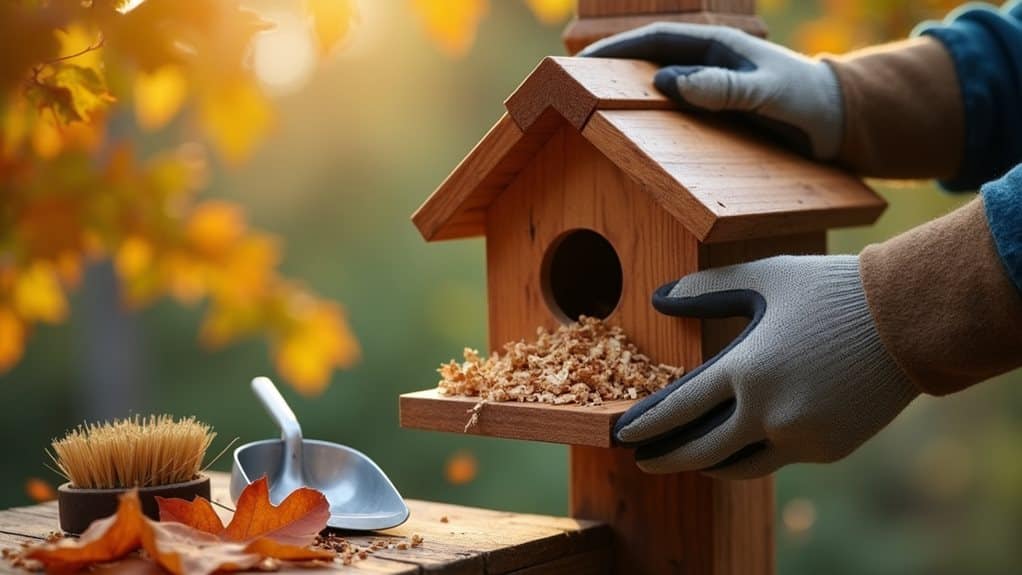
Start by tapping the house and shining a flashlight inside to check for activity, then carefully remove old nesting material while wearing protective gloves.
You’ll want to scrape out those stubborn bits, inspect for damage, and make sure everything’s dry before reassembly.
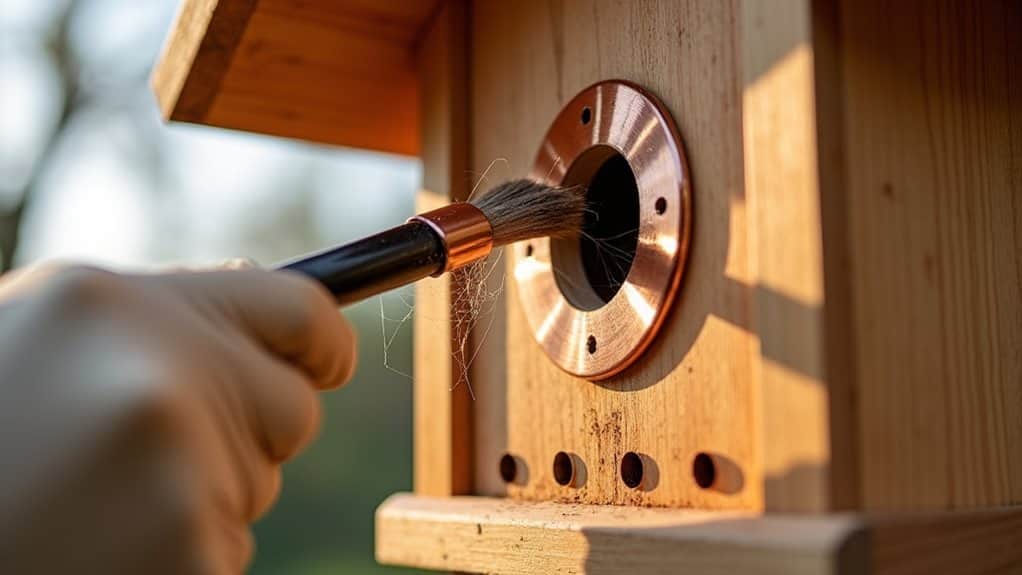
Sanitizing Hard-to-Reach Areas
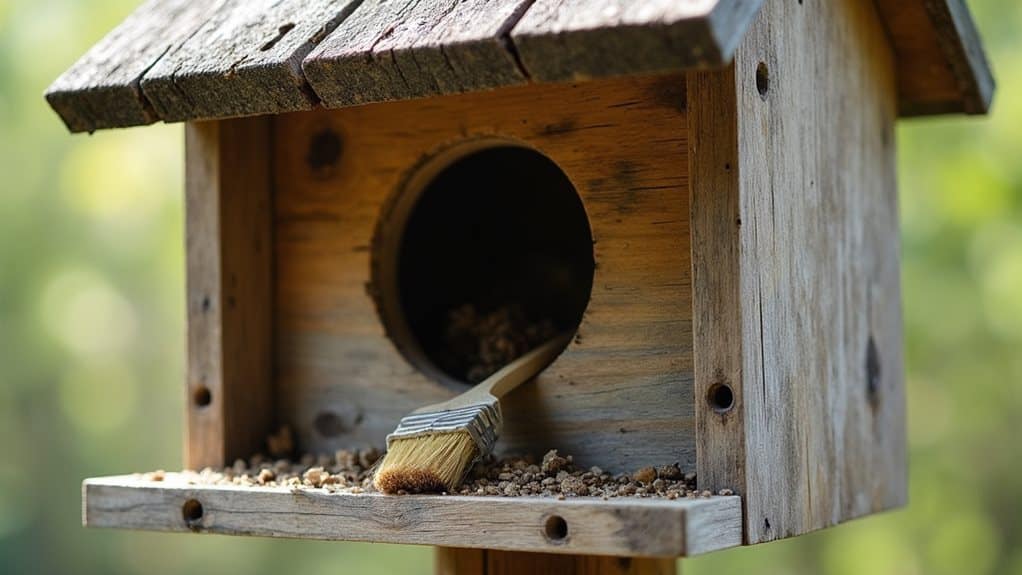
Once you’ve removed all the old nesting material, getting those tricky spots in your birdhouse squeaky clean can feel like solving a puzzle, but don’t worry – we’ve got some clever tricks up our sleeves!
Grab a toothbrush and toothpicks to tackle those hard-to-reach corners and ventilation holes, and don’t forget to use your diluted cleaning solution to scrub every nook and cranny thoroughly.
Safety Equipment and Tools
Before you immerse yourself in maintaining your backyard bird sanctuary, gathering the right safety equipment and tools isn’t just a good idea – it’s essential for both you and your feathered friends!
You’ll want to start with safety glasses that have side guards to protect your eyes, and don’t forget to keep your workspace clutter-free.
Remember to grab your trusty hammer, drill, and measuring tools, along with those handy needle-nose pliers for delicate work. Additionally, consider having cleaning and sterilization supplies on hand to keep your tools in top shape and prevent any potential harm to your bird visitors.
Strategic Placement Guidelines
Successful bird house placement requires careful consideration of timing, location, and your feathered friends’ unique preferences!
Install your boxes early – by February in southern regions and March up north – and you’ll be ready for the spring rush.
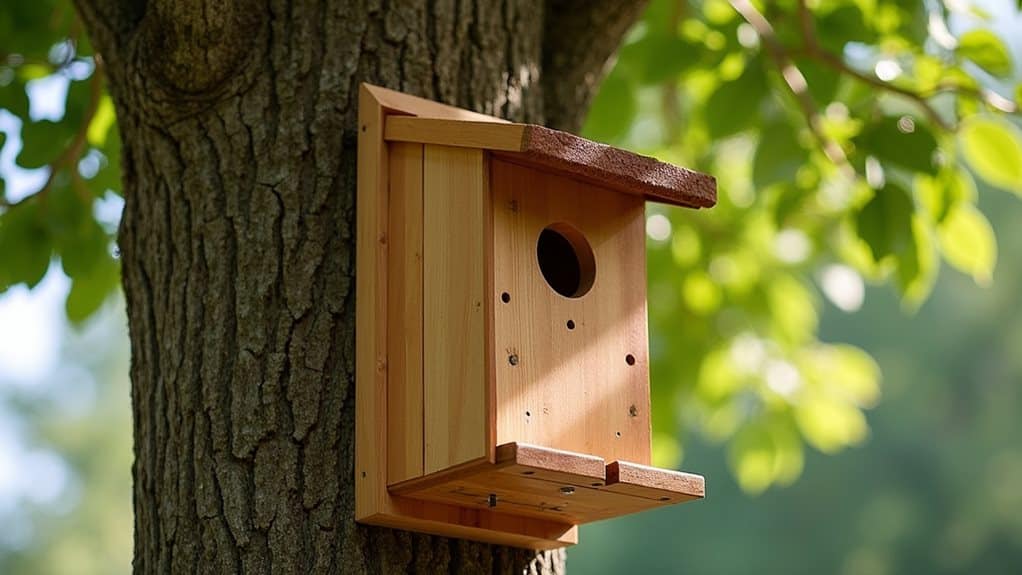
Remember to mount them on poles rather than trees (those sneaky raccoons can’t climb them as easily), and keep them at least 20 feet from feeders and baths.
Predator-Proofing Your Birdhouse
With your birdhouse perfectly positioned, let’s make sure those unwanted visitors don’t crash your backyard bird party!
You’ll want to install metal or wooden predator guards around the entrance hole, and don’t forget to skip the perch – those cute little landing spots actually help raiders like squirrels and raccoons gain access.
For extra protection, mount your birdhouse on a smooth metal pole, and consider adding a hot pepper solution around the entrance to deter those persistent climbers.
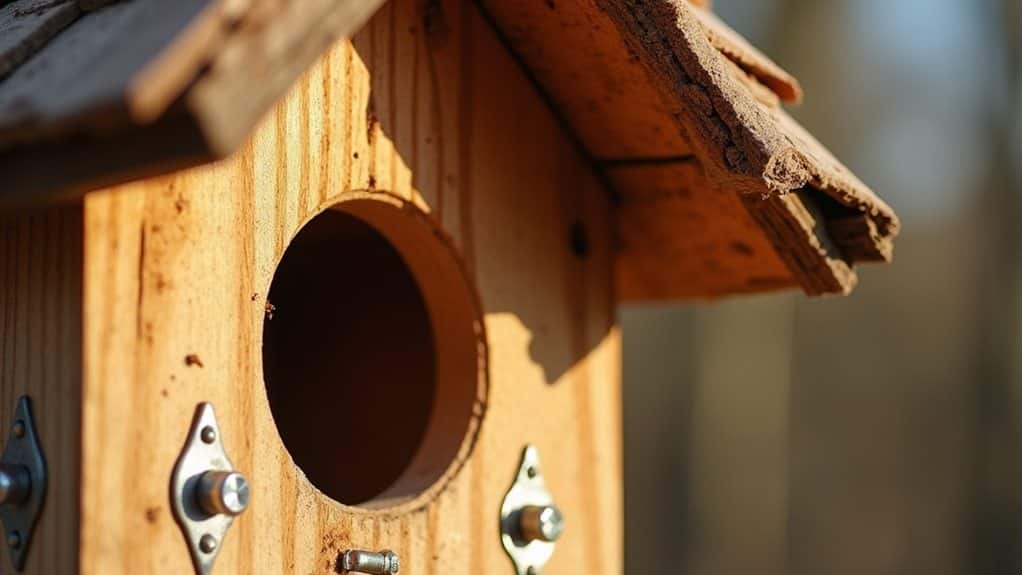
Structural Maintenance Checklist
When you’re ready to tackle your birdhouse’s structural maintenance, you’ll want to start with a thorough safety inspection, checking every joint, screw, and surface for signs of wear or damage.
You’ll need to pay special attention to all hardware components, making certain hinges swing freely, drainage holes remain clear, and every connection is tight and secure.
To protect against harsh weather, you’ll want to examine the roof’s angle for proper water runoff, seal any gaps that might let rain seep in, and make sure ventilation holes are working effectively to regulate temperature inside your feathered friends’ home.
Annual Safety Inspection Steps
Maintaining a safe and sturdy birdhouse requires regular inspections throughout the year, but your annual safety check is absolutely essential for keeping your feathered friends protected and comfortable.
During your inspection, you’ll want to check for any splintered wood, secure loose nails, remove unwanted wasp nests, and take down any perches that might help predators access the house.
Hardware and Joint Assessment
Three critical components form the backbone of a sturdy birdhouse: the hardware that holds it together, the joints that give it structure, and the mounting system that keeps it securely in place.
When you’re checking your birdhouse, make sure all screws and nails are rust-free and firmly embedded. Verify that wood joints aren’t separating, and confirm that mounting brackets are keeping everything stable and level.
Weather Protection Procedures
Beyond the basic structural integrity of your birdhouse, protecting it from nature’s elements stands as your next big challenge, and we’ve got lots of smart ways to weather-proof your feathered friends’ home.
You’ll want to seal the exterior with non-toxic raw linseed oil, build those walls nice and thick (at least 3/4 inch), and don’t forget to angle that roof so rain slides right off.
Weather Protection Measures
Weather can be an unyielding foe when it comes to protecting your feathered friends’ homes, but with the right materials and design choices, you’ll create a cozy sanctuary that stands up to Mother Nature’s challenges.
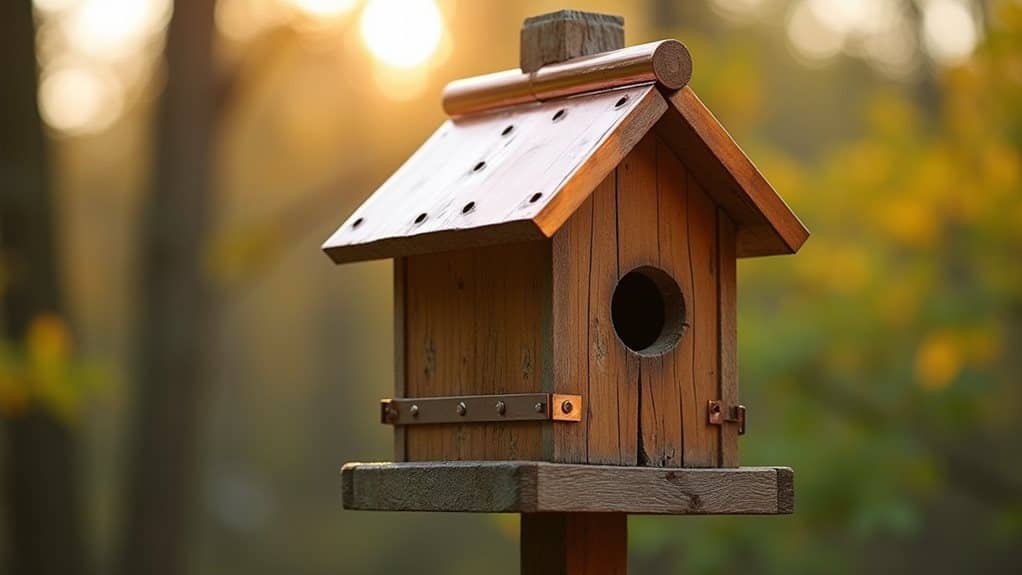
Start by using thick cedar or redwood boards, and don’t forget to add a nicely sloped roof with generous overhangs.
You’ll want to seal everything up with waterproof glue and galvanized screws – trust me, those little details make all the difference!
Ideal Nesting Material Selection
While your feathered friends are skilled builders, they’ll appreciate a helping hand when it comes to gathering the perfect building materials for their cozy homes!
You can help by providing natural treasures like small twigs, dry grass, fallen leaves, and soft moss – just be sure they’re pesticide-free.
Place these materials in mesh bags or scatter them in small piles near your birdhouse, and watch your backyard builders get to work!
Pest Management Solutions
Have you noticed uninvited guests making themselves at home in your bird sanctuary?
Don’t worry, you’ve got plenty of natural allies to help manage those pesky intruders! By attracting beneficial birds like swallows, who love munching on flies, and maintaining a clean birdhouse environment, you’ll create a healthier habitat.
Remember to remove old nesting materials regularly, and consider installing deterrents that’ll keep unwanted visitors away while welcoming your feathered friends.
Winter Preparation Steps
To keep your feathered friends cozy during winter, you’ll want to add proper insulation to your birdhouse by lining the interior with natural materials like straw, wood shavings, or dry moss, while making sure not to block essential ventilation holes.
When preparing entry points for winter use, it’s vital to check that the openings are the right size for your local bird species and aren’t damaged or enlarged by previous residents or weather conditions.
Since winter survival depends on safe access to shelter, you should position your birdhouse so that the entry hole faces slightly downward and away from prevailing winds, which will prevent rain and snow from blowing inside while giving birds easy access during harsh weather.
Insulation for Cold Weather
Since winter’s harsh conditions can be tough on our feathered friends, preparing your birdhouse with proper insulation is absolutely essential for their survival and comfort.
You’ll want to line the interior with natural materials like dried grasses or wood shavings, but steer clear of foam which can harm birds.
Remember to face the entrance away from prevailing winds and position it where afternoon sun can provide extra warmth.
Safe Winter Entry Points
While proper insulation keeps birds cozy inside their winter homes, creating safe and accessible entry points remains equally important for their survival.
You’ll want to guarantee your birdhouse has a precisely-sized entrance hole, ideally 1 9/16 inches for bluebirds, facing east or southeast to protect them from harsh afternoon sun and winter winds.
Don’t forget to add metal guards around the entrance to keep those pesky predators away!
Hardware and Material Updates
Maintaining your bird house’s hardware and materials isn’t just about keeping things looking nice — it’s about creating a safe, long-lasting home for your feathered friends!
Choose weather-resistant materials like wood or recycled plastic, and don’t forget to replace those rusty screws with durable brass ones.
You’ll want to add predator guards and reinforced hinges, while treating wooden surfaces with natural preservatives to keep everything sturdy and secure for your backyard visitors.
Overall
Now that you’ve learned these essential birdhouse care tips, you’ll be ready to create the perfect home for your feathered friends throughout the year. Remember, it’s not just about putting up a house and forgetting about it – your regular maintenance efforts will make all the difference in attracting and keeping happy, healthy birds in your backyard sanctuary. So grab your tools, follow these guidelines, and you’ll soon be everyone’s favorite neighborhood bird landlord!