Growing Celeriac: Tips for a Great Harvest
You’ll find that growing celeriac is easier than you might think! Start your seeds indoors 6-10 weeks before the last frost, using moist seed-starting mix and grow lights. Once transplanted, keep the soil consistently moist and rich with organic matter, maintaining a pH between 6.0 and 7.0. Space plants 12 inches apart, mulch well, and harvest when roots reach three inches across, typically after 100-130 days. The progression from tiny seed to flavorful harvest holds many rewarding surprises.
TLDR
- Start seeds indoors 6-10 weeks before last frost, using grow lights and maintaining temperatures around 70°F for optimal germination.
- Plant in rich, loamy soil with pH 6.0-7.0, incorporating plenty of organic matter and maintaining consistent moisture throughout growth.
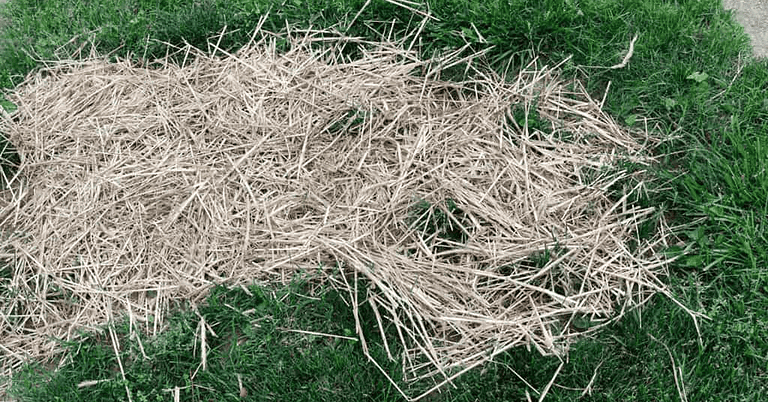
- Space transplants 12 inches apart and mulch with straw to retain moisture and suppress weed growth.
- Feed regularly with compost tea and liquid fish emulsion, as celeriac is a heavy feeder requiring constant nutrients.
- Harvest when roots reach three inches across, typically after first frost for best flavor, around 100-130 days after sowing.
Understanding Celeriac and Its Growing Requirements

Gardeners looking for a unique and rewarding vegetable to grow should definitely consider celeriac, a fascinating root crop that’s like celery’s quirky cousin!
You’ll love how this versatile veggie produces a knobbly root that’s packed with nutrients and can be used in countless dishes. To ensure the best growth, it’s essential to maintain healthy soil structure through regular aeration practices.
While it’s easier to grow than regular celery, you’ll want to give it the right conditions – think cool weather, consistent moisture, and plenty of sunlight. Loamy, rich soil filled with organic matter provides the perfect foundation for growing healthy celeriac plants.
Preparing Your Garden Soil for Celeriac Success
You’ll want to start your celeriac garden with rich, fertile soil that’s packed with plenty of organic matter, such as well-rotted compost and aged manure, which will give your plants the nutrients they need to thrive. Adding topsoil can enhance the nutrient content and improve drainage.
Getting your soil’s pH just right is essential, so test it and aim for that sweet spot between 6.0 and 7.0, making adjustments with lime or sulfur if needed.
Once you’ve got your soil fertility and pH sorted out, work in several inches of organic matter throughout your planting area, making sure it’s evenly distributed and well-mixed to create that perfect, moisture-retentive growing environment that celeriac loves. Since celeriac prefers conditions similar to its ancestors, maintaining moist soil conditions is crucial for optimal growth.
Soil Rich in Nutrients
A rich, nutrient-packed soil is the foundation of successful celeriac growing, and getting it right from the start will make all the difference in your harvest.
You’ll want to create a loamy mix with plenty of compost and humus, aiming for that sweet spot pH between 6.0 and 7.0.
Since celeriac’s a heavy feeder, you can’t go wrong by adding slow-release fertilizer and liquid fish emulsion to enhance those developing roots.
Adding Organic Matter
When preparing your garden bed for celeriac, building up organic matter becomes your secret weapon for success, and there’s no better time to start than before planting.
You’ll want to work plenty of well-rotted manure and compost into your soil, which will improve both water retention and aeration.
Adding peat moss or straw mulch helps maintain moisture levels, while creating that perfect, loamy structure your celeriac roots will love.
Proper Ph Balance
Beyond enhancing your soil with organic matter, maintaining the right pH balance plays a starring role in your celeriac’s success story.
You’ll want to aim for a sweet spot between 6.0 and 7.0, with the ideal range being 6.3 to 6.6.
If your soil test reveals low pH levels, don’t worry – adding lime, especially dolomitic limestone, will help create the perfect growing environment while supplying beneficial magnesium.
Starting Celeriac Seeds Indoors
Since celeriac seedlings aren’t commonly found at garden centers, starting your own seeds indoors is the way to go for growing these unique root vegetables.
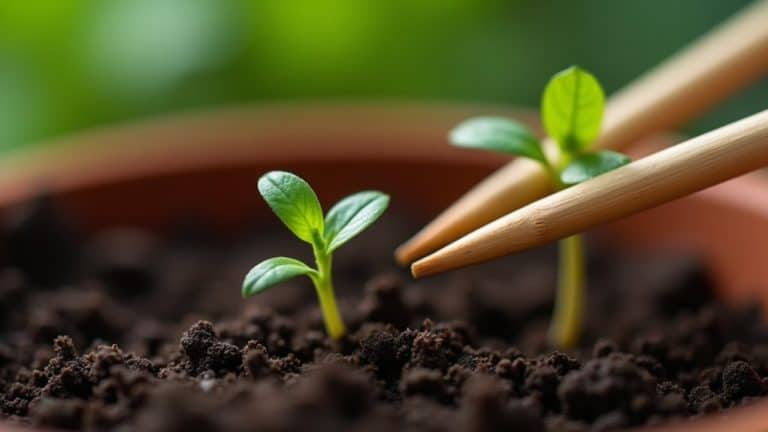
You’ll want to begin 6-10 weeks before your last frost date by sowing these tiny seeds on the surface of moist seed-starting mix, keeping them under grow lights at 70°F. Utilizing an optimal light ratio of red to blue light can significantly enhance your seedling growth during this crucial stage.
Transplanting and Hardening Off Your Seedlings
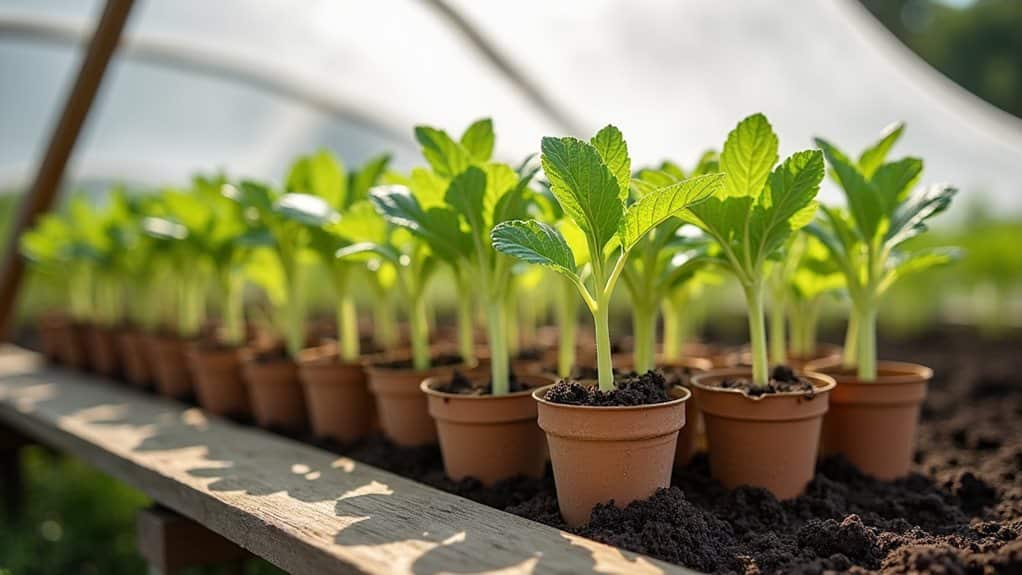
Before you move your celeriac seedlings to their permanent garden home, you’ll want to focus on two essential steps: getting your timing right and preparing those young plants for outdoor life.
You can think of hardening off as sending your plant babies to boot camp, where they’ll toughen up and build their strength before facing the great outdoors.
When temperatures consistently stay above 55°F, and you’ve properly hardened off your seedlings over 7-10 days, you’re ready to make the big move to the garden, where your celeriac will really take off.
Timing The Big Move
While timing may not be everything in gardening, it’s absolutely essential when it comes to moving your celeriac seedlings to their outdoor home!
You’ll want to transplant during late afternoon to avoid harsh sunlight, and make sure temperatures stay above 45°F to prevent bolting.
Strengthen Young Plants First
Once your celeriac seedlings have developed their first true leaves, you’ll need to toughen them up before they can handle life in the great outdoors!
Start by placing them in indirect sunlight for just a few hours each day, gradually increasing their exposure over a week or two.
Don’t forget to protect them from strong winds, and keep their soil moist but not waterlogged while they’re building strength.
Essential Care During the Growing Season
Successful celeriac cultivation depends on providing consistent care throughout the growing season, and you’ll find that this fascinating root vegetable isn’t too demanding if you follow some essential guidelines.
Keep the soil consistently moist, mulch with straw or grass clippings to retain moisture, and give your plants plenty of breathing room by spacing them 12 inches apart.
Don’t forget to feed them regularly with compost tea every few weeks.
Managing Pests and Common Growing Challenges

Although growing celeriac can be deeply rewarding, you’ll need to stay vigilant about pests and other common challenges that might try to crash your garden party.
Keep an eye out for pesky aphids and slugs, and don’t hesitate to use organic controls like diatomaceous earth.
You’ll also want to maintain consistent watering and cool temperatures, while rotating your crops to prevent those sneaky diseases from taking hold.
Maximizing Root Development and Growth
To help your celeriac develop those gorgeous, bulbous roots you’re dreaming of, you’ll need to create a cozy underground environment that’s just right for growth.
Keep the soil consistently moist but never waterlogged, and don’t forget to mulch around those shallow roots.
You’ll want to feed your plants regularly with compost or aged manure, while maintaining a weed-free zone that lets roots spread comfortably.
When and How to Harvest Your Celeriac

After months of nurturing your celeriac’s root development, you’ll be thrilled to know that harvest time brings its own special kind of garden magic!
Once your roots reach three inches across, typically 100-130 days after sowing, you’re ready to dig in.
Wait until early fall, and if you can hold off until after the first frost, you’ll be rewarded with an even sweeter, more flavorful crop that’s perfect for harvest.
Storing and Preserving Your Celeriac Harvest
Once you’ve harvested your prized celeriac, you’ll want to make sure it stays fresh and delicious for as long as possible!
Keep your whole celeriac in a cool, dark spot wrapped in plastic or a paper towel, and it’ll last up to two months.
If you’ve cut into your celeriac, pop it in the fridge where it’ll keep for about a week, or try freezing it after blanching for long-term storage.
Overall
Now that you’ve learned all about growing this unique root vegetable, you’re ready to start your own celeriac growing journey! With proper soil preparation, careful timing, and consistent care, you’ll be harvesting those knobby, flavorful roots before you know it. Remember, while celeriac isn’t the prettiest vegetable in your garden, its delicious flavor and impressive nutritional value make it well worth the effort you’ll put into growing it.