
How to Fix a Lamp Switch
To fix a lamp switch, first unplug the lamp and take off the light bulb and shade. Understand how the lamp and switch are connected. Then, focus on fixing the switch. Take apart the socket cover to get to the wiring and switch. Find the broken switch by testing the bulb, checking the cord, and using a multimeter. Safely disconnect the wires and put in a new switch. Strip the wire insulation, wrap the wires around the screws tightly, and you're on your way to lighting up your lamp again.
TLDR
- Make sure the lamp is not plugged in and remove the light bulb and shade.
- Take off the socket cover to get to the wiring and switch, and remember how the wires are connected.
- Figure out which switch is broken by trying the light bulb in a different lamp, checking the cord for any damage, and using a tool to test the switch.
- Safely disconnect the wires from the old switch, remember how they are connected for the new switch, and check for any damage.
- Put in the new switch by stripping and connecting the wires, wrapping them securely around the screws, and closing the switch cover.
Prepare the Lamp for Repair
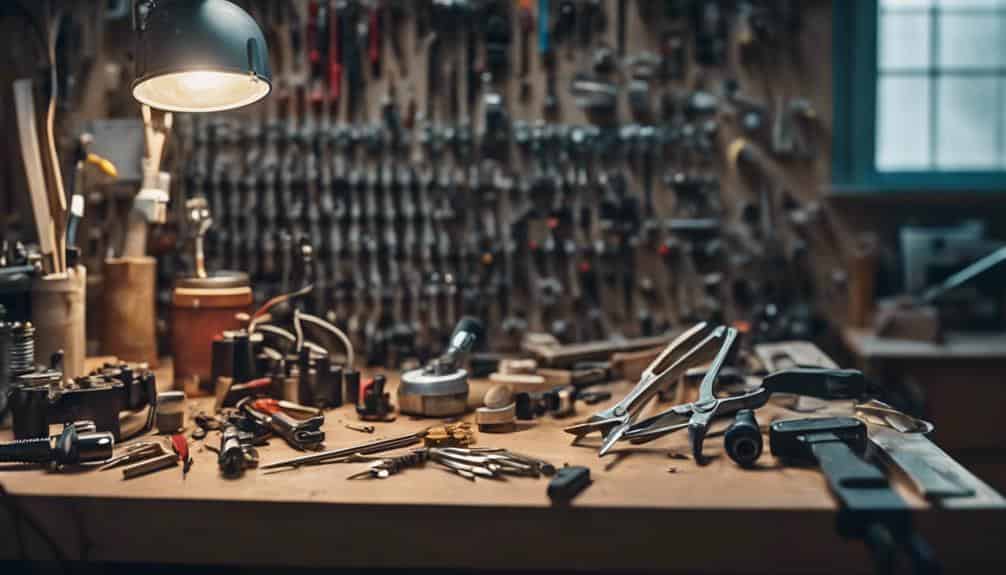
Unplug the lamp from the wall and take off the light bulb and shade for safety. This is the first step to get your lamp ready for repair. Ensure the lamp is on a steady surface with no obstacles around. Understand the lamp's design and how the switch is connected to the wiring. This will help you spot any issues and plan the repair. Now that the lamp is prepped, you can focus on fixing the faulty switch.
Disassemble the Socket Cover
It's time to take off the socket cover. Look for screws or clips holding it in place and carefully pry it off with a flathead screwdriver. This will allow you to access the wiring and switch inside.
Socket Cover Removal
Before you take off the socket cover, start by unscrewing it from the lamp base. It might be easier if you cut the old cord first. This will help you get to the socket cover more easily. Be careful not to harm the lamp or wires when you disconnect the cord. Check the lampshade hardware for any worn-out parts. Once the socket cover is off, you'll need to thread the new wire through the lamp base. Handle the wires gently to avoid damage. Following these steps will help you remove the socket cover successfully and move on to fixing your lamp switch.
Remove Screws Carefully
Grab your screwdriver and carefully unscrew the screws holding the socket cover in place. Make sure not to damage the screws. Keep them safe so you don't misplace them. Lift off the socket cover gently to get to the inside parts of the lamp switch. Watch out for any parts around it. When you remove the cover, you'll see the switch inside for inspection and fixing. Take your time and be gentle to avoid any harm to the parts.
Identify the Faulty Switch
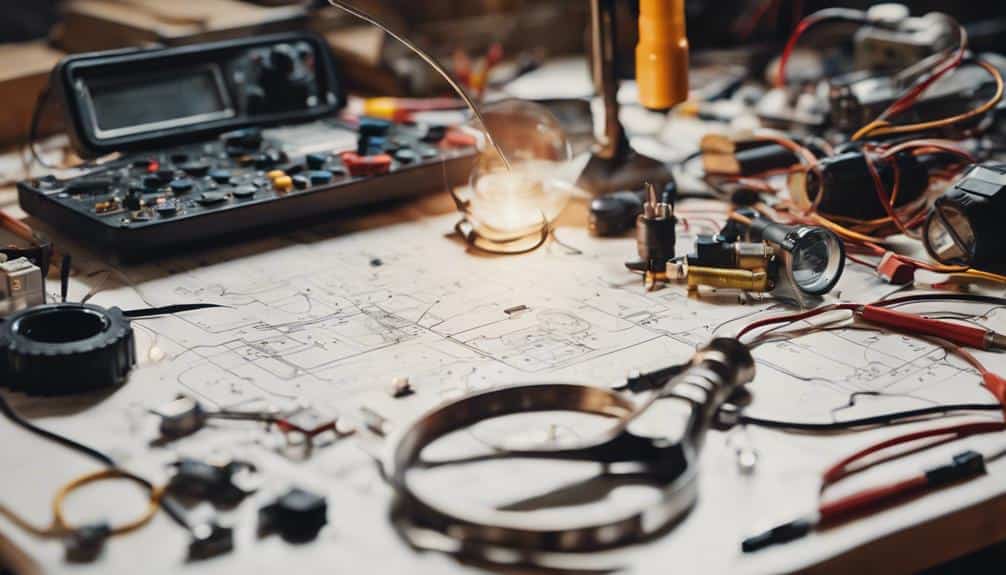
To figure out if a lamp switch is broken, try these steps. First, test the bulb in a different lamp to check if it's working. Then, look at the cord for any damage. Use a tool called a multimeter to test the switch. If the switch feels loose or sticky, it might be broken. If the lamp only works sometimes when you move the switch, it probably needs a new one.
Disconnect the Wires Safely
Unplug the lamp first to avoid getting shocked. Use wire cutters to carefully cut off the old switch wires. This will keep you safe while working on the light switch. Remember which wires were connected to which terminals on the old switch. This will help when you connect them to the new switch later. Check the wires for damage or wear and put them aside. Safety is important when dealing with electricity. By following these steps, you can safely disconnect the wires and prepare for installing your new light switch.
Install the New Switch
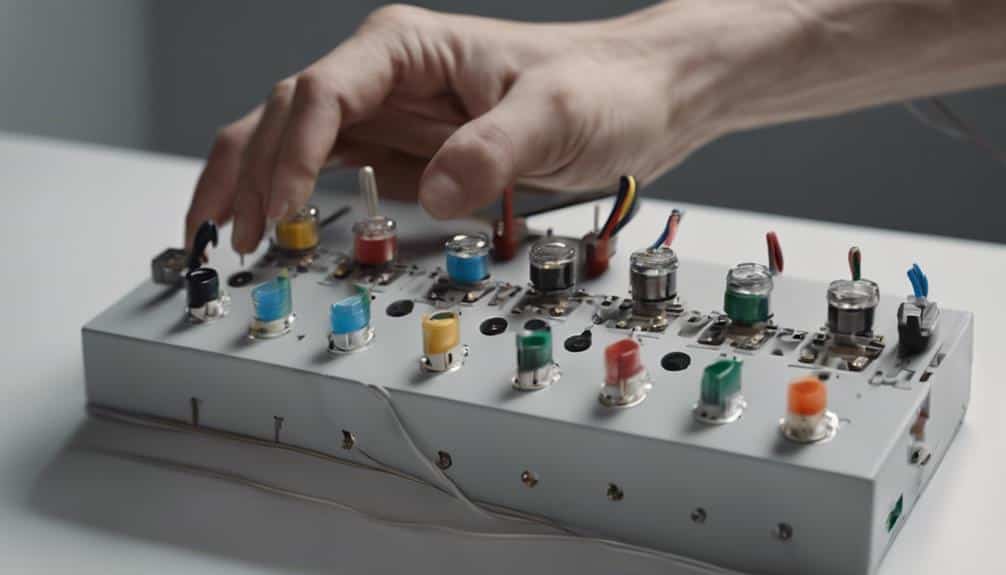
You're all set to put in the new switch. Start by removing about half an inch of insulation from the wires connected to it. This will show the metal parts so you can attach them to the new switch. Then, insert the stripped wires into the screw holes on the new switch. Wrap the wires around the screws tightly to make sure they stay in place. Check that there are no bare wires showing and that the connections are well covered. Finally, close the cover on the switch tightly to hide the wires and finish setting it up. With the new switch installed, you're getting closer to having a lamp that works perfectly.
Connect the Wires Correctly
Now that you've installed the new switch, connect the wires correctly to make sure the lamp switch works like it should. Sometimes a lamp stops working because of a bad switch, even after years of use. But don't worry, just follow these simple steps to fix it. Attach the black wire to the brass screw terminal on the new switch, and the white wire to the silver screw terminal. Make sure they are firmly connected to avoid any loose connections. This is important for the lamp switch to work safely and effectively. By using the right wire colors, the switch will work properly. Take your time and do it carefully – a few minutes now will save you from lamp troubles in the future.
Reassemble the Socket Cover
Now that the wires are connected to the new switch, it's time to put the cover back on. Carefully place the cover over the base, making sure the screw holes line up. Gently push down on the cover until it clicks into place. Check that the cover sits flat on the base for everything to work right. Make sure the cover is on correctly to avoid any issues with the switch. Getting the alignment and seating right is crucial for the cover to work properly. Take your time, and you'll soon have the cover back on.
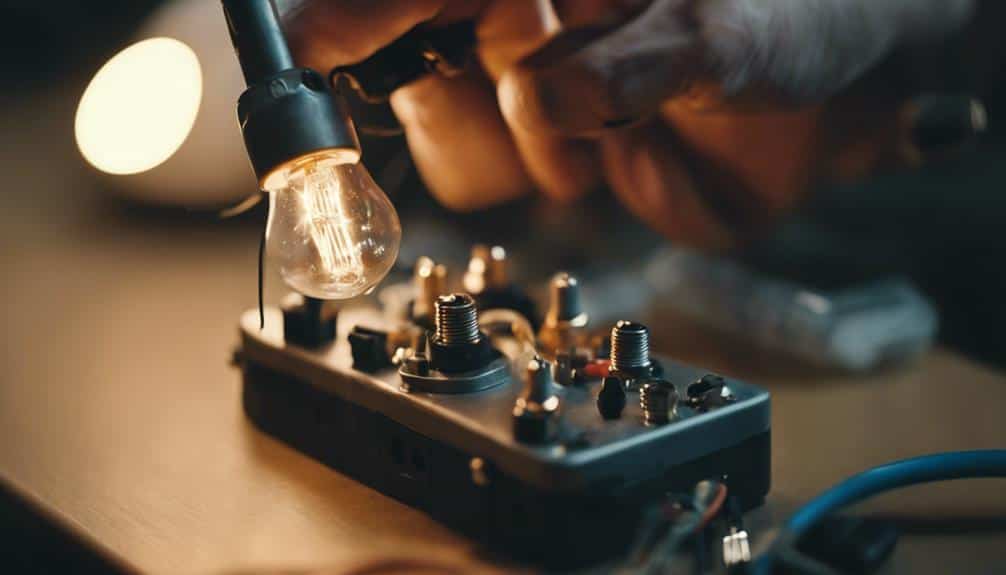
Test the New Switch
Now that you've put in the new lamp switch, it's time to see if it works. Try turning the switch on and off to check if the lamp turns on and off like it should. Look out for any strange noises, sparks, or flickering lights.
Switch Functionality Check
You've put in the new lamp switch, so plug in the lamp and try it out by turning the switch on and off a few times. This will show if the new socket is working right. Check that the light bulb comes on when you flip the switch. Listen for any odd sounds or watch for any flickering that could mean a bad switch connection. If the lamp doesn't turn on or work well, check the wiring and fix any problems before using it. This way, you'll make sure the new switch works as it should, and you can enjoy using your fixed lamp.
Switch Operation Test
To check if the new switch works, plug in the lamp and put in a light bulb. Turn the switch on and off to see if the light works correctly. Watch out for any flickering or strange behavior. If the lamp works fine with the new switch, it should last a long time – around six years or more if used normally. Make sure the switch keeps the lamp connected well. If everything seems good, put the lamp back together and use it as usual. Enjoy knowing you did a good job!
Conclusion
You replaced the broken switch in your lamp. Plug in the lamp and turn it on to check if the new switch works. Make sure the light shines brightly. If it doesn't, recheck your connections and wiring. By being patient and persistent, you've fixed your lamp. Now, enjoy the cozy light from your lamp!


