Snapped Seedlings: How to Harden Them Off
If you've ever snapped a seedling, you know the frustration that comes with it. But don't despair; hardening them off properly can make all the difference in their survival and growth. You'll want to introduce your seedlings to outdoor conditions gradually, starting with sheltered spots to minimize shock. It's imperative to monitor their exposure and moisture levels closely. So, what steps should you take next to guarantee they thrive in their new environment? The approach you choose could determine their success or failure.
TLDR
- Begin hardening off snapped seedlings 7-10 days before transplanting to reduce transplant shock and aid recovery.
- Start with 1 hour of outdoor exposure in a sheltered spot, gradually increasing time daily.
- Monitor soil moisture closely during the hardening process to promote healthy root development.
- Provide shade initially after transplanting to prevent stress and leaf burn from sudden sun exposure.
- Look for signs of new leaf growth and sturdy stems to confirm successful acclimatization.
Importance of Hardening Off
Hardening off your seedlings is essential for their successful shift from indoors to the great outdoors. It reduces transplant shock, helping your little green friends adjust to sunlight, wind, and temperature changes. Additionally, the right soil type can significantly impact their initial growth and adaptability. Plus, it enhances their resilience, making them tough enough to withstand unpredictable weather. Hardening off not only prepares plants for environmental adjustments but also promotes robust growth and stability post-transplanting. So, take it slow, let those roots grow strong, and watch your plants thrive like champions!
Timing for Hardening Off
When you're ready to shift your seedlings outdoors, timing is essential for their success.
Start hardening them off 7-10 days before your transplant date, making sure the frost's gone. Coffee grounds can enhance soil fertility, providing a nutrient-rich environment for your seedlings once transplanted.
For cool-weather plants, wait until nighttime temps dip into the low 50s; warm-weather plants can handle the high 50s. Gradually acclimating seedlings to outdoor conditions is crucial to prevent transplant shock.
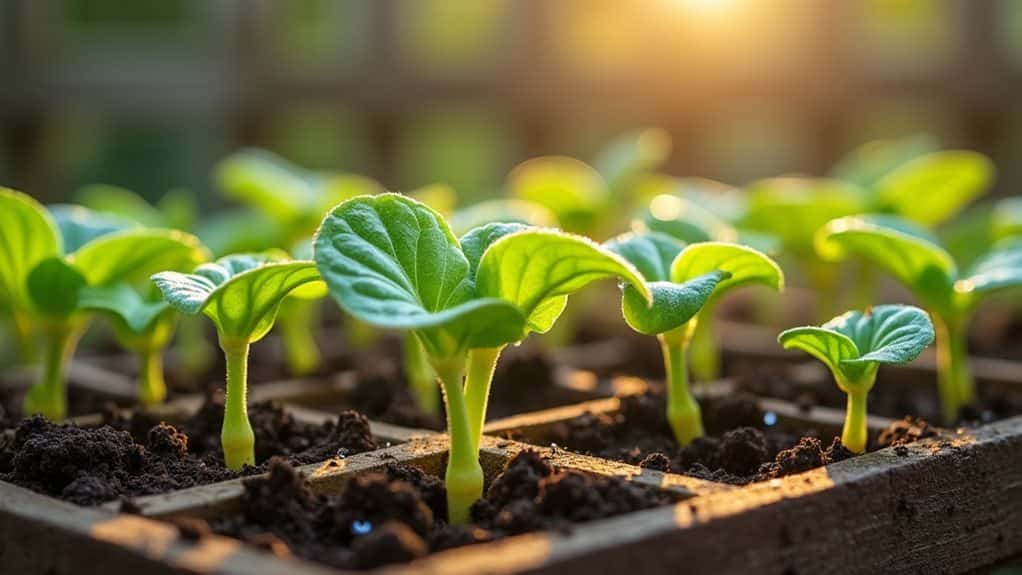
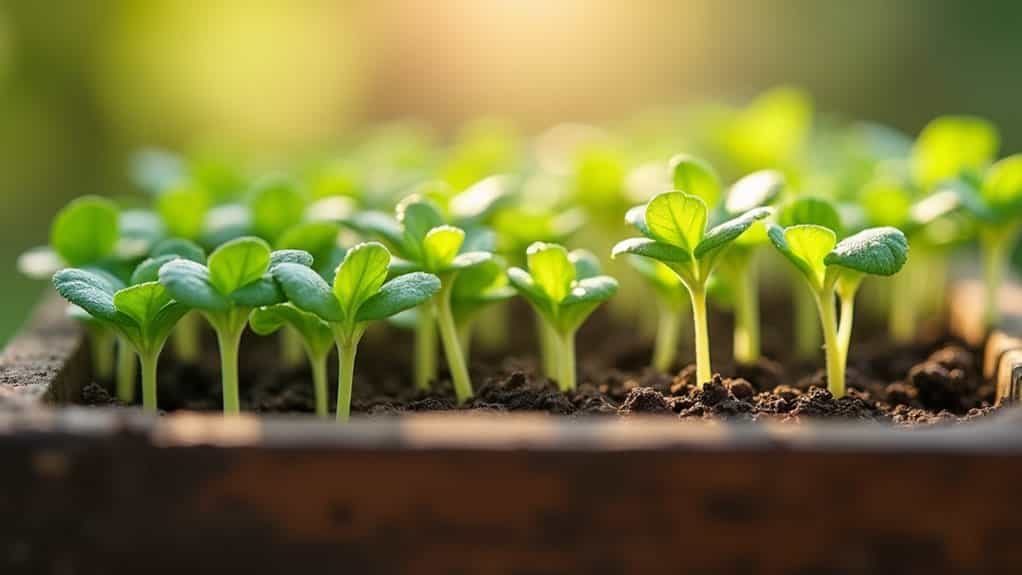
Initial Outdoor Exposure

After you've determined the right timing for hardening off your seedlings, the next step is to introduce them to the great outdoors.
Find a cozy, sheltered spot away from harsh sunlight and strong winds, ideally somewhere warm. Start with just an hour, keeping a close eye on your little green buddies. Remember to begin the hardening-off process 7 to 14 days before planting to ensure they adapt well. Additionally, the subfloor provides stability for the overall health of your plants by preventing potential damage from water-related issues in your garden setup.
Gradual Exposure Increase
Alright, let's talk about how to gradually get your seedlings ready for the great outdoors—think of it like a camping trip where you don't just jump into the cold lake right away!
You're gonna want to slowly increase their outdoor time, giving them a taste of sunshine and gentle breezes while keeping an eye on the wind like it's an overly enthusiastic friend trying to blow out your birthday candles. Hardening off seedlings for 1-2 weeks before transplanting helps them acclimate to their new environment, reducing transplant shock. This gradual exposure also helps them adapt to varying light color effects, which can be crucial for their overall growth and health.
Daily Time Extension
To successfully harden off your seedlings, it's essential to gradually increase their outdoor exposure each day. Start with 30 minutes in a shady spot—think of it as a mini vacation! Each day, add 30 minutes to an hour. This gradual exposure helps in temperature acclimatization, ensuring that seedlings are better prepared for variable outdoor conditions.
Wind Exposure Adjustment
Wind exposure is essential for strengthening your seedlings and preventing legginess.
You wouldn't want your plants to be the weaklings of the garden, right? Start by gently introducing them to the breeze—maybe use a small fan indoors or move them outside for short bursts. Gradual exposure to wind helps build resilience, making your seedlings better equipped to handle outdoor conditions.
Just keep an eye out for windburn; no one wants a plant with a bad hair day!
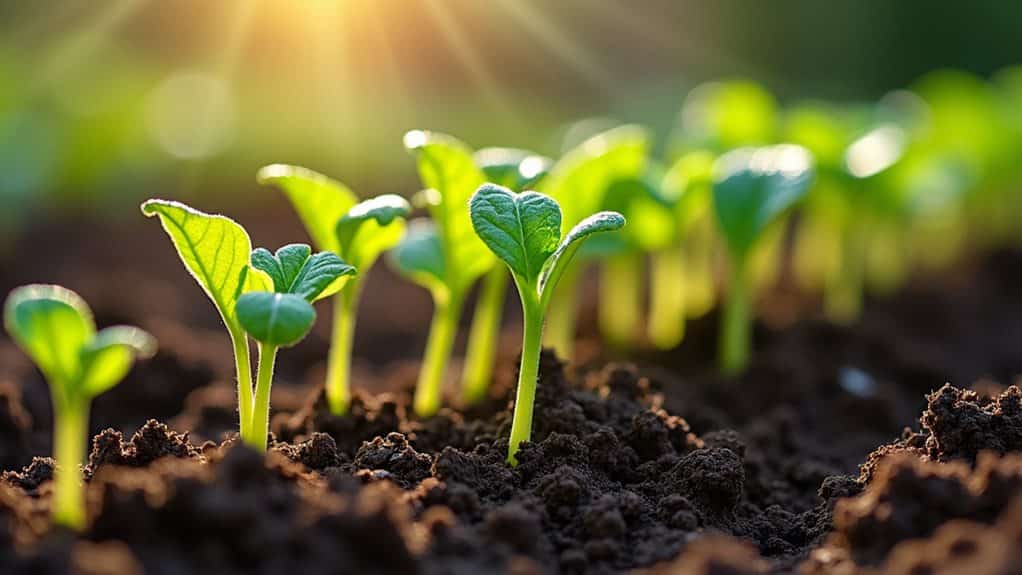
Sunlight Gradation Strategy
When introducing your seedlings to sunlight, a gradual exposure strategy is key to their successful changeover. Start them in a shady spot for 1-2 hours, like under a cozy tree or beside a wall, then slowly increase their sun time. This method allows seedlings to adapt to adequate light exposure without experiencing shock or stress.
Soil Moisture Management
Regularly managing soil moisture is essential for the successful growth of snapped seedlings.
You should test your soil first, so you know its moisture content—like trying to find the perfect snack for a road trip! Correct moisture is crucial for seedling health and growth. Adequate soil aeration also plays a vital role in ensuring that moisture reaches the roots effectively.
Adding organic mulch helps, too, as it keeps moisture in and weeds out.
Plus, regular checks keep your seedlings happy and thriving, just like a well-planned camping trip!
Watering Techniques
Watering techniques play an essential role in successfully hardening off snapped seedlings.
Instead of daily showers, think of watering like a deep hug—less often, but more meaningful!
Water 2-3 times a week, letting that soil dry out just enough for roots to stretch, but don't turn your seedlings into desert survivors. Gradual acclimation during the hardening off process helps seedlings develop stronger root systems and reduces stress.
Keep an eye out for yellow leaves; they're crying for help!
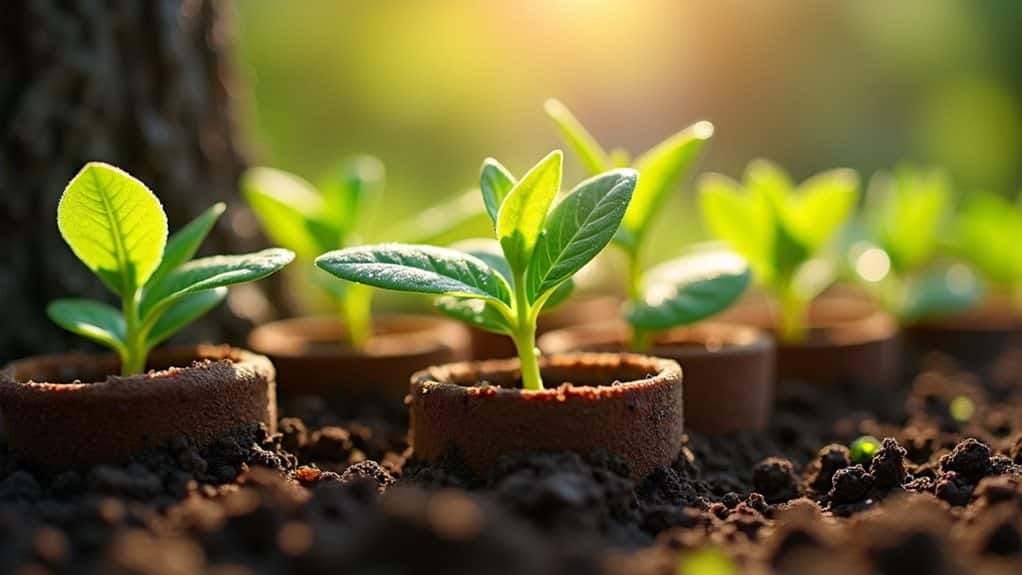
Transplant Preparation
Transplant preparation is essential for ensuring your seedlings thrive in their new environment.
First, make sure they've got 2-4 healthy leaves and a strong root system.
Feed them some organic fertilizer to give them a lift.
Oh, and remember to handle those roots gently!
You want them ready for their big move, not stressed out like a kid on the first day of school! Additionally, ensuring the seedlings are grown in adequate water supply will help them adjust better when transplanted.
Ideal Transplanting Conditions
Once your seedlings are prepped, choosing the right conditions for transplanting can make all the difference in their survival and growth.
Avoid transplanting on frosty nights or during crazy storms, because nobody likes a soggy seedling!
Aim for cool mornings or late afternoons when it's cloudy—your little green friends will thank you for it by growing strong and happy! Transplanting during wet and cloudy weather minimizes plant stress and enhances their establishment.
Post-Transplant Care
After you've successfully transplanted your seedlings, the real work begins with post-transplant care.
First, keep those roots nice and moist—no one likes a dry rootball! To ensure this, retaining root mass during transplanting is essential to minimize shock.
Next, give them some shade for a few days, then slowly introduce them to sunlight.
Don't forget to trim back some leaves to help them focus on regrowing roots. They'll thank you later!
And Finally
Alright, so you've got your snapped seedlings ready for their big outdoor expedition! Remember, it's all about that gradual exposure—like easing into a chilly swimming pool, right? Keep an eye on moisture and don't overdo the fertilizer; think of it like giving them a little snack instead of a full feast. With some patience and care, your little plants will thrive and be ready to rock the garden. Happy planting, and may your garden grow as wild as your imagination!