Repotting Seedlings 101: A Step-by-Step Guide
When it comes to repotting seedlings, you need to be methodical to guarantee their healthy growth. Start by gathering the right materials and identifying when your seedlings are ready for a new home. Pay attention to signs like roots peeking out of drainage holes, which indicate it's time to act. You'll want to choose pots that promote good drainage and prepare quality potting soil. As you proceed, there are key steps that can make or break your success—understanding these can lead to thriving plants. So, what's the next move you should make?
TLDR
- Gather new pots, quality potting soil, and tools to ensure a smooth repotting process without chaos.
- Identify the right timing for repotting by checking for true leaves and roots emerging from drainage holes.
- Choose appropriately sized pots with drainage holes and add a base layer of rocks for improved drainage.
- Water seedlings thoroughly before repotting and maintain balanced moisture levels to minimize transplant shock.
- Handle seedlings gently by their leaves and monitor soil moisture post-repotting for successful establishment.
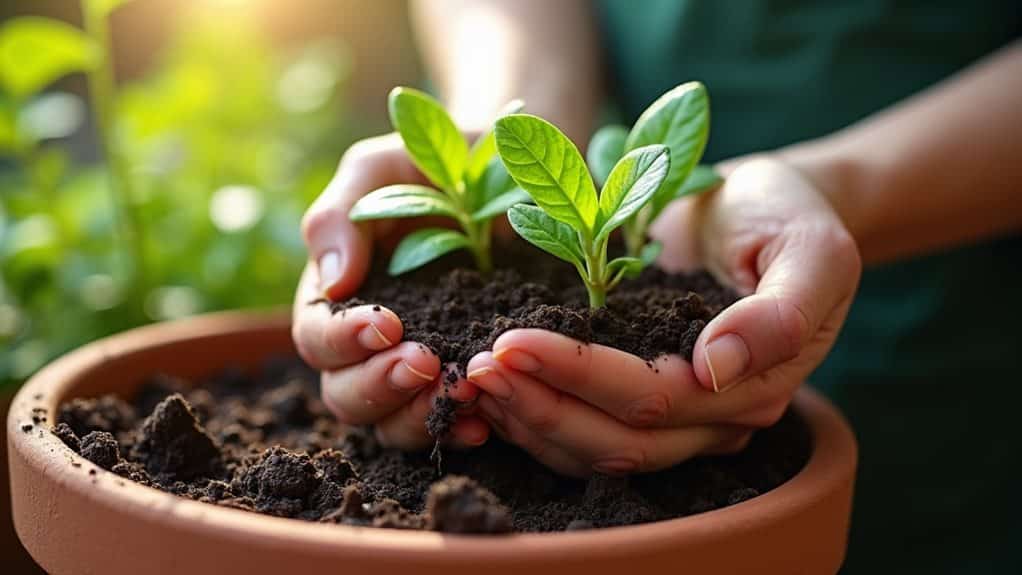
Preparing for Repotting
Before you start repotting your seedlings, gather all the necessary materials to make the process smooth and efficient.
You'll need new pots—twice the size of the old ones—potting soil, tags with a waterproof marker, and a butter knife or narrow trowel. New pots should be twice the size of old containers for healthy growth. Incorporating coffee grounds into your potting soil can enhance nutrient retention and improve overall plant health. Trust me, having these tools ready will save you from feeling like a plant surgeon in a chaotic mess!
Identifying When to Repot
Knowing when to repot your seedlings is key to ensuring their healthy growth. Look for 1-2 sets of true leaves—those little green warriors! If their roots peek out of the drainage holes or they're cramped in their pots, it's time to transplant. Don't wait for them to yell, "Help!" A little space can work wonders for your tiny plant pals! Proper fertilization supports vigorous growth post-transplant. Additionally, providing the right red to blue light ratio during the early stages can contribute to their overall health and growth potential.
Gathering Necessary Materials

Alright, let's gear up for some serious seedling repotting fun!
You'll want to gather some essential tools like pots, potting soil, and a trusty waterproof marker, because who doesn't love a well-labeled plant? Daily soil checks are crucial for maintaining proper moisture levels, ensuring that your seedlings have the right environment to thrive.
Plus, picking the right pot and soil types is super important—after all, we want our little green friends to thrive, not feel like they're stuck in a cramped car on a road trip! A resilient root system is crucial for their success, so make sure the pots you choose allow for healthy root growth.
Essential Tools Checklist
When you're gearing up to repot your seedlings, having the right tools and materials on hand makes all the difference.
Grab some larger pots—about twice the size of the old ones—and quality potting soil. Sterilized containers are important to prevent disease and promote healthy growth.
Don't forget a watering can, labels for your plants, and a trusty trowel or butter knife for pricking out seedlings.
Ready to dig in? Let's go!
Suitable Pot Selection
Once you've gathered your tools, it's time to focus on selecting the right pots for your seedlings.
Aim for pots about twice the size of their old ones—don't go too big, or you'll drown those roots! Understanding plant root depths and spread is critical for container selection to ensure your seedlings have enough room to grow without being overwhelmed.
Think terracotta for style, plastic for lightweight, or even repurpose those takeout containers.
Remember, drainage holes are a must!
Happy planting, future gardener!
Ideal Soil Types
Selecting the right soil type is essential for the health of your seedlings. You want a mix that retains moisture—think sphagnum moss or coconut coir—while also allowing air to flow, so toss in some perlite! Aim for a pH between 5.2 and 6.2 for nutrient magic, and don't forget worm castings for that extra kick. Soil pH is crucial because it optimizes nutrient availability, ensuring your seedlings will thrive. Your seedlings will thank you!
Choosing the Right Pots
When you're picking pots for your seedlings, size really does matter—too small and your plants will feel cramped, but too big and they might just throw a root party instead of growing! Potting up also involves transplanting seedlings into larger containers to promote healthy growth and root development. You also want to make sure those pots have drainage holes, because nobody likes soggy roots, right? Additionally, ensuring the soil is loose and well-drained is vital for promoting healthy root growth.
Pot Size Considerations
Choosing the right pot size is essential for the healthy growth of your seedlings. If you're starting lettuce, a 2.25" square pot is perfect, but for those tomato giants, go for 1-quart pots! Don't forget, seedlings in small trays need room to grow! Additionally, consider using seedling pots that allow for individual customization to scale both plant size and quantity.
Drainage Importance
Ensuring proper drainage is essential for the health of your seedlings. Without drainage holes, water collects at the bottom, turning your pot into a mini swimming pool! This can suffocate roots and cause root rot, which is a total bummer for your plants. Proper drainage is vital to prevent long-term damage that can result from excess moisture.
Material Selection Factors
Selecting the right pots for your seedlings is essential to their development and health. You'll want pots that are about twice the size of the old ones, but not so big they overwhelm your little green buddies. Consider weight, too—no one wants to lift a heavy pot! Choose materials that breathe well and keep moisture in check, and your plants will thrive! To ensure a smooth transition, make sure to moisten the potting mix before placing your seedlings in their new homes.
Ensuring Drainage
Proper drainage is essential for healthy seedlings, and you should always start by using pots with drainage holes to prevent water from accumulating and causing root rot.
Adding a layer of small rocks or broken pottery at the bottom helps too! This layer also promotes better drainage by allowing excess water to escape more efficiently.
Choose a lightweight, well-draining potting mix, avoiding those heavy peat ones that just love to hold onto water.
Trust me, your roots will thank you! Additionally, thorough cleaning of pots before use can prevent disease transfer and promote seedling health.
Watering Seedlings Before Repotting
Before you start the thrilling escapade of repotting your seedlings, it's super important to give them a good drink of water!
Ideally, you'll want to moisten the soil a few hours ahead of time to help reduce their stress—think of it as a revitalizing spa day before the big move. Consistent moisture is crucial for successful seedling growth, especially when starting seeds indoors. Just remember, it's all about timing and technique, so make sure you're using a gentle stream to avoid a mudslide situation!
Importance of Moist Soil
Watering seedlings thoroughly prior to repotting is essential for their health and stress reduction. When the soil's moist, it hugs those delicate roots, keeping them safe and happy. Plus, it helps you handle them gently—no tugging! This way, you minimize transplant shock, ensuring your little green friends shift smoothly. Additionally, proper soil moisture promotes stronger growth and resilience in seedlings as they adapt to their new environment.
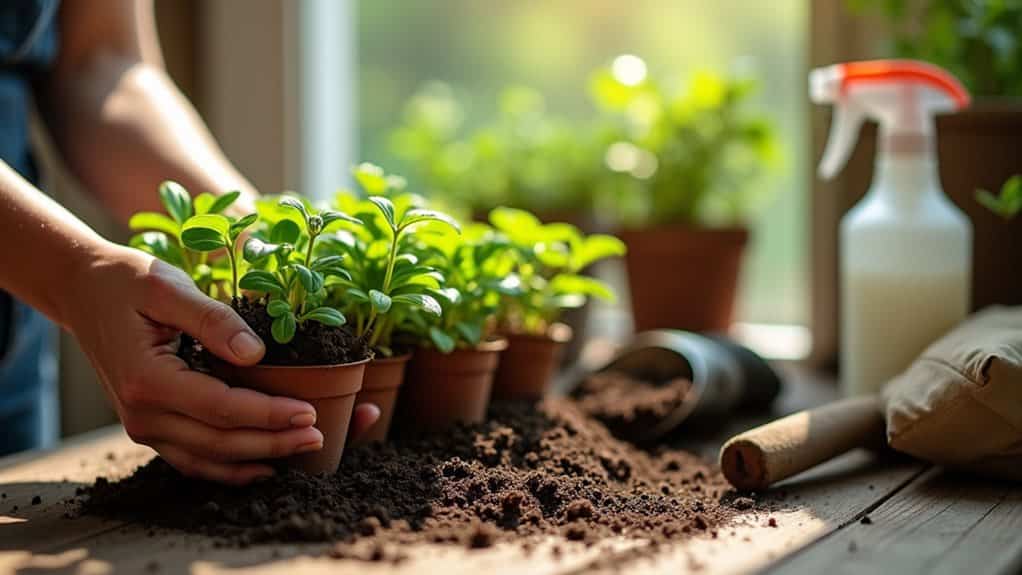
Techniques for Effective Watering
Effective watering techniques can make all the difference when preparing your seedlings for repotting.
You can use a spray bottle for gentle watering or let them soak in a tray—just remember, no one likes soggy soil! Regularly assessing moisture with methods like the lift technique can help ensure your seedlings are neither too dry nor too saturated.
A nutrient bath a day before repotting? Genius! It'll perk up those roots and get them ready to stretch their little legs.
Happy watering!
Timing Before Repotting
Timing is essential when it comes to watering seedlings before repotting.
You'll want to give those little plants a good drink just a few hours before you move them—think 15 minutes to three hours! This helps reduce stress and shock, making it easier to handle those delicate roots. Just remember, moist but not waterlogged is the name of the game! Additionally, it's crucial to ensure that the soil in pots is moist before removal to support the seedlings during the transition.
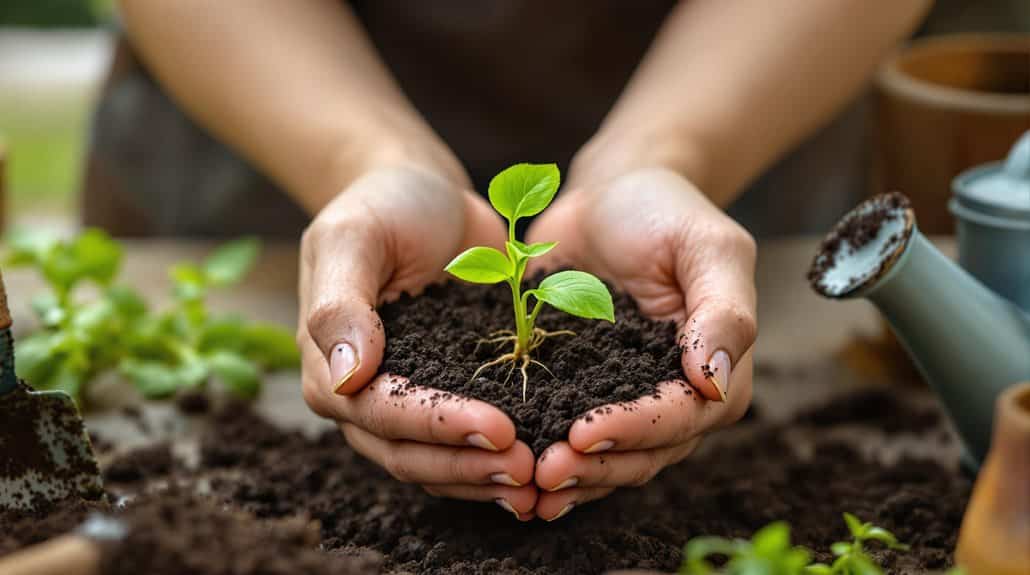
Handling Seedlings With Care
When it comes to handling seedlings, a gentle touch is essential for their survival. You'll want to grab those little leaves, not the fragile stems—trust me, they're like the tiniest, most delicate spaghetti! So, lift them carefully by the leaves to minimize stress. Remember that strong light is crucial for their growth after germination, so ensure they have adequate exposure as they develop.
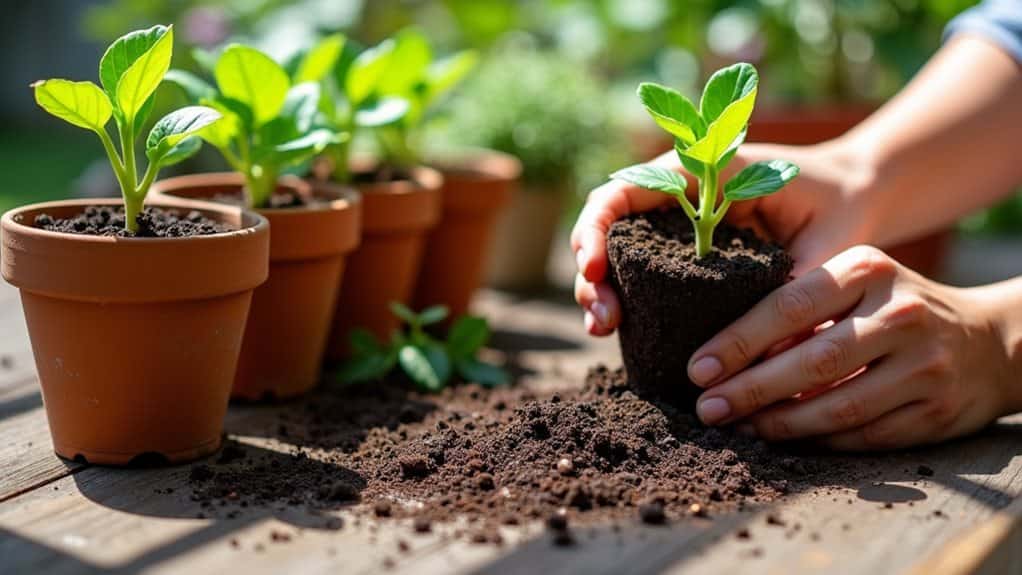
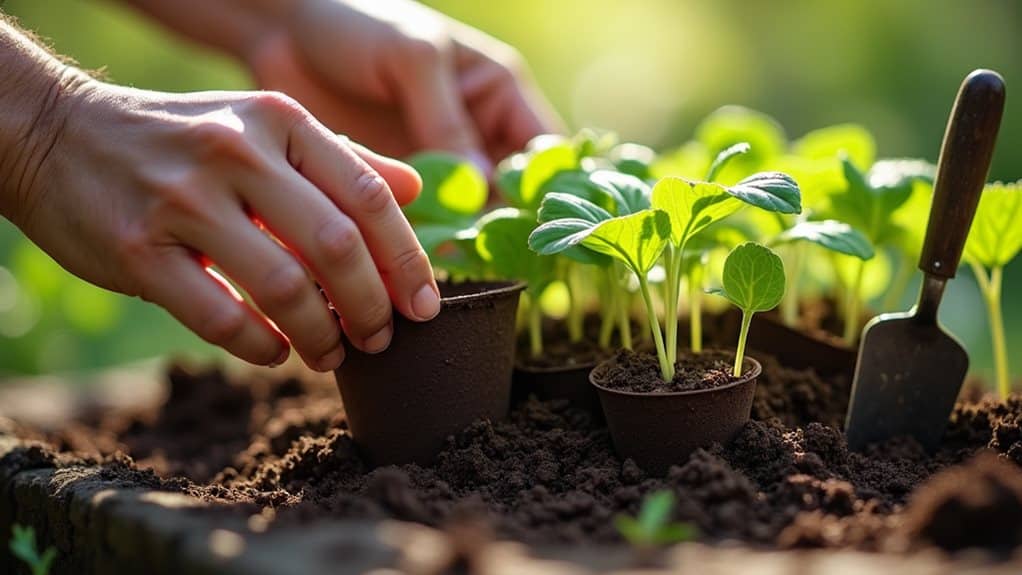
Transplanting Seedlings
Transplanting seedlings is an essential step in their growth path, and getting it right can set them up for success.
Before you plunge in, make sure to hydrate your seedlings, check their roots, and remove any lower leaves. Teasing roots prevents circling, helping to establish a larger root zone.
Oh, and don't forget to handle them by their leaves—trust me, their stems will thank you!
Ready to dig in? Let's go!
Firming the Soil
After successfully transplanting your seedlings, the next step is firming the soil to guarantee they thrive. Gently press the soil around the roots using your fingers or a dibber, but don't squish it too much! You want good contact for water and nutrients, not a root prison. Properly repotting into larger pots enhances seedling strength and supports robust root development. Keep it moist, and remember: no burying those precious leaves!
Happy planting!
Post-Repotting Watering
Watering your seedlings right after repotting is essential for their success. You want those roots to feel cozy in their new home, right? So, give them a thorough drink, but don't drown them! Aim for moist, not soggy soil. Optimal timing for repotting is crucial, as watering during the active growth phase promotes stronger root establishment. Check the top inch—if it's dry, it's time for more water. Remember, happy plants equal a happy gardener!
Labeling New Pots
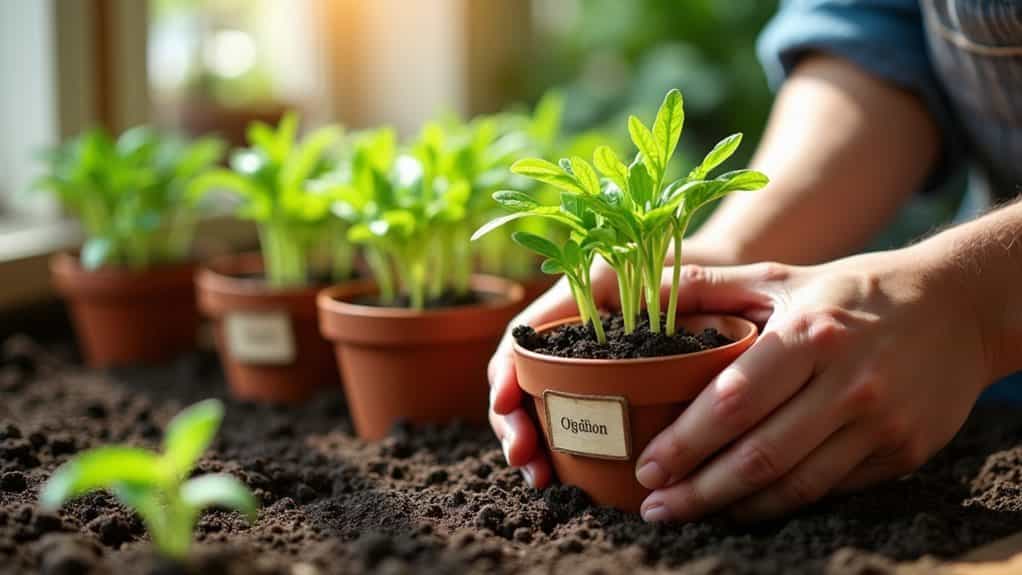
Once your seedlings are settled in their new pots, it's time to label them properly to keep track of what you've planted.
Grab a permanent marker or some sturdy labels, and don't forget to note the plant name, the supplier, and when you sowed those tiny seeds! Proper labeling helps to maintain organization and ensures you remember the care each plant requires.
You'll thank yourself later when you avoid playing the "what did I plant?" game!
Monitoring Seedlings After Transplanting
Keep a close eye on your seedlings after transplanting to guarantee they thrive in their new environment. Water them gently and regularly, checking that soil's not too dry or soggy—think of it as giving them a spa day! Ensure that proper light exposure is maintained to promote healthy growth. Look for signs of stress, like wilting or yellowing leaves. And remember, they're like kids; they need light, love, and attention!
And Finally
So, you've done it – you've repotted your seedlings like a pro! Give yourself a high five! Remember, it's all about keeping those little green buddies happy and cozy in their new homes. Keep an eye on them, water them just right, and watch them grow like there's no tomorrow! And hey, don't forget to label those pots; you wouldn't want to mix up your tomatoes and your petunias, right? Happy gardening, superstar! 🌱✨