Collecting Seeds From Your Garden: How to Save Them
To save seeds from your garden, start by selecting healthy, open-pollinated plants (not hybrids) when they’re fully mature. You’ll want to collect seeds on dry, calm days – look for brown pods that rattle or slightly overripe fruits, depending on the plant type. Clean your seeds by threshing dry ones or fermenting wet ones, then store them in airtight glass containers with moisture-absorbing packets in a cool spot around 45°F. There’s so much more to uncover about preserving nature’s genetic treasures!
TLDR
- Choose healthy, heirloom or open-pollinated plants for seed collection, avoiding hybrid varieties which may produce unreliable offspring.
- Harvest seeds on dry days when plants show maturity signs like brown pods or dried flower heads.
- Clean seeds appropriately: thresh dry seeds like beans, or ferment wet seeds like tomatoes before drying.
- Store cleaned seeds in airtight glass containers with moisture-absorbing packets, away from light and humidity.
- Keep stored seeds in cool conditions around 45°F, properly labeled with date and type for long-term viability.
Why Save Seeds From Your Garden?

Many gardeners don’t realize that one of the most rewarding aspects of growing your own plants isn’t just the harvest – it’s collecting and saving the seeds for future seasons!
Not only will you save money by not buying new seeds every year, but you’ll also help preserve special varieties that might disappear from commercial markets. Additionally, your plants will gradually adapt to your local growing conditions, making them stronger and more resilient. This ancient practice has been a cornerstone of agricultural development since humans first began cultivating crops. Moreover, proper watering techniques ensure your plants thrive, which can enhance seed quality for future seasons.
Selecting the Right Plants for Seed Collection
Three key factors determine your success when selecting plants for seed collection: the type of plant, its health, and its growing conditions.
You’ll want to focus on heirloom varieties and open-pollinated plants, which produce offspring true to their parents. Modern hybrids often produce sterile or unreliable seeds, making them a poor choice for seed saving. Additionally, choosing plants that thrive in specific soil nutrient deficiencies can enhance your seed collection success.
Look for vigorous, disease-free plants with desirable traits, and if you’re just starting out, try easy options like beans, tomatoes, marigolds, or zinnias.
Essential Tools and Equipment

You’ll need to gather some basic tools before starting your seed-collecting journey, including harvest bags, pruning shears, and protective gloves to make the process smooth and enjoyable.
For storing your precious seeds, you’ll want clean, dry containers like glass jars or cloth bags, along with moisture-absorbing desiccants and detailed labels that help you remember what’s what.
Whether you’re using mesh bags for drying or seed cleaners for removing debris, having the right cleaning and preparation tools will guarantee your collected seeds stay viable and ready for next season’s planting. Additionally, it’s important to ensure consistent moisture levels in the storage environment to maintain seed viability.
Basic Seed Collecting Kit
Successful seed collecting starts with gathering five essential categories of tools and equipment that’ll make your harvesting expedition both fun and productive.
You’ll need storage items like plastic vials and zip-top bags, drying equipment such as screens and coffee filters, collection tools including scissors and gloves, processing tools like sieves and jars, and specialty items such as thermometers and storage containers.
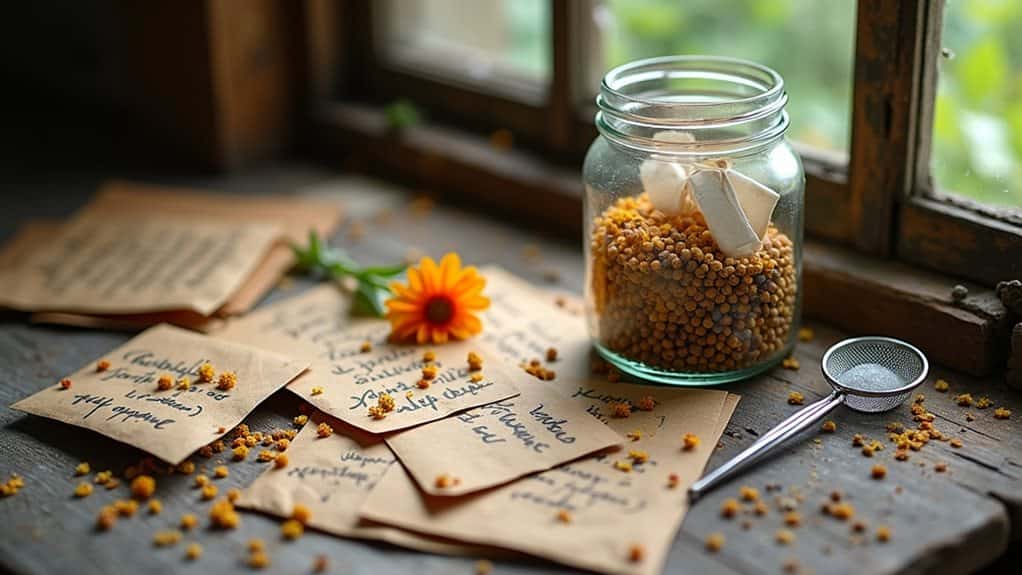
Storage Containers And Labels
Now that you’ve gathered your basic seed collecting tools, let’s talk about one of the most important parts of your setup – storage containers and labels!
You’ll want to choose airtight containers like mason jars, wooden organizers, or clear photo cases to keep your seeds dry and organized.
Remember to label everything with the seed type, collection date, and source – trust me, you’ll thank yourself later!
Cleaning And Drying Tools
Whether you’re working with tiny lettuce seeds or hefty pumpkin seeds, having the right cleaning and drying tools will make your seed collecting expedition so much easier!
You’ll need threshing tools to separate seeds from plants, screens of different sizes to sift out debris, and winnowing equipment like box fans to blow away the chaff.
Don’t forget drying containers and silica gel packets to keep moisture at bay!
Best Time to Harvest Garden Seeds

You’ll want to keep a close eye on your garden plants as they reach maturity, making sure to collect seeds when they’re showing the right signs, such as brown pods, dried flower heads, or fully ripened fruits.
While you’re monitoring plant maturity, don’t forget to check the weather forecast, since you’ll need dry, calm conditions for the best seed-collecting results.
Different plants have their own perfect timing for seed collection, so whether you’re gathering seeds from summer annuals, fall perennials, or late-season vegetables, you’ll need to learn the specific indicators for each plant type in your garden.
Watch for Peak Maturity
Timing your seed harvest perfectly can make all the difference between collecting viable seeds that’ll grow into healthy plants next season and ending up with duds that’ll never sprout.
You’ll know dry seeds like beans and peas are ready when their pods turn brown and rattle, while wet seeds from cucumbers and squash need to stay on the vine until they’re slightly overripe and their shells toughen up.
Monitor Weather Conditions
Successful seed harvesting depends heavily on Mother Nature’s cooperation, so keeping a close eye on weather conditions can mean the difference between collecting viable seeds and losing your crop to unfavorable elements.
You’ll want to avoid harvesting during wet periods, as excess moisture can lead to premature sprouting or fungal growth, and wait for those perfect dry, sunny days when your seeds have reached peak maturity.
Know Your Plant Type
When it comes to collecting seeds from your garden, identifying your plant types is as essential as knowing your way around a kitchen!
You’ll want to focus on self-pollinating plants like tomatoes and peas, which are perfect for beginners. Open-pollinated varieties are your best friends, while those fancy hybrids won’t give you the results you’re after.
Trust me, knowing the difference will save you loads of disappointment!
Step-by-Step Seed Collection Methods
Once you’ve identified the plants you’d like to collect seeds from, gathering them properly is a charming experience that’ll reward you with a bounty of future gardens!
Start by choosing a dry, sunny day, and bring along your collection tools – secateurs, breathable bags, and gloves are must-haves.
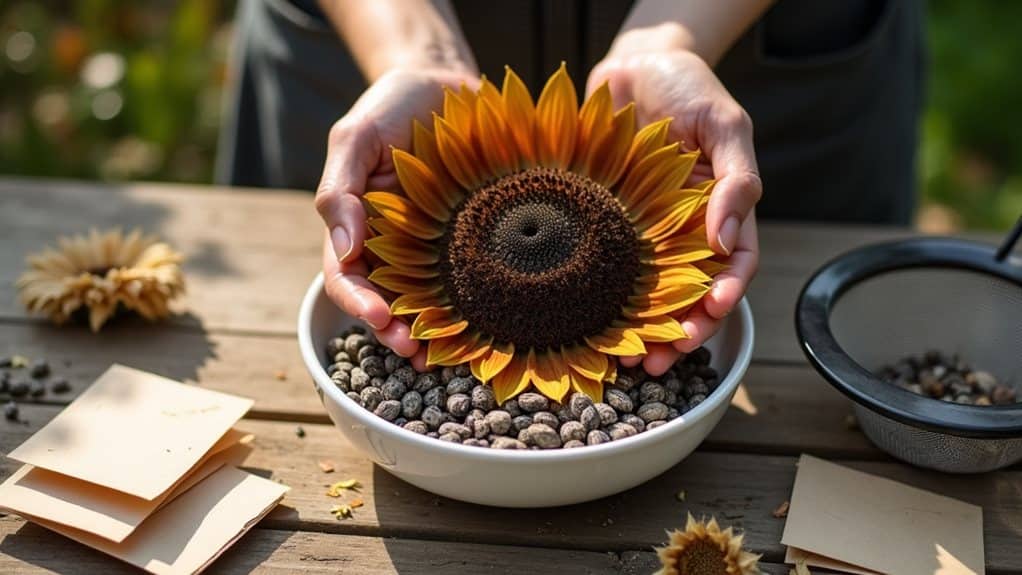
For dry seeds like zinnias, clip the seedheads directly into your bag, but for wet seeds from tomatoes, you’ll need to ferment them first.
Cleaning and Processing Your Seeds
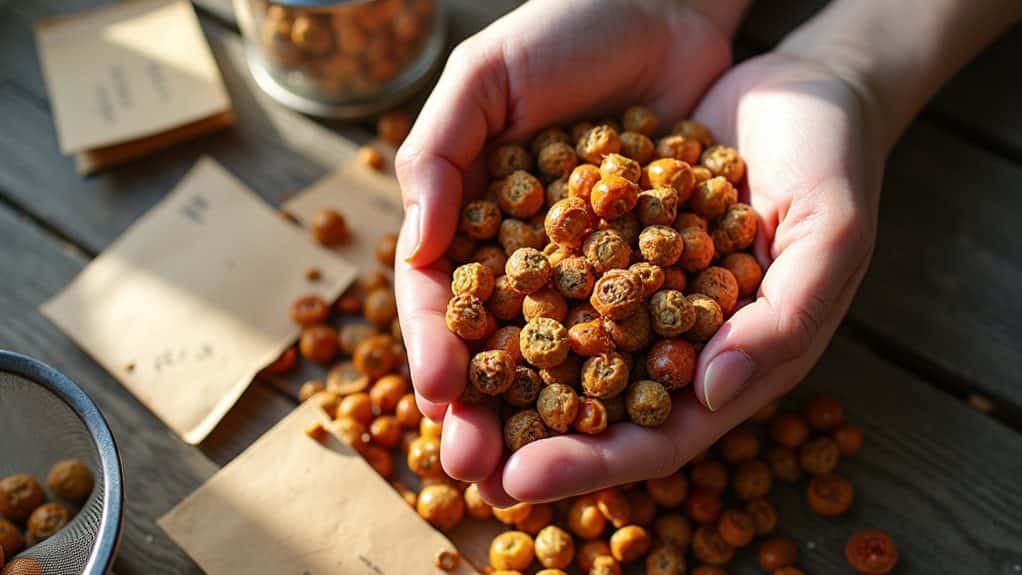
Now that you’ve gathered your seeds, let’s roll up our sleeves and get them ready for storage – it’s like giving them a spa treatment before their long winter’s rest!
Start by choosing the right cleaning method: you’ll want to thresh dry seeds by gently rubbing them between your hands, while those juicy tomato and squash seeds need a good soak and ferment.
Remember to winnow out the chaff by letting a gentle breeze do the work for you!
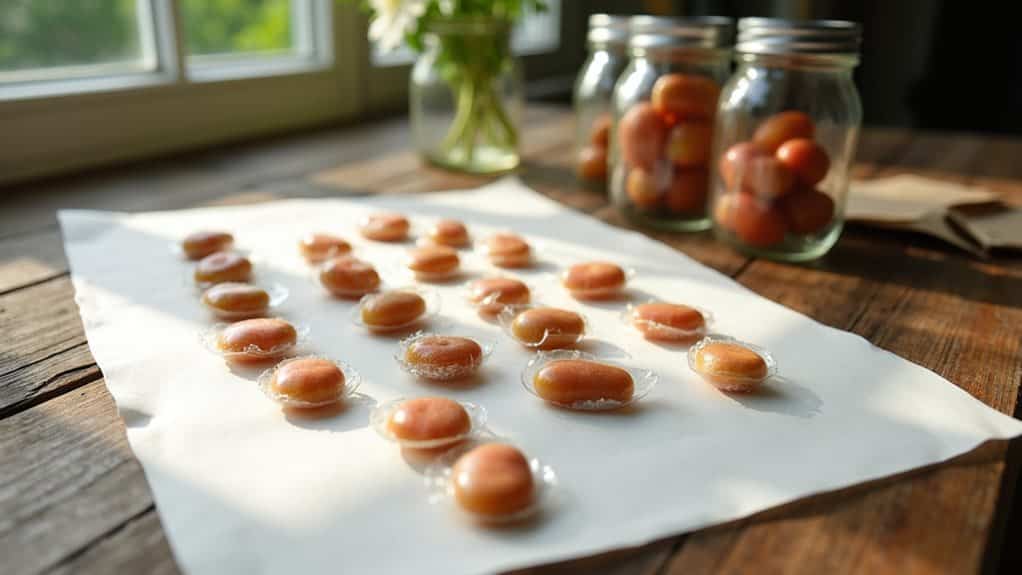
Proper Storage Techniques
The long-term survival of your precious garden seeds depends entirely on how you store them, and believe me, they’re pickier than a toddler at dinnertime!
You’ll want to keep them in airtight containers, away from light and moisture, and ideally in a cool spot where the temperature stays below 45°F.
Don’t forget to toss in a silica gel packet to keep things dry, and always label your containers with the date and seed type.
Common Mistakes to Avoid
While proper storage is key to keeping your seeds happy, even the most carefully stored seeds won’t matter if you’ve made mistakes earlier in the process!
You’ll want to avoid common blunders like harvesting seeds too early, letting different varieties cross-pollinate, or forgetting to properly dry them before storage.
Tips for Long-Term Seed Preservation
Properly preserving your garden’s seeds can feel like storing little treasures of life, and with the right techniques, you’ll be amazed at how long they can remain viable!
Store your seeds in airtight glass containers, pop them in your refrigerator at a cool 45°F, and don’t forget to add those handy moisture-absorbing packets.
With these simple steps, you’ll have lively, ready-to-grow seeds for years to come!
Overall
Now that you’ve learned all about seed saving, you’re ready to start your own seed-collecting journey right in your backyard! Remember, it’s not just about saving money – you’re preserving heritage varieties, becoming more self-sufficient, and connecting with nature in a wonderful way. Whether you’re starting with easy plants like tomatoes and beans, or you’re ready to tackle more challenging varieties, just take it step by step, and before you know it, you’ll have your own seed library growing.


