How to Divide Chives Without Killing the Plant
Want to divide your chives without turning them into garden casualties? Just grab a trowel, dig up the clump gently, and tease apart the roots—think of it like splitting the last pancake at breakfast, not a wrestling match. Make sure the roots stay moist, plop the divisions into well-drained soil, and water them right away. That’s it—easy! Honestly, it’s way faster than waiting for seeds. Stick with me and you’ll have juicy, crunchy chives all season!
TLDR
- Divide chives in late summer or early fall when plants are actively growing for best recovery.
- Use clean, sharp tools to gently dig up and separate clumps, avoiding root damage.
- Inspect and handle roots carefully, removing any damaged or diseased sections before replanting.
- Replant divisions immediately in well-drained soil and water thoroughly to reduce transplant shock.
- Place new plants in a sunny location and maintain consistent moisture without overwatering.
Benefits of Dividing Chives vs. Starting From Seed
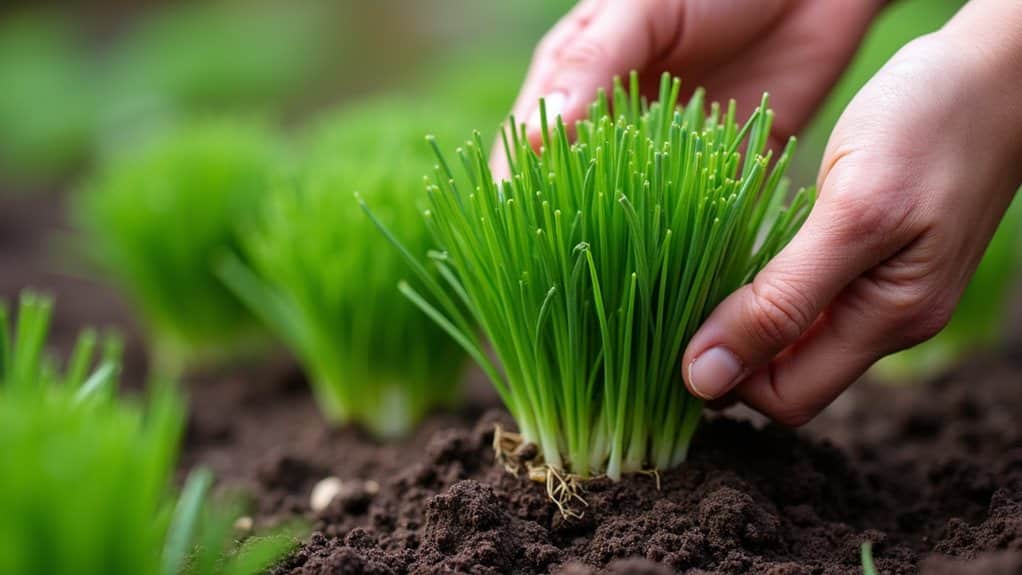
Even though growing chives from seed can feel like starting a tiny, magical science experiment, dividing chives is honestly the secret hack every gardener should know—especially if you’re hoping for a quicker, more bountiful harvest without waiting months. When you divide a healthy clump of this perennial herb, you’re ensuring better plant spacing, more vigorous growth, and reliable flavors. This method is perfect for serving others fresh, flavorful herbs right away! Additionally, dividing chives helps maintain plant health and prevents overcrowding, which can lead to disease or poor growth soil health.
When Should You Divide Chives?
Honestly, have you ever wondered when your chive plants are just begging for a little makeover? The best time to divide chives is late summer or early fall, when they’re in active growth and the weather’s cooler.
Trust me, this gives them time to settle into well-drained soil, prep for winter dormancy, and become healthy plants—plus, you’ll enjoy sweeter leaves for your next campfire cookout!
What You’ll Need to Divide Chives Successfully
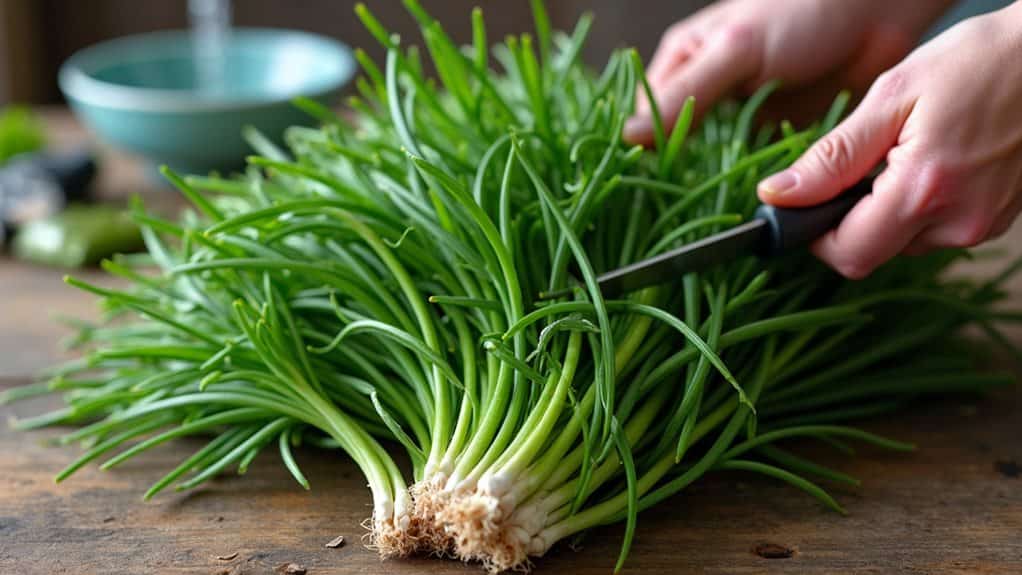
Although dividing chives isn’t exactly rocket science, gathering the right tools ahead of time can make the whole process way easier—and honestly, a lot more fun. You’ll need these to dig and divide your plants at the soil line, keeping them healthy! House plan layout and the division of space can affect how easily you can access and separate the chives for transplanting.
How to Divide Chives Without Damaging the Plant
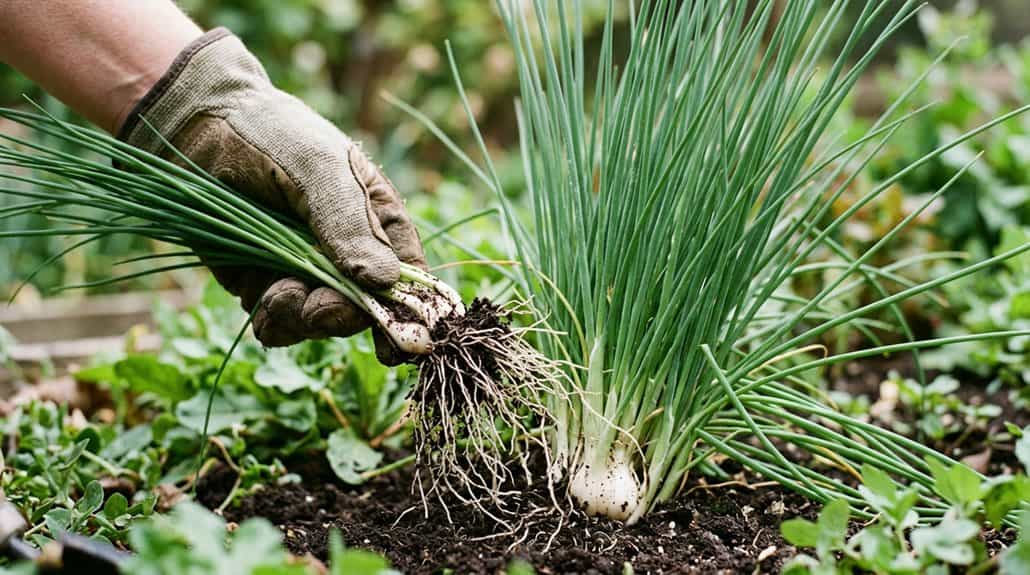
When you’re ready to divide your chives, think of it like carefully separating a tangled bunch of tent stakes after a camping trip—you want to keep everything intact, not snap anything by accident! Start by watering the plant so the soil’s nice and soft, then gently loosen around the roots with a fork. Carefully separate clumps, making sure not to break roots, and handle each division gently. To prevent damage, inspect the roots for signs of rust, dents, or corrosion that could indicate potential health issues for your plant.
Replanting Chive Divisions for Healthy Growth
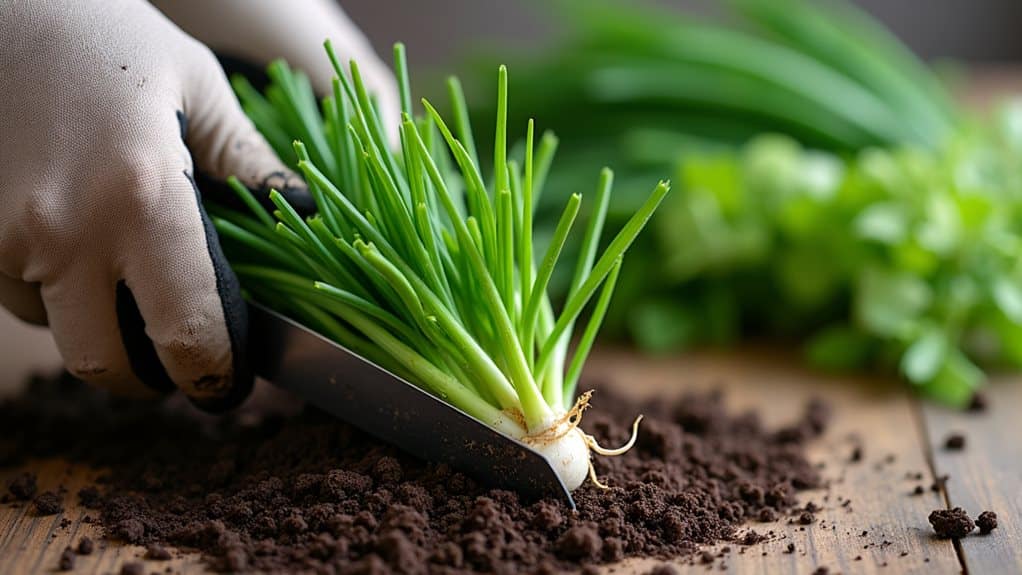
Even if you’ve just finished the messy job of dividing your chives and your hands are covered in dirt, it’s actually the perfect time to jump straight into replanting those fresh clumps so they don’t dry out or get stressed—kind of like rushing to pitch your tent before the rain hits on a camping trip! Flies’ attraction to bright lights and their visual navigation behaviors highlight the importance of gentle, low-light conditions to keep your plants safe from pests during this process.
Watering, Feeding, and Lighting After Division
Now that your chives have a new home, let’s make sure they get just the right amount of water, light, and food—kind of like you’d pack snacks and a flashlight for a camping trip! You’ll want to water them well, give them a sunny spot (or a grow light if their window view is lacking), and treat them to a little fertilizer snack every few weeks. But be careful not to overdo it, or you’ll have soggy, unhappy plants. Regularly checking soil moisture helps prevent overwatering and keeps your chives thriving, just like monitoring potting soil quality ensures healthy container plants. Trust me, keeping your chives happy after their big move is way easier than setting up a tent in the rain!
Optimal Watering Techniques
Although dividing chives is a bit like splitting up a group of adventurous campers on a trail—everyone needs their own space and supplies—the real fun begins once you’ve got your new plants settled in.
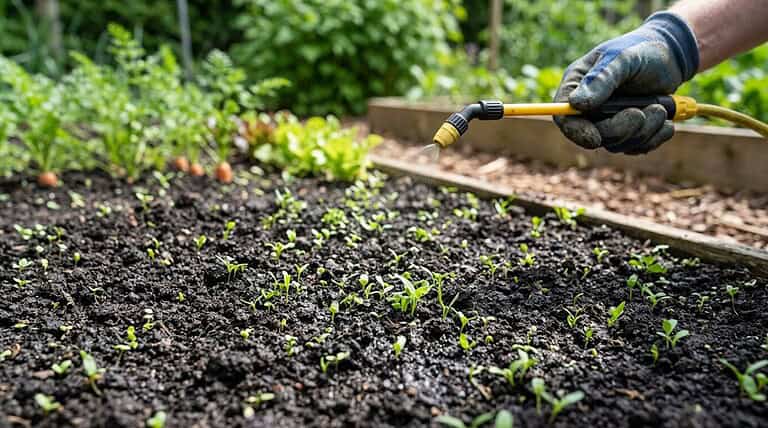
Water thoroughly right after planting so the soil’s evenly moist, but don’t drown them! Keep the soil consistently damp, let the top inch dry between watering sessions, and avoid waterlogged roots—nobody likes soggy socks, right?
Light and Fertilizer Needs
Have you ever wondered what it takes to help your freshly divided chives feel right at home, as if you’ve just set up the perfect campsite for them after a long hike?
Give your chives plenty of light—full sun outside or grow lights for indoor chives—and don’t forget watering.
Feed them every 6-8 weeks with a diluted organic fertilizer, and you’ll see healthy growth in no time!
Common Issues When Dividing Chives (and How to Fix Them)
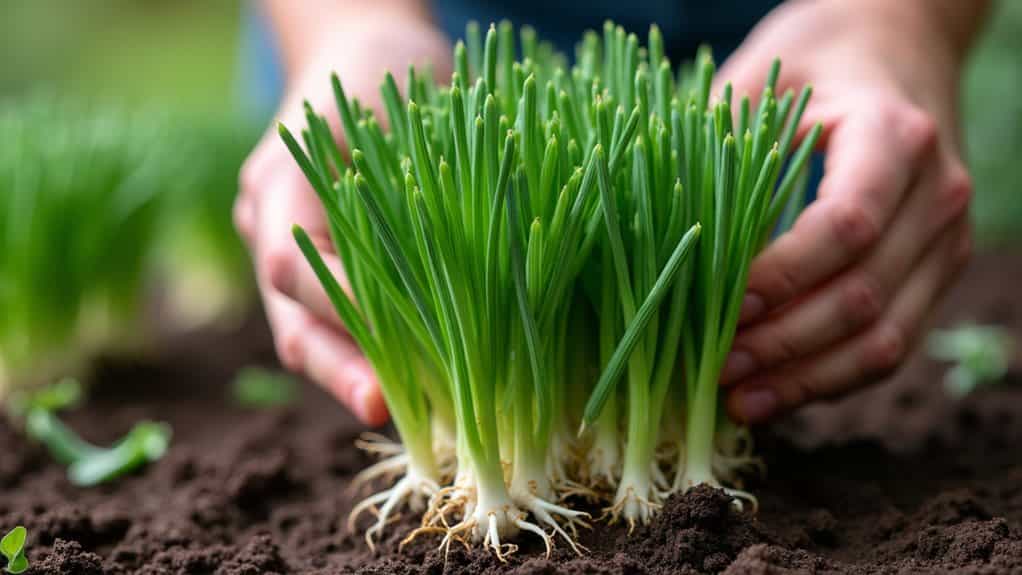
Even if you’re as excited about dividing chives as you’re about planning your next camping trip, it’s easy to run into a few common hiccups along the way—trust me, I’ve accidentally mangled more than one clump in my day!
Always use a sharp tool, keep soil moisture up with good watering, avoid root damage, and don’t rush replanting. That’s how you guarantee plant health, vigor, and recovery!
Overall
So, are you ready to play chive surgeon? Dividing chives is honestly a bit like prepping for a camping trip—grab your tools, get your hands dirty, and don’t forget patience! Trust me, you’ll love seeing those new sprouts pop up, like little green campers pitching tents. Just keep them watered, give them some sunshine, and maybe talk to them (I do, and my chives seem happier!). Give it a go—you and your chives will totally thrive!