Spring Garden Clean Done Right: Steps for Success
Start your spring garden clean-up right by gathering essential tools like trowels, pruning shears, and protective gear, including sturdy gloves and goggles. Begin by clearing winter debris and dead plant material from your yard, then revitalize garden beds with nutrient-rich compost and soil amendments. Don’t forget to mulch properly, keeping a 2-3 inch layer away from plant stems, and divide any overcrowded perennials. Following these fundamental steps will set you up for a thriving garden season ahead.
TLDR
- Begin with proper safety gear and cleaned tools, including gloves, goggles, and disinfected pruning shears to ensure safe and effective work.
- Remove all dead plant material, fallen branches, and winter debris using a leaf rake to prevent disease and fungal growth.
- Test and amend soil with compost and organic matter, allowing nutrients to settle before spring planting begins.
- Apply a 2-3 inch layer of mulch after soil warms, keeping material away from plant stems for optimal growth.
- Identify and divide overcrowded perennials using sharp tools, ensuring proper spacing for healthy plant development.
Essential Garden Tools and Safety Gear

Before you plunge into your spring garden cleanup, getting your tools and safety gear organized is absolutely essential for both success and protection!
You’ll want to gather your basic tools like a trusty trowel, pruning shears, and garden fork, while ensuring you’re equipped with protective gear including sturdy gloves, goggles, and work boots. Keeping tools clean and dry will significantly extend their lifespan and performance. Regularly disinfecting pruning shears is crucial to prevent the spread of plant diseases.
Don’t forget your gardening kneeler – trust me, your knees will thank you later!
Clearing Winter’s Aftermath From Your Yard
Once winter’s snowy blanket finally melts away, you’ll likely uncover quite a mess hiding underneath, but don’t let that discourage you!
Start by gently raking away dead grass and gathering those pesky fallen branches, sticks, and any litter that’s been hiding. Using a leaf rake is your best bet for this clean-up job. Additionally, be mindful that the presence of excessive moisture can encourage mushroom growth, so it’s essential to remove any decaying plant material during your clean-up.
You’ll want to pay special attention to areas where snow mold might’ve developed, and don’t forget to clean up any leftover dog waste that’s finally resurfaced.
Revitalizing Garden Beds for Spring Growth
Now that your garden is clear of winter debris, it’s time to roll up your sleeves and give those garden beds the nutrient enhancement they’re craving!
Start by testing your soil to understand what it needs, then mix in a hearty blend of compost, worm castings, and aged manure. Understanding the essential nutrients your plants require will help you create the perfect mix for optimal growth.
You’ll want to let this nutritious cocktail settle for a couple of weeks before planting, while Mother Nature works her magic underground.
Strategic Pruning for Plant Health
As your garden awakens from its winter slumber, strategic pruning becomes one of the most powerful tools in your gardening arsenal!
You’ll want to focus on removing those dead or diseased branches during late winter or early spring, which not only prevents disease spread but also kickstarts new growth.
Smart Mulching and Soil Amendment Techniques

As you plan your spring garden revitalization, you’ll want to time your mulch application perfectly, with early spring being ideal for warming types like plastic in vegetable gardens, while mid to late spring works better for organic options like cedar or cypress.
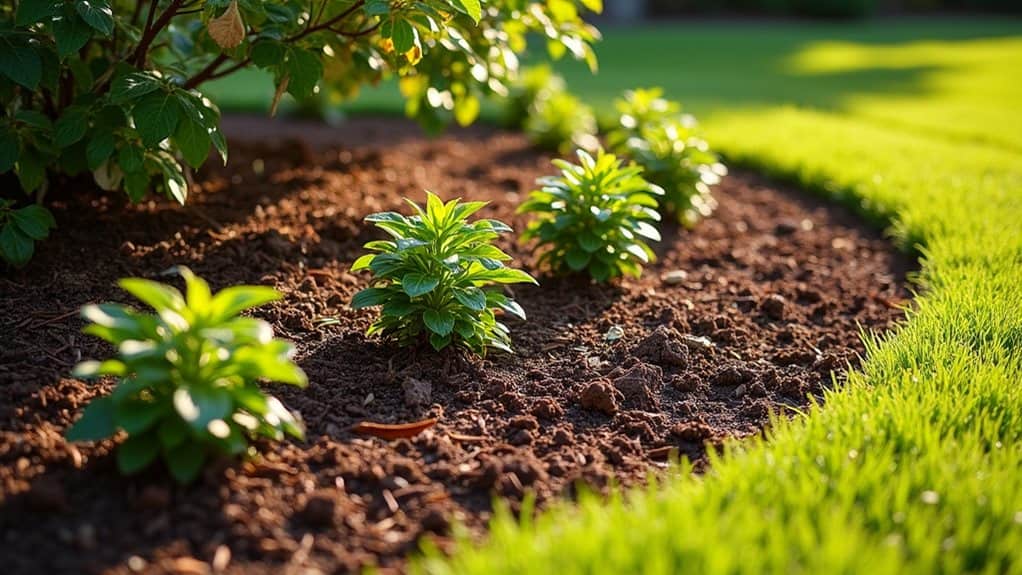
Your soil will thank you when you enhance its health with natural amendments, such as rich compost or well-aged manure, which you should work into the top few inches before laying down your mulch layer.
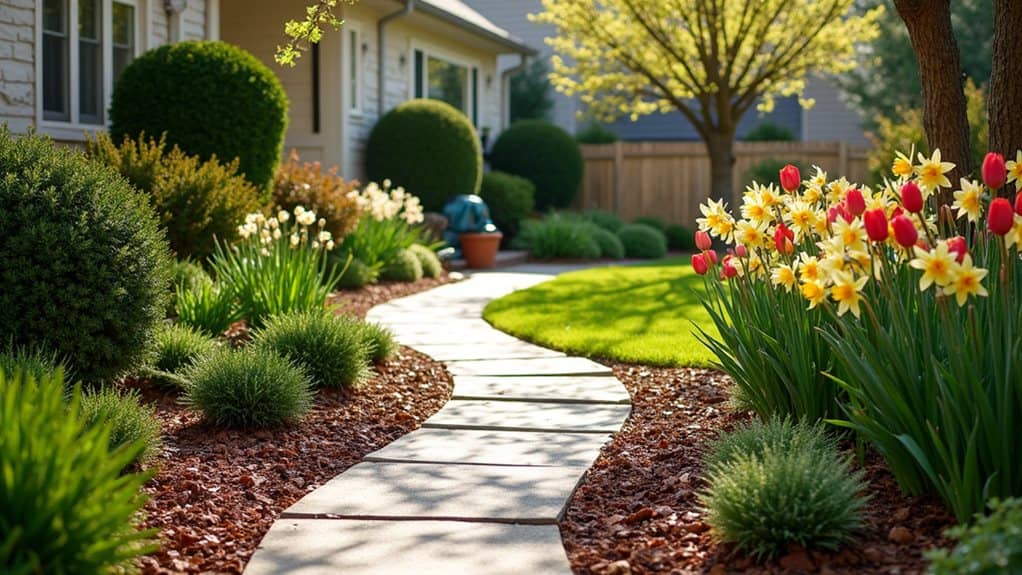
For the best results, remember to keep your mulch about 2-3 inches thick and pulled back from plant stems, letting your garden breathe while still getting all those moisture-retaining, temperature-regulating benefits that’ll make your plants thrive through the growing season.
Timing Your Mulch Application
While spring brings the exciting promise of garden renewal, timing your mulch application correctly can make or break your garden’s success this season!
You’ll want to wait until your soil has warmed up in mid- to late-spring, after your bulbs have finished blooming and perennials have sprouted.
Don’t mulch when the ground’s too wet, and make sure you’ve added any needed fertilizers first.
It’s worth being patient!
Choose Natural Soil Boosters
Once you’ve timed your mulching right, it’s time to enhance your garden with natural soil enhancers that’ll make your plants jump for joy!
Start with nutrient-rich compost as your foundation, then mix in some grass clippings for nitrogen-hungry plants.
You can’t go wrong by adding worm castings and a sprinkle of biochar, which work together to create a thriving underground ecosystem that your plants will absolutely love.
Dividing and Relocating Perennial Plants
When should you tackle the important task of dividing your perennial plants? Early spring or late summer is your best bet, especially on overcast days when rain’s in the forecast.
You’ll want to watch for signs that your plants need dividing, like overcrowding or fewer blooms, and then grab your sharp spade or garden fork to carefully lift those root clumps, keeping the roots intact.
Setting Up Proper Garden Maintenance Systems
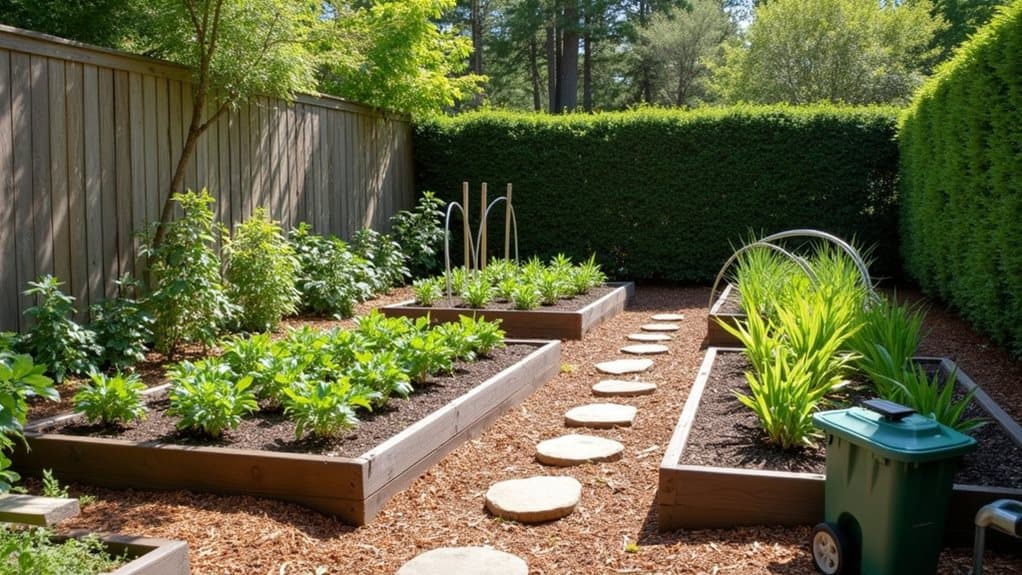
When you’re setting up your garden, you’ll want to start by mapping out distinct zones based on your plants’ needs, making it easier to group similar plants together and streamline your maintenance routines.
You’ll find that having a designated spot for all your tools, from pruners to spades, isn’t just about staying organized – it’s about making your gardening time more efficient and enjoyable.
Creating smart storage solutions, like a weather-resistant tool shed or even a simple pegboard system, will keep your equipment protected and ready to use whenever spring calls you out to the garden.
Garden Zones and Layout
Creating distinct zones in your garden isn’t just about making things look pretty – it’s about altering your outdoor space into a well-organized paradise that’s both functional and beautiful!
Start by dividing your garden into specific areas using natural barriers like hedges or hardscaping elements, and don’t forget to take into account how sunlight and shade patterns affect each zone.
You’ll want to guarantee every area serves a purpose, whether it’s for dining, playing, or peaceful reflection.
Tool Storage Solutions
Now that you’ve mapped out your garden zones, let’s get those tools organized – because nothing ruins garden zen faster than frantically searching for your missing trowel!
Start by repurposing old containers and pallets for basic storage, then consider adding a pegboard or wall-mounted hangers for frequently used items.
For long-term protection, store your cleaned tools in a weather-resistant cabinet or deck box, keeping them dry and rust-free.
Overall
Now that you’ve got your spring garden in top shape, you’ll be amazed at how much easier it is to maintain throughout the growing season. By following these essential steps, from clearing debris to setting up smart maintenance systems, you’re well on your way to a thriving garden that’ll be the envy of the neighborhood. Remember, a little effort in spring cleaning really does pay off with months of beautiful blooms and bountiful harvests!