How to Grow Garlic From a Single Clove (Step-by-Step)
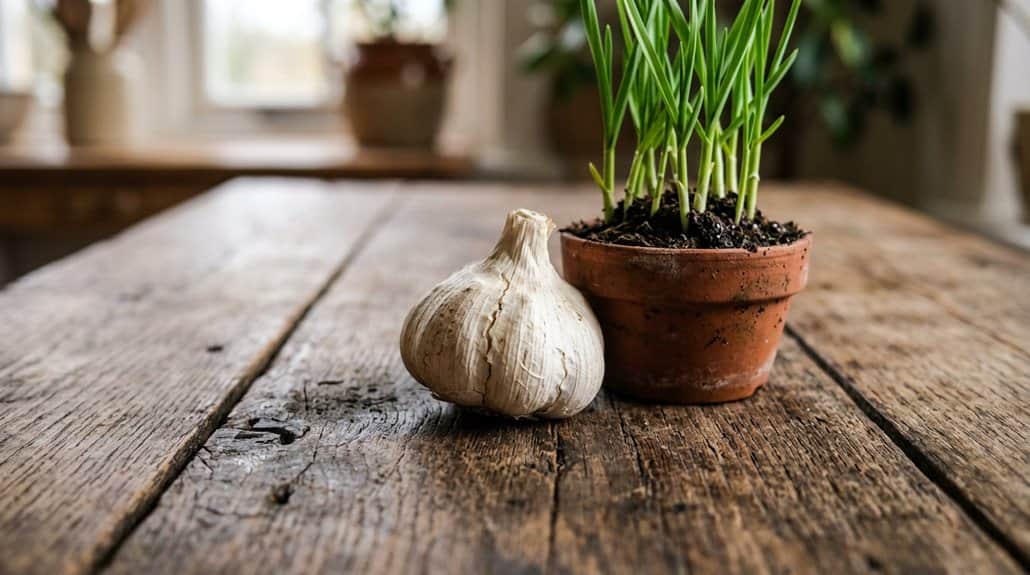
Growing garlic from a single clove is way simpler than setting up camp in the dark! Grab a fat, healthy clove (no wimpy ones), stick it pointy side up into loose, compost-rich soil about three inches deep, and remember to mulch with straw or leaves—think of it as a cozy sleeping bag for your garlic. Water when the soil feels dry on top, and keep an eye out for those garlic scapes. Ready for bigger bulbs? Let’s go further!
TLDR
- Choose a large, healthy garlic clove from a mature, disease-free bulb for planting.
- Plant the clove pointy side up, 3 inches deep, in rich, well-draining soil about six weeks before the first hard frost.
- Space cloves well and cover with mulch such as straw or leaves to retain moisture and suppress weeds.
- Water when the top inch of soil dries out, fertilize occasionally, and remove scapes as they form.
- Harvest when five leaves turn brown, then cure bulbs in a shady, breezy place before trimming roots and stems.
How to Choose the Best Garlic Clove for Planting
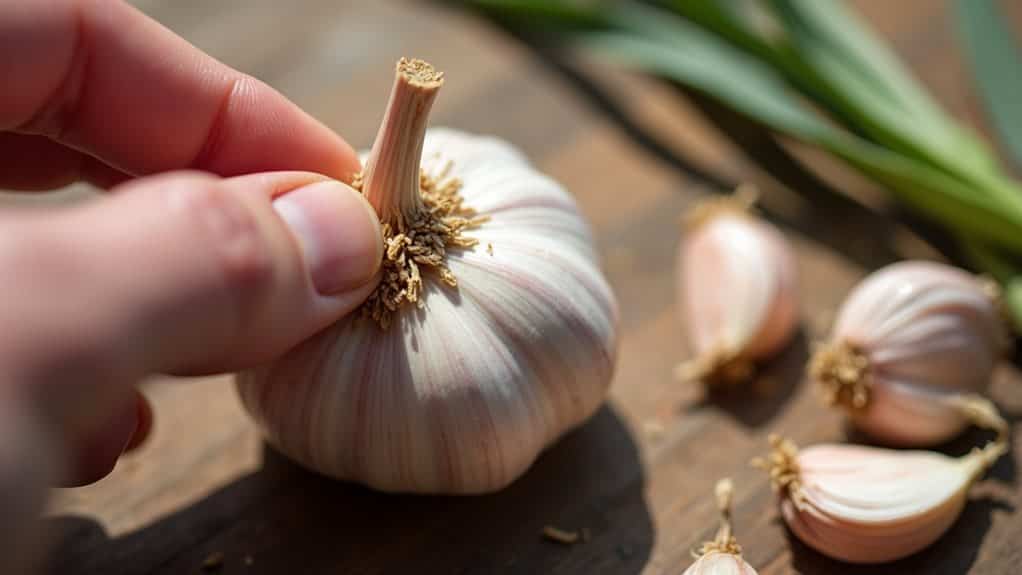
If you’ve ever dreamed of growing your very own garlic—maybe imagining yourself as a backyard chef or the hero of a camping trip, whipping up the world’s best garlic bread—then picking the right clove to plant is where your adventure begins!
Go for large, healthy, disease-free seed garlic. Choose mature, well-cured bulbs with large cloves that’ve been stored properly. Avoid anything puny or suspiciously squishy!
When and Where Should You Plant Garlic?
Alright, let’s get your garlic journey started by figuring out exactly when and where to plant those magic cloves, because trust me, timing and location can make you feel like a gardening wizard—or a gardening disaster, which I’ve totally been before!
If you pick a sunny spot with rich, crumbly soil and plant in the fall—just before the ground gets super cold—you’ll give your garlic the best chance to grow strong roots before winter camping season hits.
Optimal Planting Timeframes
One of the coolest things about growing garlic is figuring out exactly when to get those little cloves in the ground, kind of like planning the perfect time to set up camp before sunset.
For the best results, plant garlic with fall planting—about six weeks before your first hard frost.
In warmer spots, you’ve got more flexibility, planting time stretches from winter or early spring.
Timing’s everything for ideal planting time!
Choosing the Right Location
Getting the timing right for planting garlic is a lot like picking the perfect spot to set up your tent on a camping trip, but have you thought about where you’ll actually plant those cloves?
Choose a location with full sun, well-draining soil, and good drainage—avoid heavy clay soils unless you want soggy roots!
How to Prepare Soil for Healthy Garlic
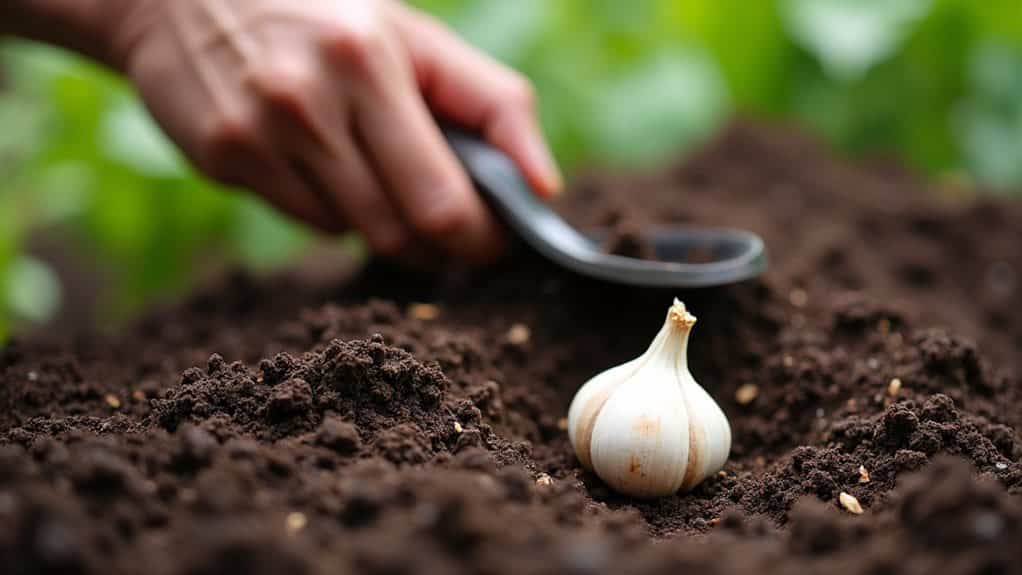
Alright, let’s get your garlic set up for a real expedition by picking the perfect soil blend—it’s like packing the best camping gear before a trip, and trust me, garlic bulbs love nutrient-rich soil with awesome drainage, not soggy mud!
You’ll want to loosen that dirt deep down, mix in plenty of compost and maybe even some old manure, and make sure the pH is just right, because happy microbes mean happy garlic (and way less complaining than my brother on a rainy hike).
Choosing Optimal Soil Blend
Ever wondered what kind of soil garlic loves best, or why some bulbs end up puny while others grow into impressive, fist-sized wonders? Here’s the scoop: mix about 75% compost with 25% vermiculite for a well-draining soil blend bursting with organic matter.
Add soil amendments like old wood chips and organic fertilizers to enhance soil structure. Trust me, healthy soil drainage means happier, more resilient garlic—no puny bulbs here!
Enhancing Drainage And Aeration
Let’s talk about what happens next, because once you’ve got that rich, composty soil blend ready, there’s another step that’s just as important if you want your garlic to grow tall and strong, like it’s on a camping trip and aiming for the best spot in the tent.
Add organic matter, compost, and soil amendments for drainage and aeration. Use raised beds, check soil pH—happy garlic, happy campers!
Boosting Soil Microbial Activity
Although you might think garlic just needs dirt and water to grow, there’s a whole hidden world beneath your feet that can make or break your harvest. Trust me, it’s just as wild as any late-night campfire story I’ve ever heard.
Mix in compost or other organic matter, check soil pH, use organic fertilizers, add soil amendments, and always mulch—your garlic (and the beneficial microbial populations) will thank you!
Step-by-Step Guide: Planting a Single Garlic Clove
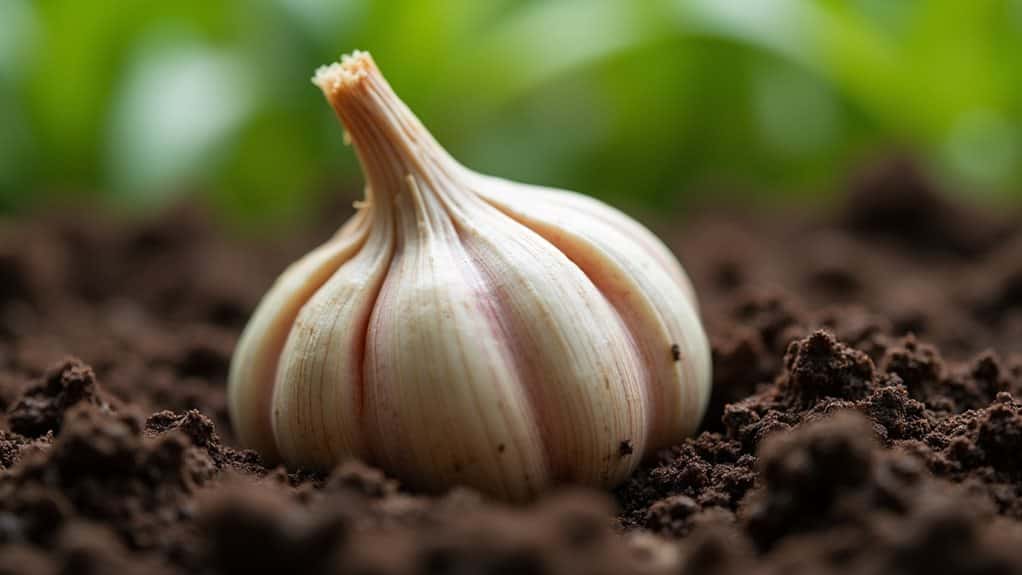
One of the coolest gardening escapades you can try, especially if you love getting your hands a little dirty, is planting a single garlic clove and watching it change into a whole new bulb—seriously, it’s like backyard magic!
Grab a sturdy garlic clove for planting, nestle it 3 inches deep in well-draining soil, pointy side up, and space them out.
Plant garlic in the fall, and don’t forget mulching—your future garlic harvest will thank you!
How to Water and Mulch Garlic for Strong Growth
If you want your garlic to grow big and bold—like the superstar of your homegrown veggie patch—you’ve gotta excel the art of watering and mulching, which is honestly way less mysterious than it sounds. Water garlic deeply when the top inch is dry, then mulch around garlic using straw or leaves. This helps keep soil moisture steady, regulate temperature, and saves your plants from those pesky weeds! To ensure your garlic receives the right nutrients, consider testing your soil’s pH and nutrient levels, which can guide your fertilization efforts.
Caring for Garlic Plants as They Grow
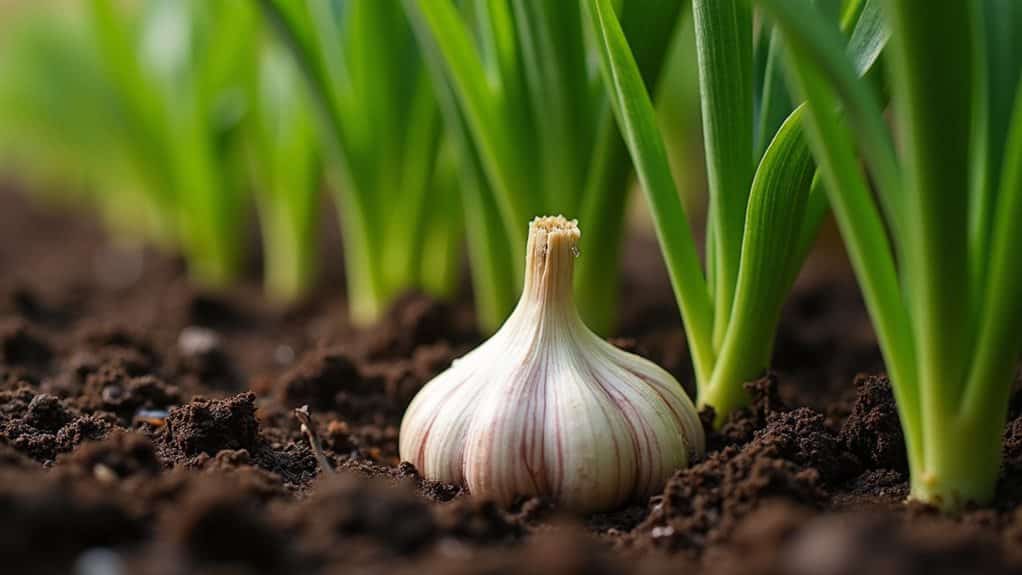
Since you’ve got your garlic plants tucked in and sprouting, the real expedition begins—think of it as camping out in your garden, keeping a close eye on your little green campers as they grow!
Stick to a steady watering schedule, mulch generously, and fertilize every few weeks.
Clip scapes when they loop, and patrol for pests.
Good plant care means healthier growth and, trust me, happier harvests!
When and How to Harvest and Cure Your Garlic Bulbs
You’ve kept a close watch on your garlic patch, watering, mulching, and maybe even chatting to your plants like a true garden camper.
When five garlic leaves at the base turn brown, it’s harvest time! Gently loosen the soil to avoid bruising your garlic bulbs.
Cure garlic by hanging it in a shady, breezy spot, then trim roots and stems for the perfect garlic storage after the curing process. Proper curing helps prevent disease susceptibility and ensures your garlic stays fresh longer.
Why Is My Garlic Small? Troubleshooting Common Growing Problems
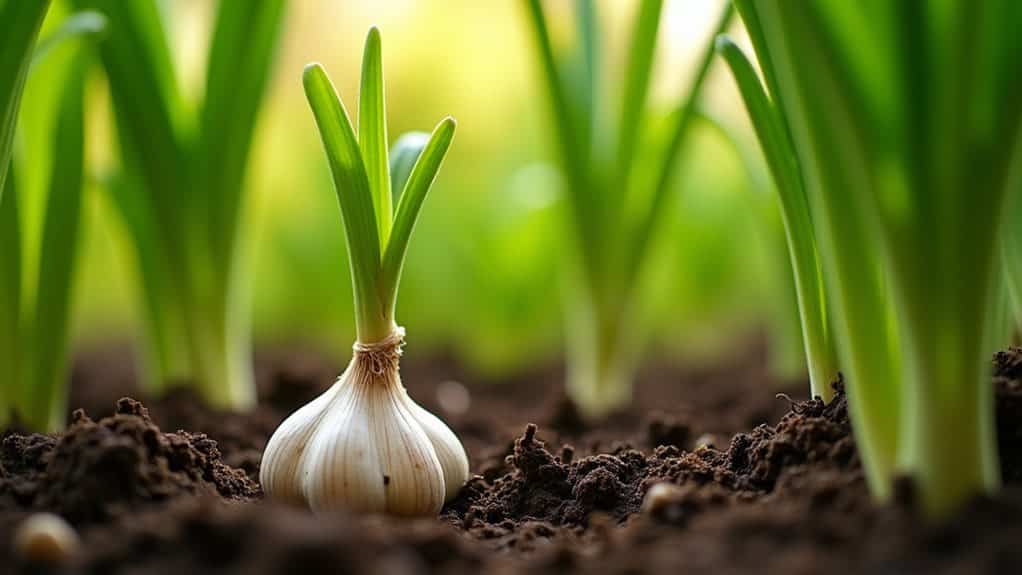
Even though it’s always exciting to dig up your garlic like you’re on a treasure hunt, nothing’s more disappointing than finding those bulbs are smaller than you hoped—trust me, I’ve had my fair share of “mini-mummy” garlic harvests after months of anticipation! Small garlic often means insufficient nutrients, planting too shallow, inconsistent watering, poor soil drainage, or environmental stress messed with bulb development and garlic size. Ensuring proper soil drainage and avoiding overwatering can significantly improve bulb growth and size. Don’t worry—you can fix it!
Overall
So, are you ready to impress your friends with homegrown garlic, straight from one tiny clove? Trust me, watching those green shoots pop up is almost as exciting as unzipping your tent under the stars! Just follow these steps, keep an eye on your soil and water, and you’ll be harvesting awesome, flavorful bulbs before you know it. Don’t worry if things go a little wonky—every gardener has their “oops” moments, and that’s half the journey!