How to Prevent a Slippery Deck in Winter
First, check for sagging joists, cracked beams, soft spots or rusted fasteners—those are the red flags that mean your deck’s already stressed, and clear away leaves and sticks before you even think about snow. Then seal the wood on a warm, dry day with a thin oil‑based coat, and use a breathable cover or heated mat in high‑traffic zones to keep moisture out. When the snow falls, grab a polyethylene‑blade pusher and an ergonomic shovel instead of a metal crusher, and mist magnesium‑chloride or dust calcium‑chloride lightly for a non‑corrosive melt. Sprinkle rubber mats or grit, install bright LED strips and motion lights, and make sure railings meet the 36‑inch height rule and sturdy hardware specs. Want the full step‑by‑step guide?
TLDR
- Remove debris and clear leaves before snow, then apply a thin, even sealant on a warm, dry day to improve traction and prevent water absorption.
- Use a polyethylene‑blade snow pusher or ergonomic shovels to gently clear snow without gouging the deck surface.
- Apply non‑corrosive ice‑melt agents such as magnesium‑chloride spray or lightly dusted calcium‑chloride pellets, avoiding over‑application.
- Install rubber or foam anti‑slip mats and low‑profile LED lighting on rails and stairs to enhance grip and visibility.
- Ensure proper drainage by fixing pooling water, repairing leaks, and maintaining vented under‑deck airflow to keep the surface dry.
How to Identify Winter Deck Risks Before You Start
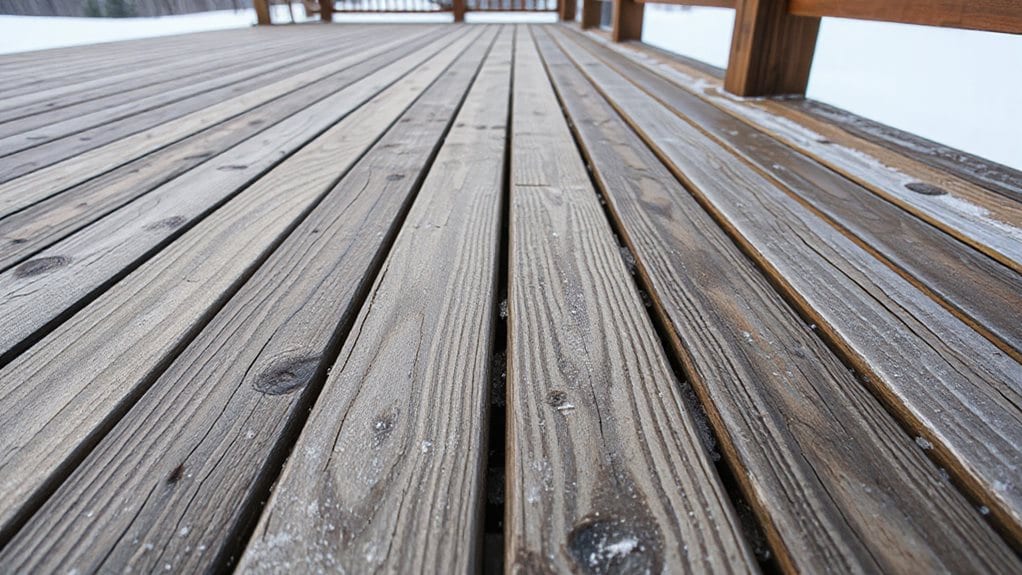
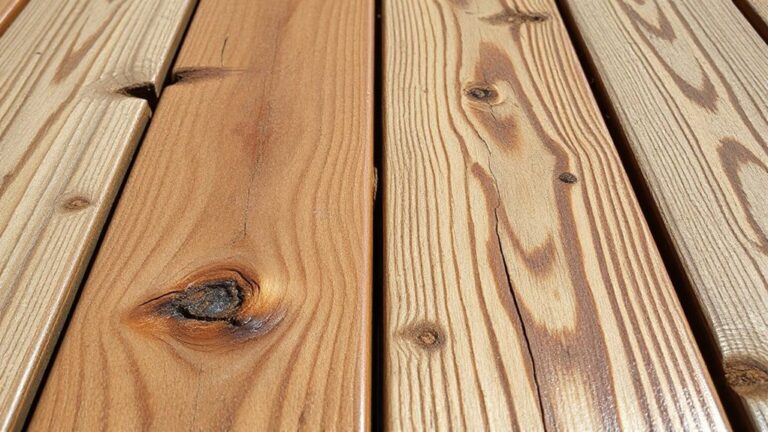
Ever wondered why a deck can feel like a slippery ice rink before you even step onto it? You’ll spot sagging joists, cracked beams, or a wobbly railing—signs the structure’s stressed, and you’ll notice soft spots, cupped boards, or algae that turn feet into skates. Check for rusted fasteners, uneven treads, and pooling water; those clues tell you the deck needs fixing before winter’s freeze‑thaw party begins. Regular inspections ensure the deck remains safe and structurally sound throughout the season. Also watch for surface buildups like mineral salts or organic growths that can make decking dangerously slick.
How to Keep Deck Surfaces Dry for Winter Safety
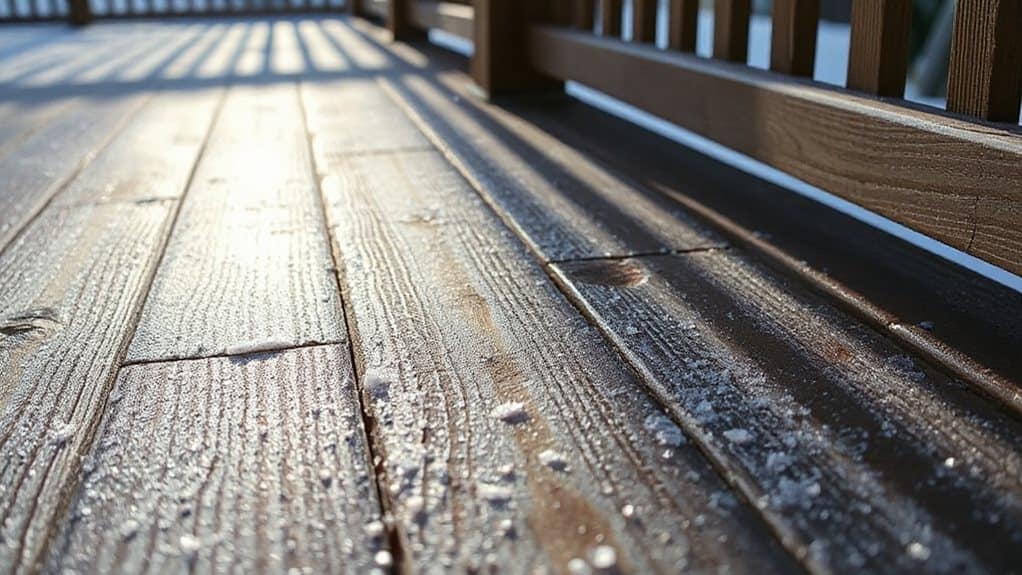
How can you make sure your deck stays dry and safe when winter snow starts falling? First, clear leaves and sticks, then sweep with a soft‑bristle broom so snow won’t cling. Apply a thin, even sealant on a warm, dry day—oil‑based works best in cooler temps. Use breathable covers or heated mats in high‑traffic zones, and flush any ice‑melt chemicals promptly to protect the surface. Check and repair any nearby leaks or drainage issues to prevent water from pooling and freezing on the deck, since proper drainage helps keep surfaces dry.
How to Pick Snow‑Removal Tools That Protect Decks
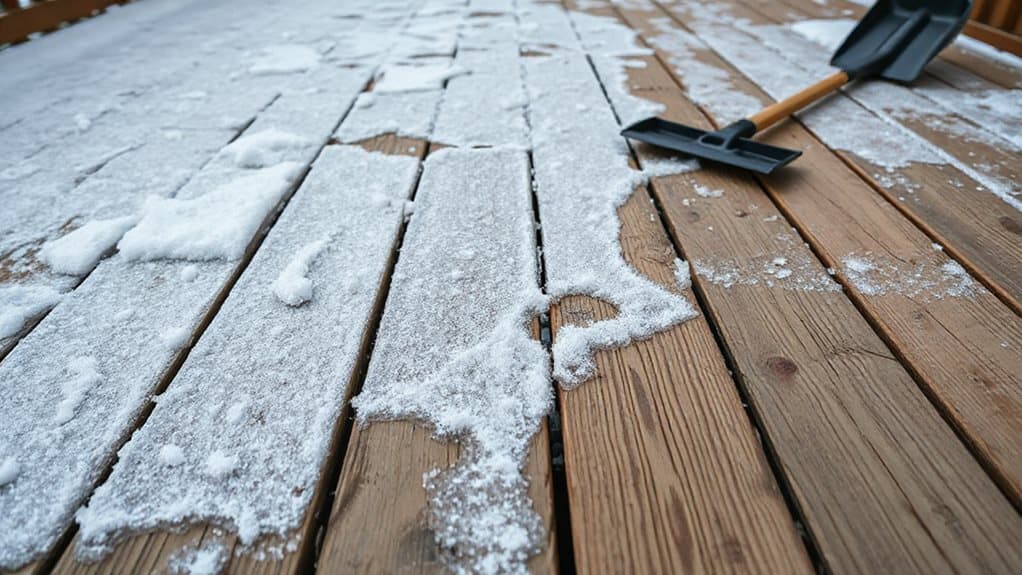
Picking the right snow‑removal tool for your deck is like choosing the perfect hiking boots for a weekend trek—if you get the fit wrong, you’ll end up with sore feet or, in this case, a scratched, warped board.
Opt for a polyethylene‑blade pusher like Suncast SC3250 for gentle plowing, or an ergonomic shovel such as Trazon to protect backs while sparing wood; avoid metal ice crushers that gouge surfaces.
Also consider maintenance practices that preserve surface integrity and support beneficial organisms like earthworms in nearby soil.
How to Apply Non‑Corrosive Ice‑Melts for Deck Winter Safety
So, you’re staring at a frosty deck and wondering how to keep it safe without turning it into a rusted mess? Grab a pump sprayer, mist magnesium‑chloride liquid evenly, then lightly dust calcium‑chloride pellets—don’t overdo it or you’ll get a slick film.
Spread CMA to turn ice into oatmeal‑like clumps, sweep excess, and enjoy a non‑corrosive, pet‑friendly surface for your winter sojourns. Bees and butterflies appreciate shallow water and won’t be attracted to treated areas, so place water stations away from deiced zones.
How to Choose Mats and Grit That Give Decks Better Winter Traction
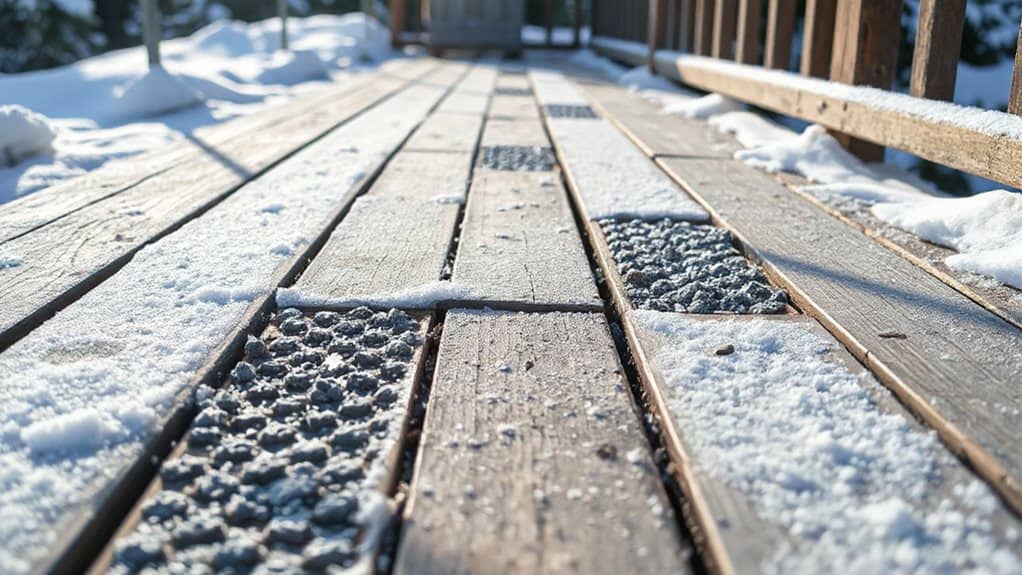
After you’ve sprayed on that non‑corrosive ice‑melt, the next step is making sure your feet and gear don’t slip off the deck like a cartoon banana peel, and that’s where the right mats and grit come into play.
Choose rubber or foam pads for light snow, heavy‑duty aluminum tracks for big loads, and bold cleat designs for tire traction; connect them with Turn‑A‑Links, and you’ll keep campers safe while you smile at the icy undertaking.
Proper under‑deck airflow helps prevent trapped moisture that can freeze and worsen winter slipperiness, so ensure vented skirting and clear drainage paths to keep the area dry.
How to Add Lighting and Stronger Railings for Safer Decks
Ever wondered why a well‑lit, sturdy railing can turn a frosty deck into a cozy campsite instead of a slip‑n‑slide?
Install low‑level LED strips along the rail, add motion‑sensor or solar lights at stairs, and make sure rail height meets 36‑inch (or 42‑inch in CA/WA) codes.
Use balusters spaced ≤4 inches, posts ≤8 feet apart, and secure them to framing with heavy‑duty hardware that holds at least 50 lb/ft and a 200‑lb point load—so everyone feels safe and thrilled to camp out under the stars.
Overall
Now you’ve got the know‑how to keep your deck safe and slip‑free all winter, so go ahead and put those tips into action—grab the right tools, spread the non‑corrosive ice melt, lay down grippy mats, and brighten up the railings. Think of it as prepping your backyard for a mini‑adventure: you’ll feel like a snow‑hero, and your friends will thank you when they don’t take a tumble. Ready to enjoy the season without the icy drama? Let’s make that deck the coolest (and safest) spot around!