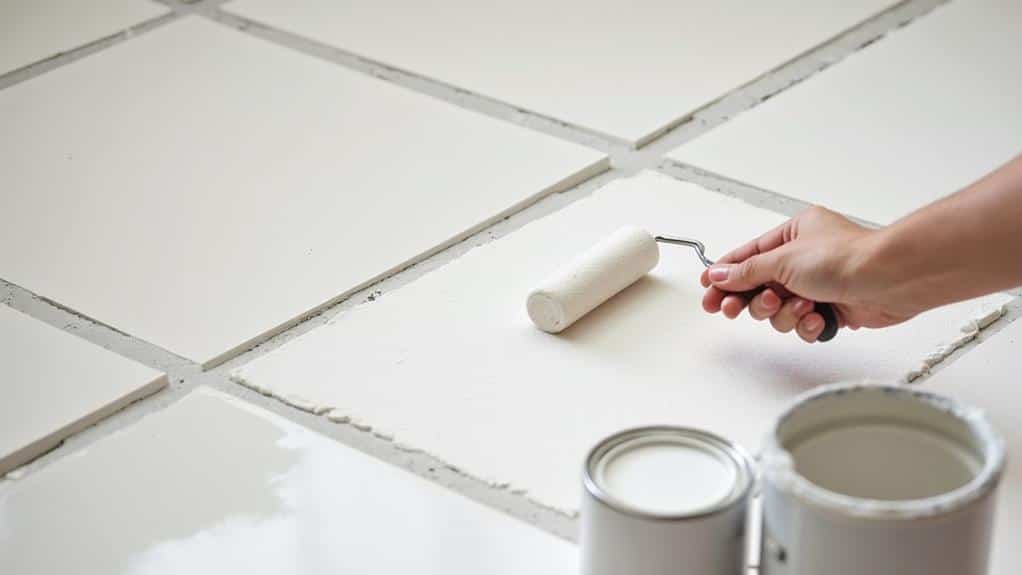
Painting Old 12×12 Ceiling Tiles: Refresh Your Space
Revitalizing your space by painting old 12×12 ceiling tiles is a cost-effective way to change your room. You’ll need to assess the condition of your tiles, clean them thoroughly, and prepare the surface before painting. Choose a high-quality primer like Kills 2 to guarantee good coverage and paint adherence.
Apply thin, even coats of primer and paint using brushes or rollers, allowing adequate drying time between layers. Address common challenges like fading or yellowing with proper preparation and maintenance.
Regular inspections and touch-ups every 3-4 years will help maintain the fresh appearance of your painted tiles. Exploring further details can help you achieve the best results for your ceiling makeover.
TLDR
- Thoroughly clean and prep tiles with a damp cloth and mild detergent, then lightly sand for better primer adhesion.
- Use a high-quality stain-blocking primer like Kills 2 to prevent old stains from resurfacing and ensure paint longevity.
- Apply thin, even coats of primer and paint using smooth strokes to maintain tile shape and prevent drips.
- Choose appropriate colors and finishes to enhance the room’s ambiance and complement existing decor.
- Implement a maintenance plan that includes regular inspections, gentle cleaning, and recoating every 3-4 years to preserve the appearance.
Understanding Your Ceiling Tiles
Understanding Your Ceiling Tiles
Before you explore painting your ceiling tiles, it’s vital to understand what you’re working with. Your 12×12-inch tiles are likely made of lightweight materials like paper or cardboard. These tile types are common in older homes and may show signs of aging.
Proper installation and maintenance of your ceiling tiles is essential, as they aren’t as durable as sheetrock and might require more frequent maintenance to maintain their appearance. Understanding your ceiling aesthetics is important for achieving the desired look in your space.
Preparing for the Project
Before you begin painting your ceiling tiles, assessing their condition and gathering all necessary materials is vital. Make certain that any tiles with inadequate drainage due to size issues, such as those requiring drainage requirements, are addressed, as severely compromised tiles may need replacement rather than painting.
You’ll need to collect high-quality tools and materials, including Kills 2 primer, brushes or rollers, and drop cloths to protect your work area from paint splatters and drips.
Assessing Tile Condition
How well do you know your ceiling tiles? Before starting your tile restoration project, inspect them closely. Look for fading, yellowing, or damage that could affect the final aesthetic.
Clean the tiles and check for sagging or wear. Consider the age and material of your tiles, as older ones may have more faded areas. Don’t forget to examine for water damage or stains, which might indicate underlying issues needing attention.
Gathering Necessary Materials
Now that you’ve assessed your ceiling tiles, it’s time to gather the necessary materials for your painting project. You’ll need Kills 2 primer, a quality paintbrush or roller, drop cloths, and a ladder.
Don’t forget protective gear like gloves and a mask. Clean your workspace and prepare a paint tray. Consider your paint color and project timeline as you gather supplies for an efficient painting process.
Choosing the Right Primer
Selecting the right primer is essential for a successful ceiling tile paint job. Quality primers like Kills 2 effectively cover faded or yellowed 12×12 cardboard ceiling tiles. Properly primed surfaces also help maintain the integrity of the paint, ensuring it adheres well for longer periods.
Primer types designed for ceiling tiles offer multiple benefits, including improved brightness and protection. You’ll typically need a couple of coats for an even base. Properly primed tiles can last 20-30 years with maintenance every 3-4 years, making primer a worthwhile investment for your DIY project.
Additionally, using high-quality acrylic paints can enhance the longevity of your project. When stored correctly and under proper conditions, they can last several months to a few years.
Gathering Necessary Tools
Before painting your ceiling tiles, you’ll need to gather essential equipment and safety gear. It’s important to guarantee that your workspace is free of pests, as a clean environment can help prevent issues like increased sightings of house centipedes that thrive in damp areas.
Your toolkit should include paint rollers, brushes, a sturdy ladder, and protective eyewear to guarantee a smooth and safe painting process. Also, remember to assemble surface preparation tools, such as sandpaper and cleaning supplies, to properly prepare your ceiling tiles for their new coat of paint.
Essential Painting Equipment
With the right tools, painting ceiling tiles becomes a manageable task. You’ll need a quality Kills 2 primer, paint roller with short nap, and brush for corners. Don’t forget drop cloths, painter’s tape, and a ladder or step stool. Consider wearing a mask and goggles for safety. When choosing your color selection and finish types, ensure you have all these essentials before starting your ceiling tile makeover.
Safety Gear Requirements
Safety should be your top priority when painting ceiling tiles. Gather essential safety gear before starting your project. You’ll need protective equipment like goggles to shield your eyes, a mask to prevent inhaling fumes, and gloves to keep paint off your hands. These items will safeguard you from dust and paint vapors. Don’t forget to set up a stable step ladder on a flat surface for safe access to the ceiling.
Surface Preparation Tools
Gathering the right tools is vital for a successful ceiling tile painting project. You’ll need a Kills 2 primer, paint roller, brushes, drop cloths, and painter’s tape.
Don’t forget a ladder or step stool for safe access. For proper sanding techniques, use fine-grit sandpaper to lightly scuff the tiles. Workspace organization is essential, so cover furniture and floors with drop cloths. Keep a damp cloth handy for wiping down tiles before priming.
Cleaning and Prepping Tiles
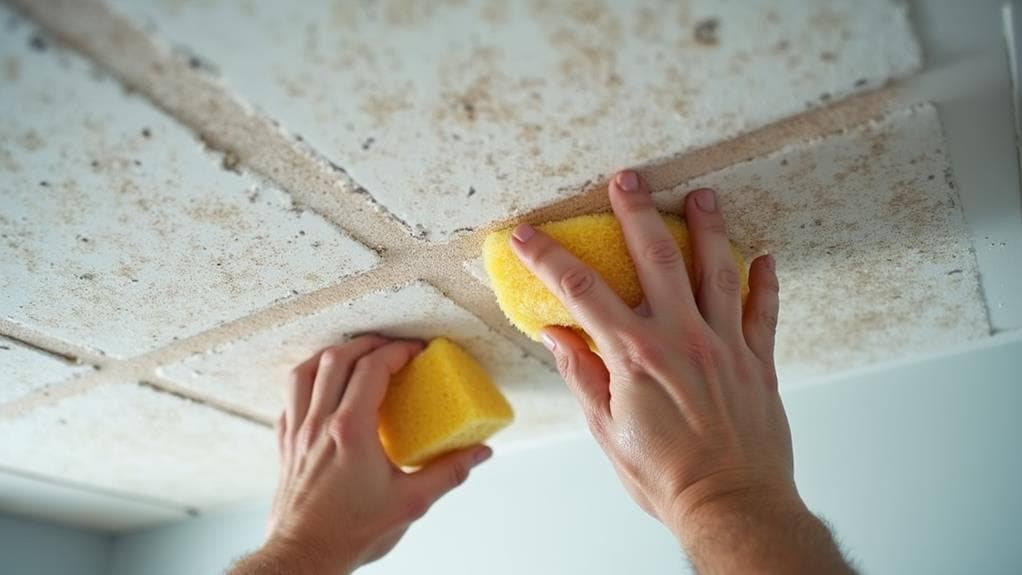
It’s essential to clean and prep your ceiling tiles properly before painting them. Start by wiping them with a damp cloth and mild detergent to remove dust, dirt, and grease.
Let them dry completely. Sand the surface lightly to improve primer adhesion. Inspect for damage and replace or repair as needed. Use a stain-blocking primer to prevent old stains from showing through when selecting colors for your refreshed ceiling.
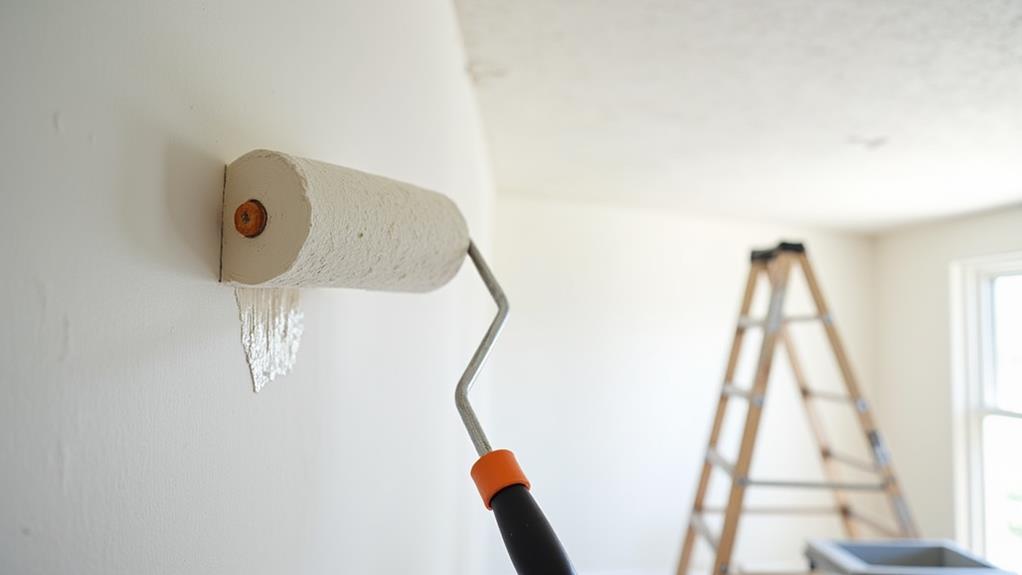
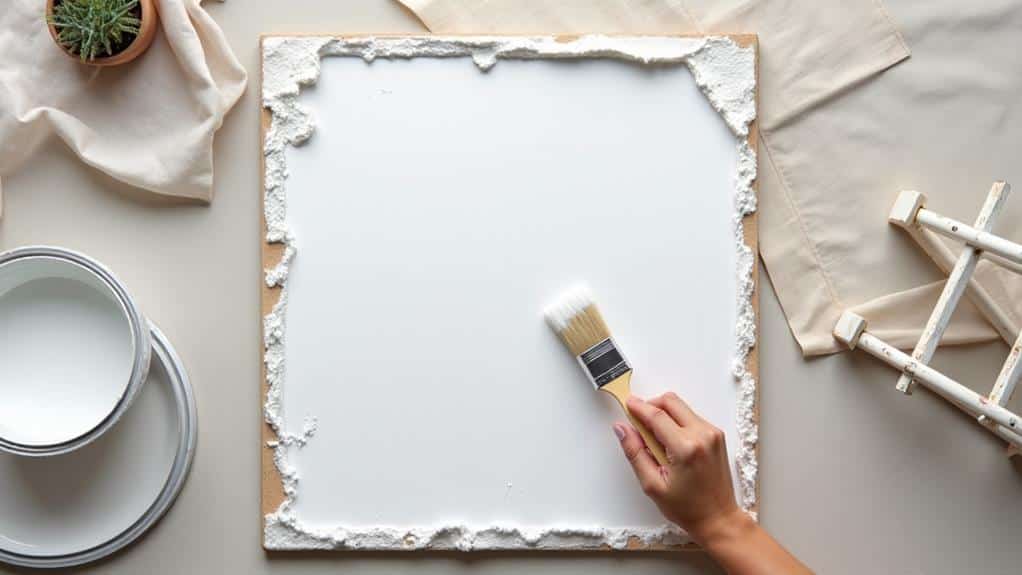
Applying the Base Coat
When applying the base coat to your ceiling tiles, it’s essential to choose the right primer and use effective application techniques. You’ll want to select a high-quality primer like Kills 2, which provides excellent coverage and adhesion on cardboard tiles.
As you apply the primer, use smooth, even strokes to guarantee uniform coverage, and don’t forget to allow adequate drying time between coats for the best results.
Choosing the Right Primer
Selecting the right primer for your ceiling tiles is essential to achieving a long-lasting, professional-looking finish. For ideal application, choose a high-quality primer like Kills 2, which works well on faded and yellowed surfaces. Apply two coats evenly to improve brightness and overall appearance.
This primer acts as a protective base coat, extending your tiles’ lifespan to 20-30 years with proper maintenance. Remember to re-coat every 3-4 years to prevent fading.
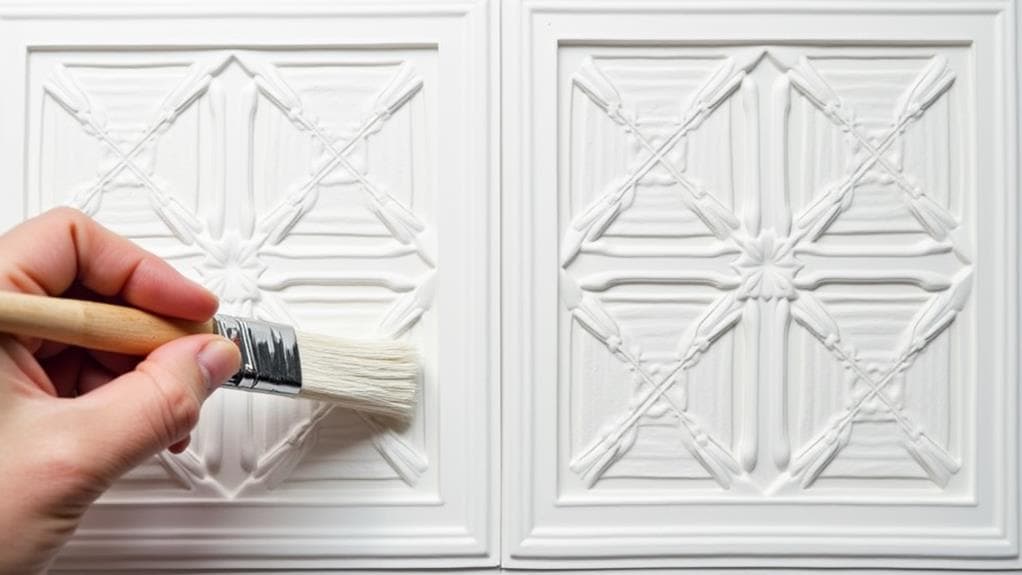
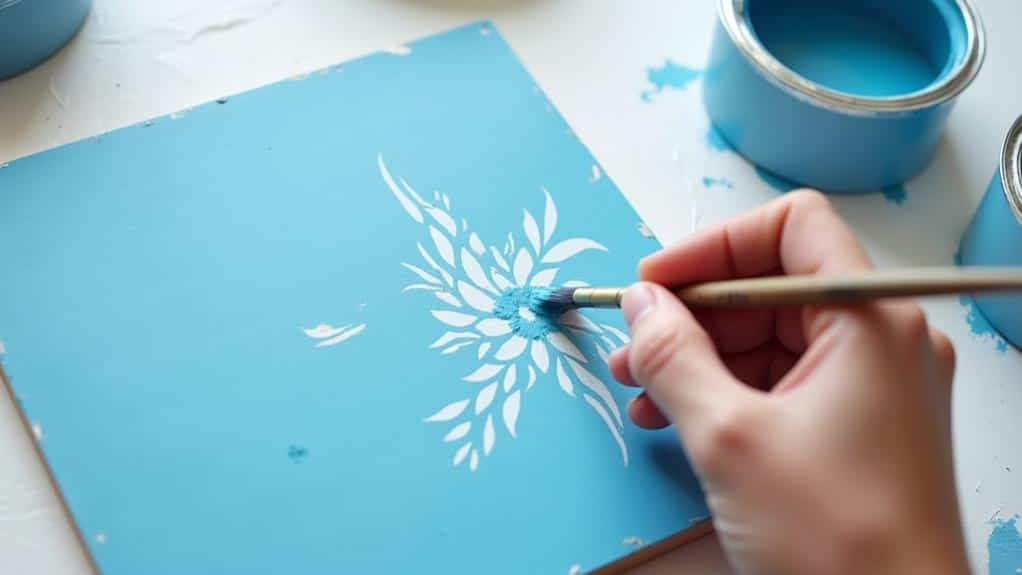
Application Techniques and Tips
Ready to apply your base coat? When painting your ceiling tiles, apply thin layers to prevent drips and maintain the tiles’ shape. Consider your color choices carefully, as they’ll impact your room’s ambiance.
Use a roller for even coverage and a brush for corners for texture effects. Don’t forget to allow each coat to dry fully before applying the next. Recoat every 3-4 years to keep your ceiling looking fresh.
Finishing Touches
With the bulk of the painting completed, it’s time to focus on the finishing touches that will truly enhance your ceiling’s appearance.
Conduct a final inspection to guarantee you’ve achieved even coverage and brightness. You might consider installing a ceiling fan to conceal any minor imperfections. Remember, using white primer often eliminates the need for additional paint. For long-lasting results, plan to re-coat every 3-4 years to maintain that fresh look.
Addressing Common Challenges
While finishing touches can enhance your ceiling’s appearance, you’ll likely encounter some challenges along the way. Fading and yellowing are common issues with old 12×12 tiles.
To address this, apply a high-quality primer like Kills 2. This creates a clean base for better color selection and fading prevention. Don’t forget to apply multiple coats of primer for best results. Regular maintenance, including recoating every 3-4 years, will keep your ceiling looking fresh.
Maintenance Tips
Proper maintenance is key to preserving the fresh appearance of your ceiling tile paint job throughout the years following the job. Regularly inspect your tiles for wear and address issues promptly to extend their lifespan. Use gentle cleaning methods to keep tiles looking bright.
To maintain tile durability, plan for recoating every 3-4 years to counteract fading and yellowing. Verify proper ventilation during maintenance to facilitate better paint adhesion and quicker drying times.
Long-Term Care Strategies
Building on the importance of regular maintenance, implementing long-term care strategies can considerably extend the life and appearance of your painted ceiling tiles. Develop a long-term maintenance plan that includes re-coating every 3-4 years and scheduled touch-ups.
This approach guarantees aesthetic preservation and prevents fading or yellowing. Regular inspections help you spot early signs of wear, allowing for timely maintenance. Handle tiles carefully during cleaning to avoid damage and maintain their fresh look for years.
Overall
You’ve now learned to refresh your space by painting old 12×12 ceiling tiles. With the right preparation, tools, and techniques, you can change the appearance of your ceiling.
Remember to clean and prime the tiles properly before painting. Address any challenges during the process, and don’t forget to maintain your newly painted ceiling. By following these steps and tips, you’ll enjoy a revitalized ceiling that enhances your room’s overall look for years to come.