Dahlia Tubers: How to Store Them Over Winter
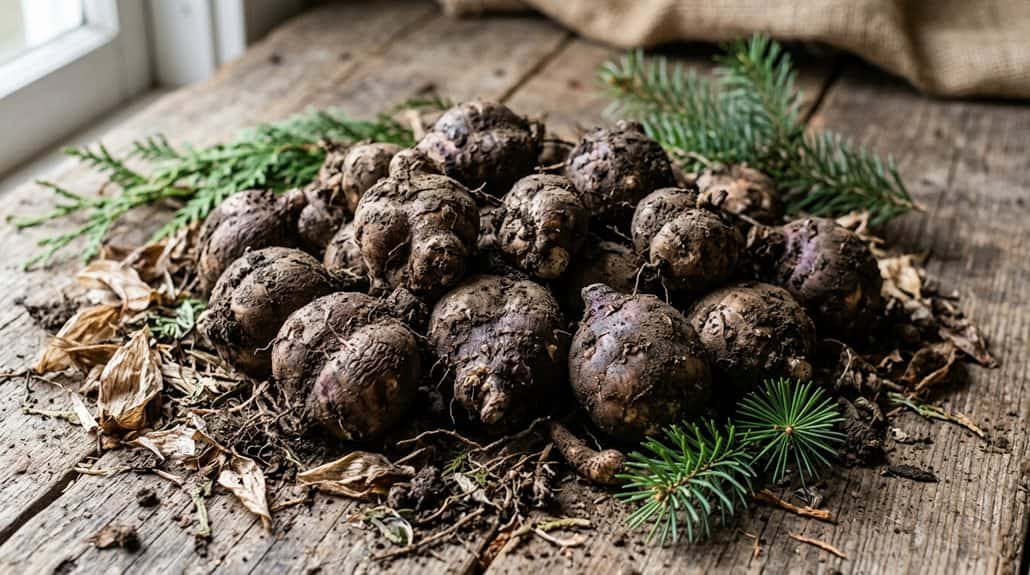
Storing dahlia tubers over winter is honestly a little like camping prep—you clean ‘em up, dry them out, and make sure they’re cozy until spring. After the first frost zaps the leaves, dig up those tubers gently, hose off the dirt, let them dry really well, then tuck them in peat moss or shredded paper in a cool, dark spot like your basement (think: underground tent!). Keep them dry and check for rot, so you don’t end up with a mushy surprise—trust me, it pays off. And if you’re curious about the tricks gardeners swear by, there’s more in store!
TLDR
- Dig up dahlia tubers after the first frost, when leaves turn brown and crispy.
- Clean and dry tubers thoroughly, discarding any that are mushy, moldy, or damaged.
- Divide large clumps, ensuring each piece has an “eye,” and treat cuts with fungicide.
- Pack tubers in breathable material like dry peat moss, vermiculite, or shredded paper.
- Store tubers in a cool, dark, and well-ventilated place, checking regularly for mold or rot.
When and How to Dig Up Dahlia Tubers for Winter
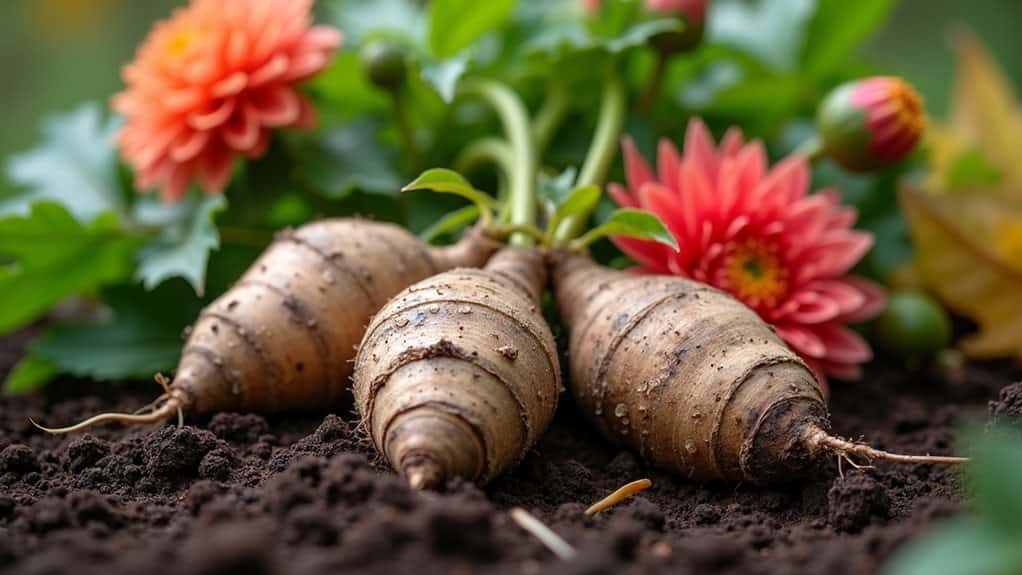
Even though your garden might look a little gloomy once the first frost hits and the dahlia leaves turn brown, that’s actually your cue to start one of the most important (and surprisingly fun) parts of dahlia care—digging up those tubers for winter!
Grab your garden fork, loosen the soil, and gently pull out the root clumps. Remember, proper dahlia tuber storage starts with clean, dry tubers!
To prevent fungal issues and encourage healthy growth next season, make sure to remove excess moisture and let the tubers dry thoroughly before storage.
How to Tell If Your Dahlia Tubers Are Ready to Store
Once your dahlias have survived that first real frost and their leaves have turned crispy brown, it’s finally time to play “tuber detective” and see if those precious underground treasures are ready for their winter nap!
Check that your dahlia tubers feel firm—no mushy bits or mold allowed. Only store healthy ones, and after drying, avoid any that look shriveled or damaged.
Healthy tubers mean gorgeous blooms next season!
Cleaning and Drying Dahlia Tubers the Right Way
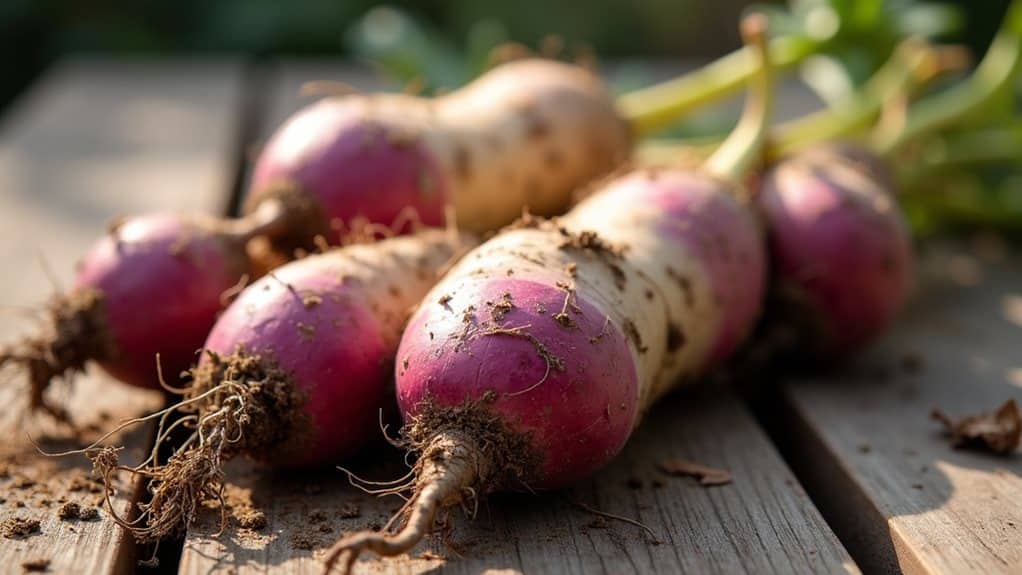
Alright, you’ve got your dahlia tubers ready, but let’s make sure you clean and dry them like a pro so they don’t end up as a mushy science experiment over winter! You’ll want to rinse off all that stubborn dirt, let the tubers chill out on a crate or shelf where there’s plenty of air, and keep a sharp eye out for any sneaky damp spots that could cause mold or rot—trust me, nobody wants to open a bag of stinky tubers in spring (I learned that the hard way after one wild camping trip). Additionally, inspecting them regularly for signs of damage or rot can help prevent issues from developing during storage. Ready to get your hands a little muddy and save your tubers from doom?
Timing Your Tuber Cleaning
If you’ve ever felt like dahlia tubers are a bit like treasure you dig up at the end of a long gardening quest, you’re not alone—I always think of them as hidden gold nuggets waiting for a little TLC!
When it comes to timing your tuber cleaning, don’t rush the process. Gently rinse, trim off any bad spots, and let them get completely dry—think “cozy campfire marshmallow” dry!
Proper Drying Techniques
Now that your tubers are clean and looking like freshly unearthed treasure, it’s time to make sure they’re ready for their long winter nap! Lay them upside down on a well-ventilated surface—think more breezy cabin, less cold cement sidewalk—to dry for 24-36 hours.
Double-check for rot, trim if needed, and only pack tubers into storage when they’re firm and dry to the touch.
Preventing Mold And Rot
Ever wondered why some gardeners end up with mushy messes instead of plump, healthy dahlia tubers when spring rolls around? Here’s the secret: dry tubers are key for mold prevention!
After gently rinsing off dirt, let them air dry at least 24 hours—don’t rush this part.
Store them in something breathable like dry peat moss, and always check for sneaky mold or rot all winter long!
How to Divide and Inspect Dahlia Tubers Before Storage
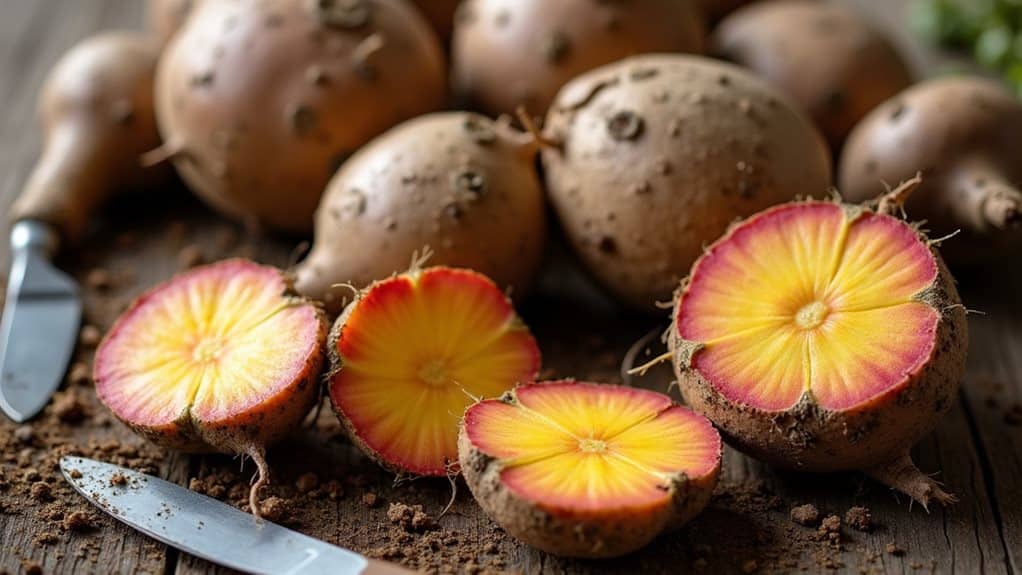
Although digging up dahlia tubers might sound a bit like a treasure hunt—and honestly, it kind of is, there’s an art to making sure those little nuggets survive until next season’s garden escapade.
Gently dig, then carefully divide big clumps using sterilized tools, making sure each chunk has an “eye.” Inspect each tuber, tossing any mushy, brown, or damaged ones.
Treat cuts with fungicide—think of it as sunscreen for tubers! When storing, consider proper ventilation to prevent moisture buildup and mold growth during the winter months.
Which Storage Method Works Best for Dahlia Tubers?
If you’ve ever packed for a camping trip and stressed about keeping your snacks dry and safe from soggy disasters, you’ll totally get why picking the right storage method for dahlia tubers is such a big deal.
Dry storage is a true lifesaver—just dry those tubers, pop them in vermiculite or sand, and keep them cool and humid.
Proper drying techniques are essential to prevent mold and rot, ensuring your tubers stay healthy over winter.
Regular check-ins help you serve your garden’s needs best!
What’s the Best Material for Storing Dahlia Tubers?
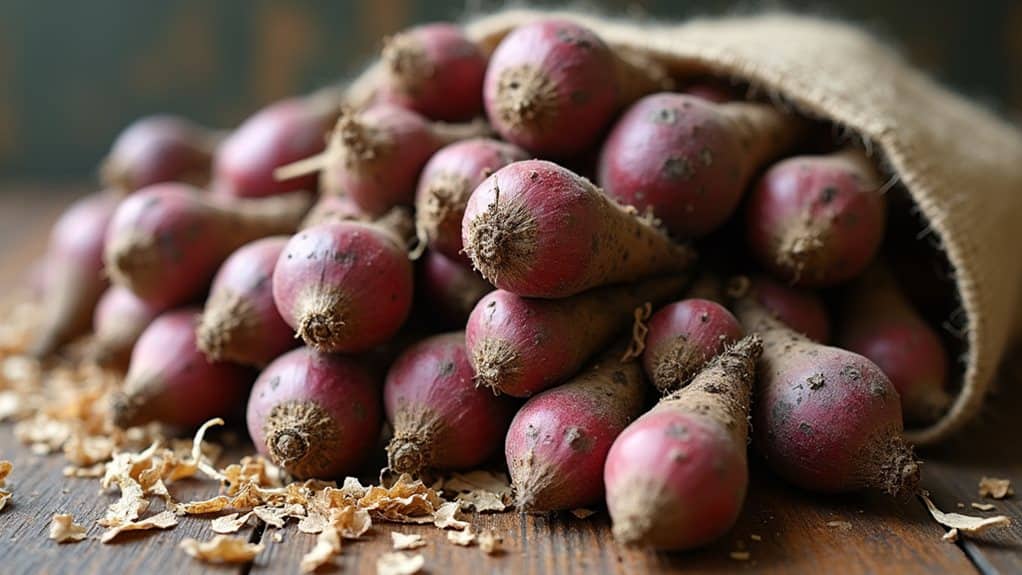
So, you’re probably wondering which packing material works best for your dahlia tubers—should you go with fancy vermiculite, trusty shredded paper, or that bag of cedar shavings leftover from your last camping trip?
Let’s compare these options and see how each one manages moisture and humidity, because nobody wants to open their storage box in spring and find either shriveled tubers or a mushy mess (trust me, it’s as disappointing as rain on a camping weekend).
Proper storage also involves understanding the foundational documents, such as guidelines for moisture control, to ensure your tubers stay healthy all winter, no tent required!
Comparing Popular Storage Mediums
When it comes to keeping your dahlia tubers happy and healthy through the winter, picking the right storage medium feels a bit like choosing the best sleeping bag for a camping trip—get it wrong, and things can get cold, damp, or even disastrous!
Coarse vermiculite is a superstar among storage mediums, while sand and wood chips also work well.
Avoid peat moss or fine vermiculite—they’re just not up to the job!
Managing Moisture and Humidity
Although you might think storing dahlia tubers is as simple as tossing them in a box and calling it a day, the real challenge is keeping their environment just right—think of it like making sure your marshmallows stay perfectly squishy on a camping trip, not hard as rocks or gooey puddles!
Use coarse vermiculite for moisture control and humidity balance, or try shredded paper, cedar shavings, or sand for happy tubers.
Where Should You Store Dahlia Tubers Over Winter?
Even though it might sound a little dramatic, picking the perfect spot to store your dahlia tubers over winter is almost like planning a cozy camping trip for them—except your tubers are the campers, and they’re super picky about their accommodations!
Make sure you store dahlia tubers in a cool, dark, and well-ventilated spot, like a basement, garage, or root cellar.
Ensure the storage area has steady humidity and temperature.
How to Prevent Rot and Disease During Storage
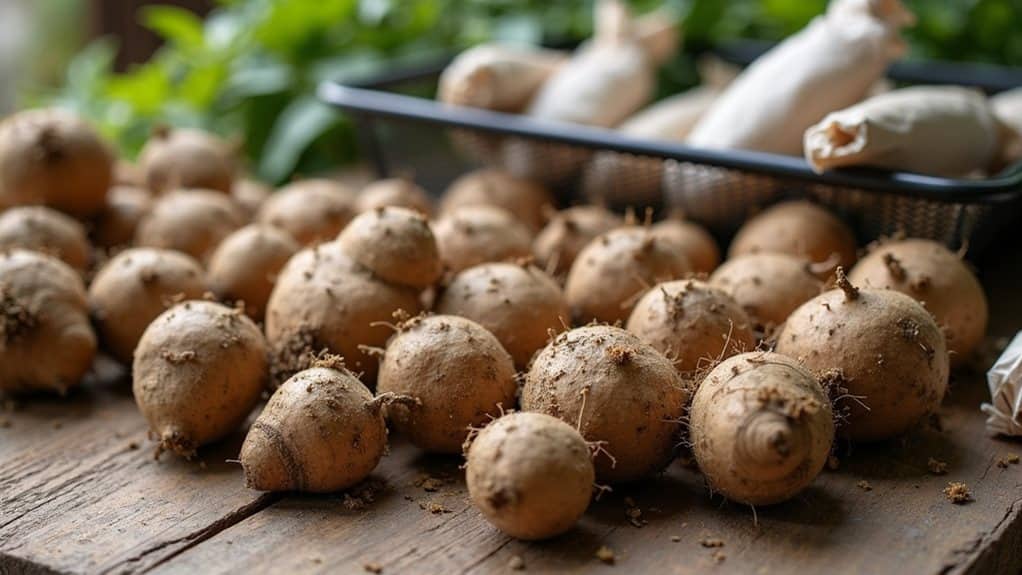
If you want your dahlia tubers to survive their winter “camping trip” without catching a case of the sniffles (or, you know, turning into mush), you’ll need to be a bit of a germ-fighting superhero.
Always treat cut ends with fungicides like Captan or sulphur. Double-check for dry tubers, keep them cool and ventilated, and don’t forget regular checkups—no one likes surprise rot!
How to Prepare Dahlia Tubers for Planting in Spring
Once spring starts to roll around and you’re itching to get your hands back in the dirt, it’s finally time to wake up those dahlia tubers from their long winter nap!
Unpack them gently—don’t rush it like you’re opening a bag of chips on a camping trip. Check for any mushy or shriveled bits, trim if needed, and get ready for growing dahlias that’ll wow your neighbors!
For best results, consider testing your soil’s pH level to ensure optimal growing conditions before planting.
Overall
So, now you’re totally ready to stash your dahlia tubers like a pro, right? Trust me, it’s way easier than packing for a camping trip—no leaky tents or questionable granola bars involved! Just remember to keep ‘em dry, cozy, and safe from rot, and you’ll be rewarded with a garden full of blooms next year. Honestly, it’s like sending your tubers on vacation, and who doesn’t love a good winter getaway? Happy storing!