How to Store Gladiolus Corms Over Winter
Storing gladiolus corms for winter is kinda like packing for a camping trip—you want them snug but not smothered! Once the weather cools, dig up the bulbs carefully, shake off dirt (no baths needed), then cure them in a warm, dry, shady spot for a couple weeks. After that, pop them into mesh bags or old nylons, label them clearly, and stash them somewhere cool and dark, like your garage. Stick around for cool tips on preventing rot and starting new plants!
TLDR
- Cure gladiolus corms in a warm, dry, well-ventilated area for a week before storage.
- Remove dirt, old mother corms, and any damaged or moldy parts before storing.
- Store corms in mesh bags, old nylons, or ventilated containers to ensure air circulation.
- Keep stored corms in a cool, dark place at around 40°F with steady humidity.
- Clearly label containers to easily identify varieties for next season’s planting.
When to Dig Up Gladiolus Bulbs

Even though it might feel a little sad to say goodbye to your blooming gladiolus as the weather cools down, digging up those bulbs at just the right time is super important if you want to see them flourish again next year (and trust me, you do!). Make sure to carefully inspect the corms for any signs of damage or disease during the removal process, as proper disassembly can help prevent issues during storage.
How to Lift Gladiolus Bulbs Without Damage
Alright, let’s talk about how to lift those gladiolus bulbs like a pro camper finding the perfect tent spot, because the right tools and gentle digging make all the difference—trust me, I’ve accidentally poked a few bulbs myself and it’s not pretty!
Grab a wide spade and start about 4-6 inches away from your plant, digging slowly so you don’t end up with a bunch of sad, squished corms (they really don’t enjoy being whacked).
Be patient and gentle, kind of like you’re unearthing buried treasure, because careful digging now means healthy, happy flowers next season!
Choosing the Right Tools
If you’ve ever tried to dig up gladiolus bulbs and accidentally sliced one in half (yikes, I’ve totally been there!), you already know how important it’s to pick the right tools for the job.
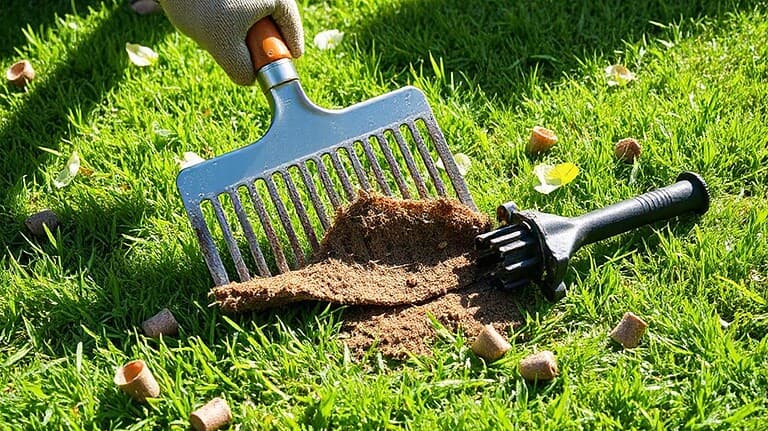
Grab a sturdy garden fork—not a spade—so you can loosen the soil without causing damage.
Gentle Digging Techniques
Whenever you’re ready to start lifting your gladiolus corms, imagine yourself on a little garden treasure hunt—except the treasure is a handful of plump, healthy bulbs that’ll make next summer’s garden look stunning!
Use a wide spade or garden fork for gentle digging, loosening the soil about 4-6 inches deep.
Gently support the corms, avoid twisting, and watch for old “pancake” remnants—think of them as buried camping pancakes!
How to Cure Gladiolus Bulbs Before Storage
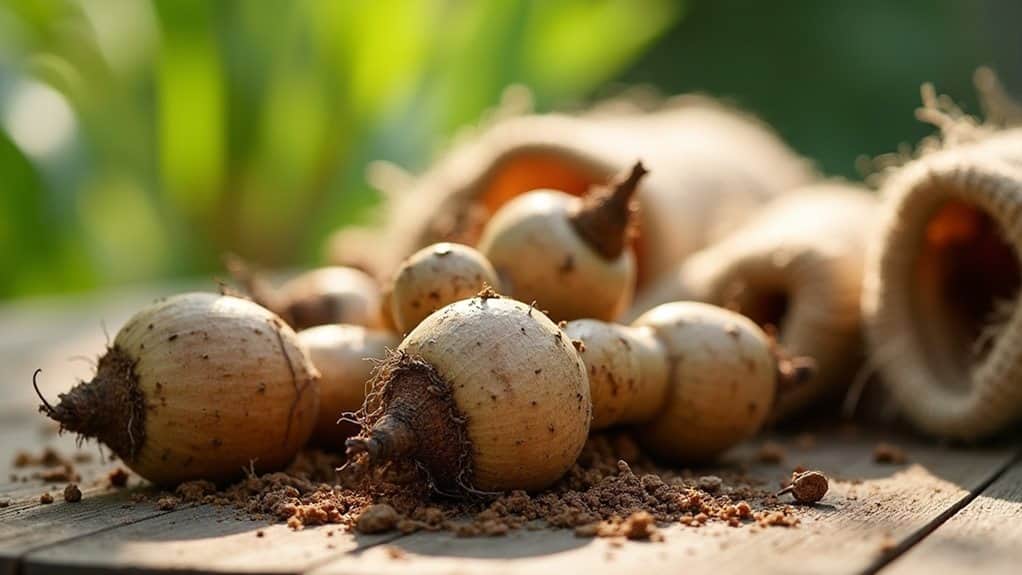
Once you’ve dug up your gladiolus bulbs and brushed off most of the dirt—no need for a bubble bath here, just a gentle shake—they’re almost ready for their big winter nap.
But first, they need to cure. Spread them out in a warm, dry place with good airflow, away from sunlight.
Let the curing and drying work their magic; this keeps your bulbs healthy, soil-free, and ready for storage.
Ensuring proper storage conditions prevents damage and prolongs the life of your bulbs.
Cleaning and Separating Gladiolus Corms and Cormels
Alright, now that your gladiolus corms are nicely cured, it’s time to get your hands a little dirty and start cleaning them up—think of it like unpacking after a camping trip and making sure you didn’t bring home any accidental stowaways!
Carefully pull away those old, pancake-like mother corms and look for any weird, mushy bits or shriveled cormels hiding around the edges, because trust me, you don’t want those going on your next gardening journey.
Pay close attention as you separate the healthy cormels from the main corm, and don’t be afraid to toss out any that look suspicious, since only the best get to join the storage party this winter!
Removing Old Mother Corms
Even though it might sound a little weird at first, removing the old, wrinkly “pancake” mother corm from your gladiolus bulbs is actually kind of satisfying—like popping bubble wrap, but way better for your garden!
You’ll want to gently remove those old mother corms, toss out any mushy or moldy ones, and store only the firm, healthy corms.
This step helps your future flowers thrive!
Separating Healthy Cormels
Although it might sound a bit like sorting through treasure after a camping trip, cleaning and separating gladiolus corms and cormels is one of those garden chores that’s actually pretty fun—especially if you love uncovering tiny surprises!
Gently pull off healthy cormels, making sure not to damage the main corm. Store them separately, and let them dry before storage.
Label each batch, and visualize their future blooms!
Inspecting for Damage
Once you’ve finished sorting out those adorable little cormels—seriously, they’re like tiny treasures you didn’t even know you had—it’s time to shift your attention to giving every corm a good check-up. Inspect each one for damage—think soft spots, mushiness, or any sign of mold.
If you spot trouble, toss it! Clean off dirt, separate the old mother corms, and you’re helping your future garden campers thrive.
Best Containers for Storing Gladiolus Bulbs
When it comes to stashing your gladiolus bulbs for the winter, you’ve got more options than you might think—it’s a bit like packing for a camping trip, but instead of marshmallows and sleeping bags, you’re dealing with corms that need to stay dry and comfy until spring!
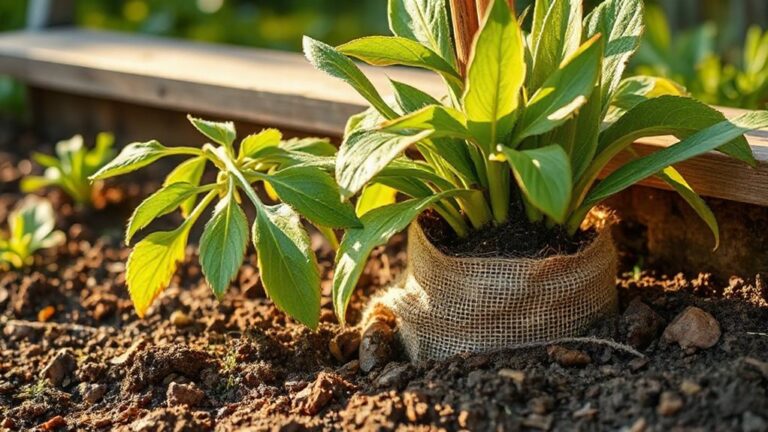
Grab mesh bags or old nylons for awesome ventilation, or try wooden crates or ventilated cardboard storage containers—just skip anything airtight!
Ensure your storage containers are labeled and kept in a cool, dark place to prevent premature sprouting or rot, especially since proper soil conditions are crucial for healthy corms.
Ideal Storage Conditions for Gladiolus Bulbs

Imagine this: your gladiolus corms are about to begin a winter hibernation expedition, and it’s up to you to make sure they’ve the coziest, safest camp possible!
To store them right, pick a cool, dark spot around 40°F, with steady humidity. Use mesh or paper bags for great air flow—nobody likes a stuffy tent! Proper light management during storage helps prevent issues like mold or rot.
Preventing Mold and Rot in Stored Gladiolus Bulbs
Although it might seem like your gladiolus corms are just taking a peaceful winter nap, they’re actually a bit picky about their sleeping arrangements—especially when it comes to dodging mold and rot! Always make sure the corms are bone-dry before storage, and give them plenty of airflow in mesh bags or paper boxes. Proper mulch management during storage can help prevent mold growth on your bulbs. Check them often—nobody wants a moldy surprise before planting season!
How to Grow Gladiolus From Cormels Next Season

Now that you’ve kept your gladiolus corms cozy and safe all winter, it’s finally time for the fun part—growing brand new plants from those tiny cormels you saved!
Grab those treasures from winter storage, plant them 4 inches deep and 4-6 inches apart in well-draining soil, and water well.
Feed them every few weeks, thin weaker seedlings, and watch your future gladiolus bulbs prepare for excitement next year!
Be sure to select healthy, vigorous plants for the best chance at successful growth and flowering.
Overall
So, now you know how to store gladiolus corms like a pro, and honestly, it’s almost as fun as prepping for a camping trip—minus the marshmallows! Just dig up those corms, clean them off, give them a nice, dry spot to chill all winter, and you’ll have gorgeous blooms next summer. Trust me, it’s so satisfying to see them come back strong. Don’t forget to label your containers—unless you like mystery plants!