How Long for Thinset to Dry? Avoid Mistakes
You've probably heard conflicting advice about thinset drying times, and rushing this vital step can lead to costly repairs down the road. While most installers cite 24 hours as the minimum drying period, you'll find that best results come from waiting 72 hours or even longer, depending on your specific conditions. The truth is, your environment plays a major role in how quickly thinset cures, and what works in one situation won't necessarily work in another. Let's examine why timing matters so much and how you can avoid the common pitfalls that plague even experienced tile setters.
TLDR
- Thinset typically requires a minimum of 24 hours to dry, but waiting 72 hours is ideal for optimal strength and durability.
- Maintain temperatures between 40°F-95°F and use dehumidifiers in high-humidity conditions to ensure proper drying time.
- Mix thinset with the correct water ratio (5.5-6.5 quarts per 50-pound bag) and avoid adding extra water during final mixing.
- Non-porous surfaces require longer drying times than porous materials, so adjust wait times based on your substrate type.
- Check for complete curing by performing knock tests and inspecting grout lines before allowing foot traffic or grouting.
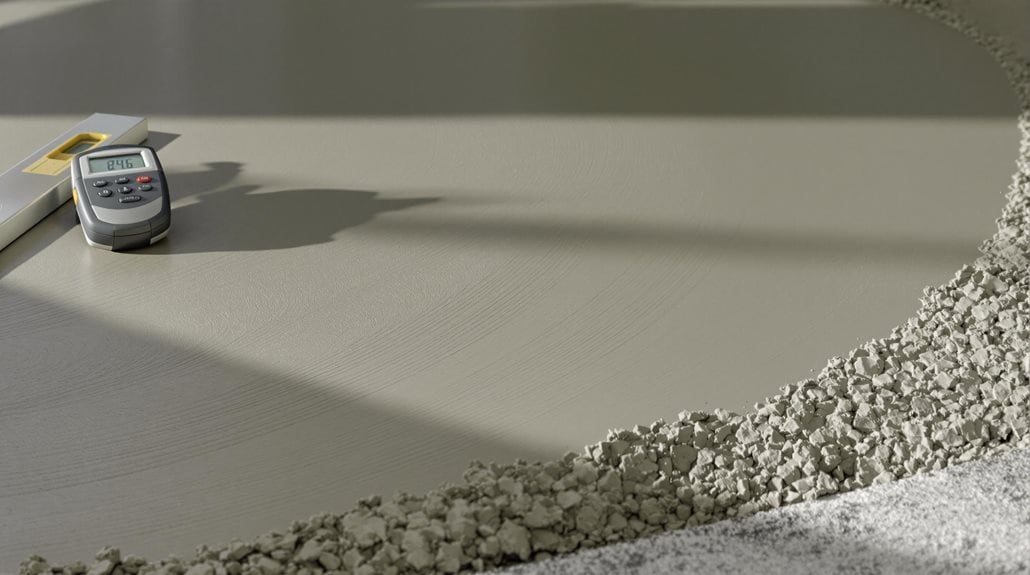
Basic Drying Time Requirements
The basic drying requirements for thinset mortar follow a clear timeline that you'll need to follow for successful tile installation.
You'll want to wait at least 24 hours before even thinking about grouting those tiles, though 72 hours is your best bet for ideal results. Regular soil aeration practices can enhance the overall stability of materials used in construction.
While some thin-set mortars might be ready in 48 hours, it's essential to check your manufacturer's specific guidelines. Various factors such as air circulation and humidity can significantly affect the drying process.
Environmental Factors Affecting Drying
When you're working with thinset mortar, temperature and humidity are going to be your biggest challenges, as these factors can really make or break your project's success. Proper tools and techniques are essential to ensure effective application and drying. You'll need to watch out for both extreme heat, which can make your thinset dry too quickly, and high humidity, which affects how much moisture your mortar retains during curing. The ideal temperature range for outdoor thinset application is 40 to 95 degrees Fahrenheit. While you might be tempted to speed up the drying process with fans or increased airflow, that's actually a big no-no since it can pull essential moisture from your thinset and compromise its strength.
Temperature and Humidity Impact
Temperature and humidity play essential roles in how quickly your thin-set mortar dries and cures.
You'll want to maintain temperatures between 40°F and 95°F, with an ideal sweet spot around 70°F.
Be careful with humidity levels, as they can really slow down your project – high humidity might extend curing time beyond 72 hours, but you can use a dehumidifier to speed things up. Opening doors and windows for proper air circulation will help maintain optimal drying conditions.
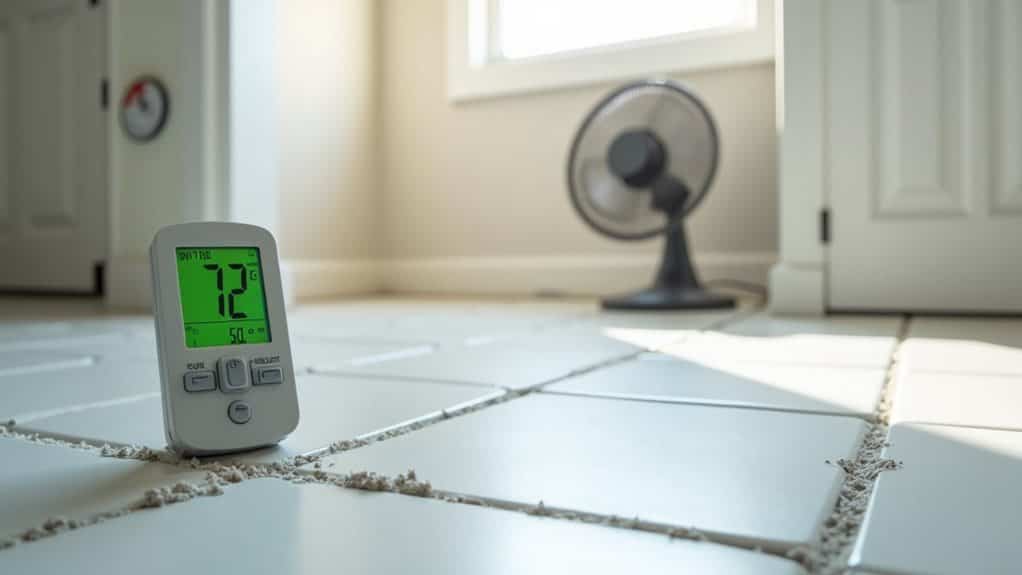
Air Flow Effects
Airflow plays an essential role in how quickly your thin-set mortar dries and cures.
You'll want to guarantee proper ventilation by opening windows and doors, and using fans can really speed things up while distributing temperature evenly throughout your work area. It's crucial to protect work areas from excessive air movement that could compromise mortar performance.
While indoor projects are easier to control, you'll need to protect outdoor work from wind, which can cause uneven drying and potential cracking.
Temperature Control Tips
Managing your thinset's curing environment is essential for achieving ideal results.
You'll want to keep the temperature between 40°F and 100°F, with 70°F being your sweet spot for perfect curing. Monitoring ambient temperature affects the set time and strength of the mortar.
If you're working in hot conditions, try using shading or cooling systems to prevent rapid drying.
In colder weather, you can use controlled heating systems to maintain that ideal temperature range.
Proper airflow and ventilation around the thinset helps regulate the drying process and ensures uniform curing.
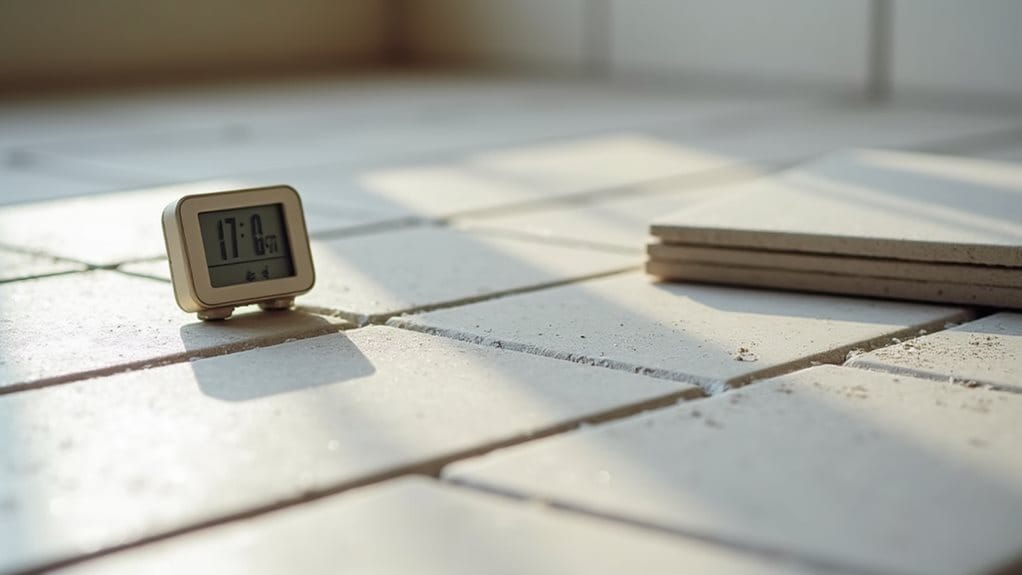
Substrate Types and Drying
When you're working with thinset, you'll notice that different surfaces can dramatically affect how quickly it dries, with porous materials like plywood soaking up moisture much faster than non-porous surfaces like existing tile. Additionally, it's important to remember that pipe flushing can enhance the overall quality of water used in your projects, ensuring that contaminants do not affect the thinset's performance.
Before you even think about mixing your thinset, you'll want to make certain your surface is properly prepared, which means cleaning it thoroughly and applying any necessary primers to guarantee the best possible bond. The typical 24-48 hour cure ensures proper adhesion before any foot traffic is allowed.
Whether you're dealing with concrete that drinks up moisture like a sponge or a waterproof membrane that barely lets anything through, understanding your substrate's characteristics will help you plan your project's timing and choose the right thinset for the job.
Porous vs. Non-Porous Materials
The substrate material you choose dramatically influences how quickly thin-set mortar will dry.
If you're working with porous materials like plywood or concrete, you'll notice faster drying times since they readily absorb moisture from the thin-set.
However, when you're dealing with non-porous surfaces like cement board, you'll need to be more patient, as these materials don't absorb moisture and require longer drying periods. Follow manufacturer guidelines closely when mixing and applying thinset to ensure proper drying and adhesion.
Surface Preparation Guidelines
Proper surface preparation stands as your foundation for successful thin-set application and drying.
You'll need to guarantee your substrate is clean, level, and completely free of old adhesives or debris that could mess up your bond.
The substrate strength must be evaluated thoroughly before installation to ensure it can provide adequate structural support for the tiles and thinset mortar.
Moisture Impact on Bonding
Building on your careful surface prep work, moisture levels play a major role in how well thin-set bonds to your substrate.
If you're using a porous substrate like plywood or concrete, you'll notice quicker drying times since these materials naturally absorb excess moisture.
However, non-porous surfaces will slow down the process, and high moisture content above 8% can actually cut your bond strength in half! The thinset relies on hydraulic setting action to properly cure and create a strong bond.
Common Mistakes to Avoid

When installing tile with thinset mortar, several common mistakes can derail your project and compromise the final results.
You'll want to avoid applying thinset too thick or over too large an area, and don't let it form a dry film on top. Not back buttering tiles can lead to poor adhesion and eventual tile failure. Additionally, using black iron pipes for gas applications is crucial to ensure safety and prevent leaks, just as proper thinset application ensures a durable tile installation.
Proper Mixing Methods
You'll want to start your thinset mixing expedition by getting the water-to-powder ratio just right, which typically means 5.5-6.5 quarts of clean, cool water for every 50-pound bag of thinset.
Once you've added your thinset powder to the water (never the other way around!), mix it with a power mixer or drill with a paddle attachment for 2-3 minutes until you've got a smooth, lump-free consistency that'll stick to your finger without falling off. For best results, set your power drill to a slow RPM setting while mixing.
After mixing, let your thinset take a little 10-15 minute break (we call this slaking), and then give it one more good mix before you're ready to start working with it.
Water-to-Powder Ratio Basics
Getting the water-to-powder ratio right is critical for proper thinset performance.
You'll need to carefully follow your product's specific guidelines, since there's no one-size-fits-all ratio.
Start with clean, cool water in your mixing bucket, and you'll want to add your powder gradually while measuring with clear-marked containers.
Using separate measuring containers for your water and powder will help ensure accurate mixing ratios.
Mixing Time and Consistency
Proper mixing of thinset requires careful attention to both timing and consistency.
You'll want to begin by adding clean water to your bucket, then mix in the thinset powder at low speed (around 300rpm) for 2-3 minutes until it's smooth and lump-free. Using a mixing paddle attachment will ensure thorough and efficient blending of the material.
After mixing, let it slake for 5-15 minutes, and then give it one final remix—but don't add any extra water!
Humidity Management
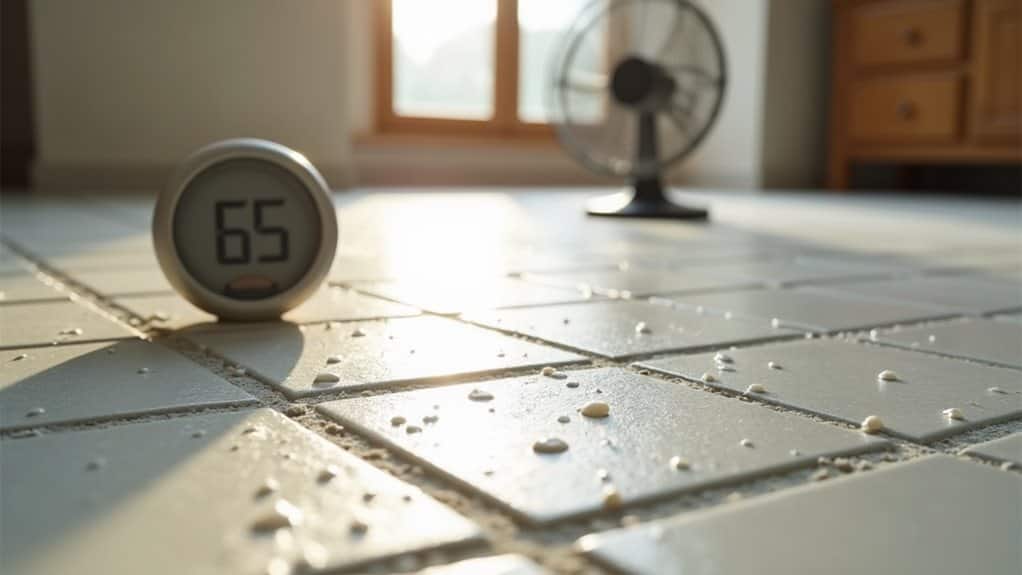
While curing thin-set mortar, humidity plays a critical role in determining both drying time and final strength.
For optimal readability and clarity of these important humidity instructions, bullet points enhance organization and quick comprehension of essential steps.
You'll want to keep your humidity levels balanced – if it's too high, you can use a dehumidifier to speed up drying, and if it's too dry, you'll need a humidifier or misting system.
Signs of Complete Curing
Beyond managing humidity, you'll need to know when your thin-set has completely cured.
Look for uniform dryness around the edges and grout lines, and perform a knock test – you're listening for a solid sound rather than a hollow one.
For ceramic tile installations, expect 4 to 6 days for proper curing to complete.
Best Practices for Application
Successful thinset application starts with precise mixing and methodical preparation.
You'll want to add your water first, then mix carefully to achieve the perfect consistency.
Once you're ready to apply, use your trowel at a 30-45° angle, working in manageable sections of about 2×3 feet. Never exceed 1/4-inch thickness when using standard thinset mortars after tile embedment.
Accelerating the Drying Process
Once you've properly applied your thinset, you can take several steps to speed up the drying process.
Keep your workspace around 70°F, set up fans for better air circulation, and control humidity levels with dehumidifiers if needed.
You'll also dry things faster by using less water in your mix, choosing quick-setting mortar, and applying thinner layers whenever possible. Make sure your substrate is completely dry and free of moisture before applying thinset to prevent drying problems.
Safety During Curing Period

Taking proper safety precautions during thinset curing is essential for your health and project success.
While you're waiting for your thinset to dry, you'll want to wear protective gear if you're working nearby, including a respirator and goggles to avoid inhaling dust.
Make sure you've got adequate ventilation, and if you accidentally get thinset on your skin, wash immediately with cool water and pH-neutral soap. Extended exposure to thinset materials can cause severe lung disease if proper safety measures aren't followed.
Overall
You've learned the essentials of thinset drying, and now you're ready to tackle your project with confidence! Remember, while you might be enthusiastic to continue working, giving your thinset the full 72 hours to cure will save you from headaches down the road. Keep those environmental factors in mind, follow the manufacturer's guidelines, and you'll be rewarded with a rock-solid installation that'll last for years to come.