How to Divide Hostas in Fall (The Right Way)
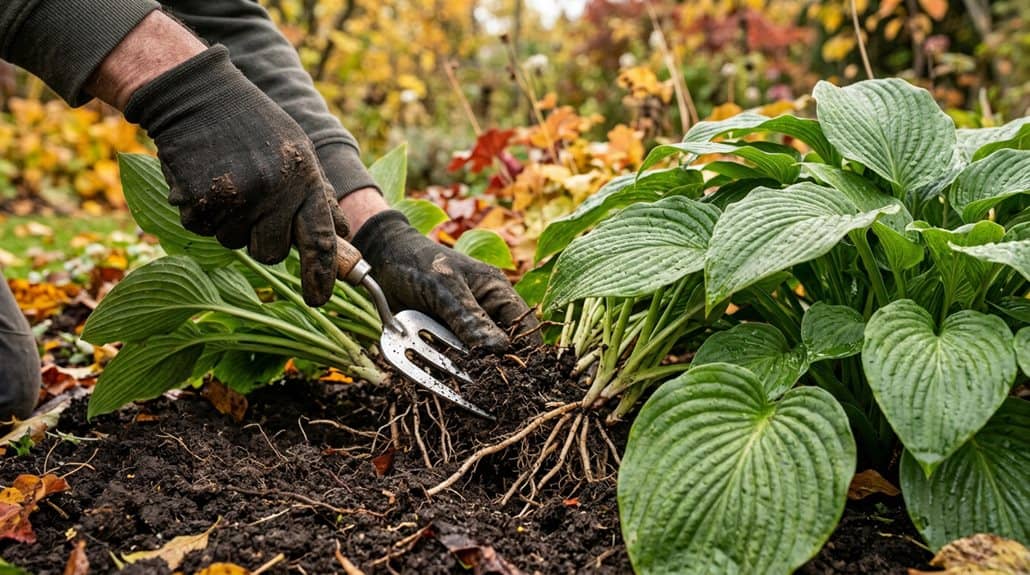
Dividing hostas in fall feels a bit like prepping for a backyard camping expedition—you’ll want your gloves, a sharp knife or spade, and all your gear lined up! Dig around the clump, gently lift, then slice those hostas into healthy sections, making sure you keep roots snug at the same depth as before and spread them out 12 to 24 inches apart. Don’t forget mulch and water! Trust me, your hostas will be thrilled for spring. Want pro-level tips and stories from the garden? Stick around!
TLDR
- Divide hostas in early fall (September to October) to promote strong root growth before winter.
- Use a sharp spade or garden knife to split healthy clumps into sections, avoiding damage to roots.
- Space new divisions 12 to 24 inches apart and replant at the same depth as before.
- Mix organic matter into the soil to boost health and support lush spring growth.
- Water thoroughly, apply mulch, and protect new plants from pests for best recovery.
Why and When Should You Divide Hostas?
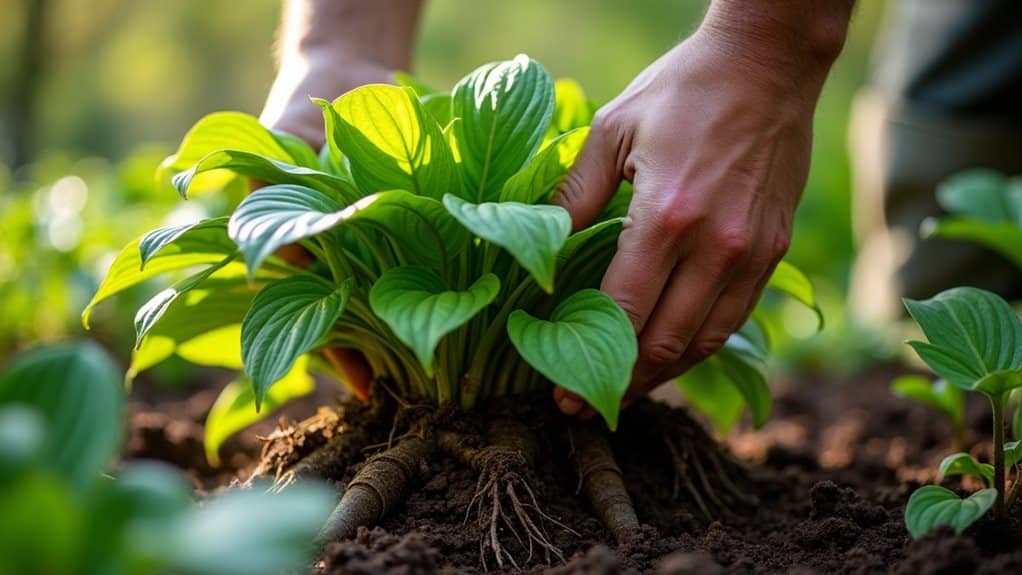
Even though you might think your hostas are just fine hanging out in the garden as they are, fall is actually the perfect time to give them a little shake-up! When you divide hostas in early fall, you’re helping them build a strong root system before winter sets in. The best time to divide is September to October, enhancing plant health and ensuring lush, happy leaves next spring! Additionally, dividing at this time allows you to assess soil test kits and improve soil conditions for better growth.
Signs Your Hostas Need Dividing
You know it’s time to grab your gardening gloves when your hostas start looking more like a wild jungle than a tidy campsite—if the middle of the clump is dying back, or the leaves are crammed together like sardines, your plants are probably begging for some space!
Have you noticed your hostas aren’t growing as fast, or their leaves are shrinking like your favorite hoodie after the dryer? Don’t ignore these signs—overcrowding and a tired-looking center are clear signals that it’s time to split up the clump, just like when you and your friends need a little extra room in your tent on a camping trip.
Ensuring proper soil contact during division helps establish healthy new plants and prevents issues like poor germination or weak growth.
Overcrowding and Clump Decline
When your hostas start looking a little tired and cramped, like campers squished into a tiny tent after a long day of hiking, it’s usually a big hint that they’re dealing with overcrowding—and trust me, they’re not sending you secret signals for fun!
Root crowding leads to clump decline, making it tough for hostas to breathe.
Divide hostas now to restore plant health and spread the camping cheer!
Reduced Growth and Vigor
Although hostas are usually the rock stars of the shade garden, it’s pretty obvious something’s up if they start shrinking back and looking more like sad, shrunken tents than the lush, leafy campsites you remember.
Reduced growth, fewer flowers, and puny leaves all scream, “Hey, we’re overcrowded hostas!”
Don’t worry—dividing hostas brings back healthy growth, revives clump expansion, and lets your garden shine again.
Tools and Materials for Dividing Hostas
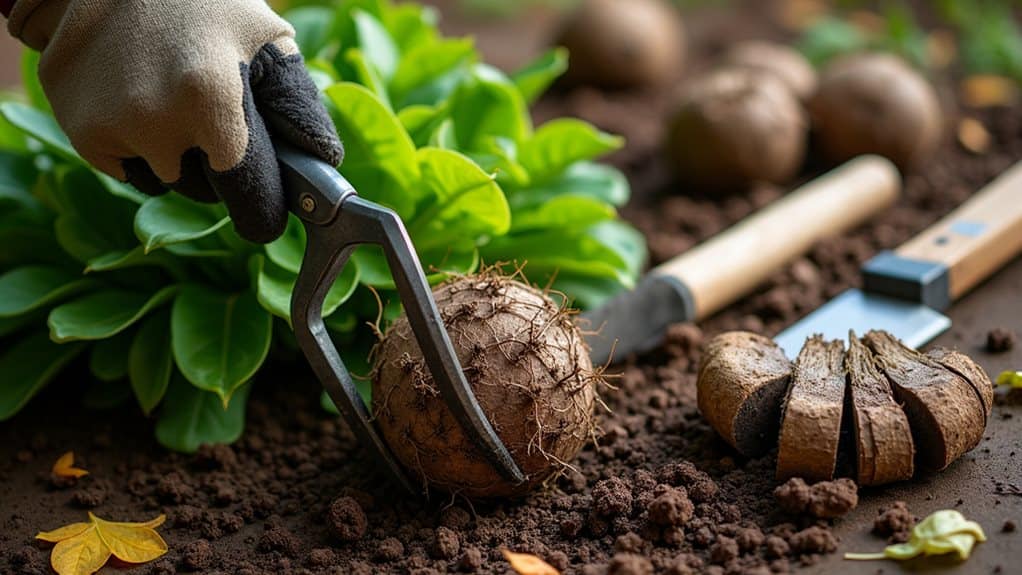
Before you plunge into the exciting expedition of dividing your hostas—think of it as a mini camping trip in your own backyard—let’s make sure you’ve got all the right gear. Because trust me, nothing ruins the fun faster than realizing you’re missing something essential halfway through the job!
Grab your tools: a sharp garden knife, trusty spade shovel, sturdy gloves, and a pile of organic matter—these are your essentials!
Step-By-Step: Dividing Hostas in Fall
Once you’ve gathered all your trusty tools and rolled up your sleeves, it’s finally time to set out on your hosta-dividing expedition—think of it as a backyard adventure where the treasure is a healthier, more beautiful garden! Start by gently digging around the root clump, then use a sharp spade to divide hostas into sections. Remember, for fall planting, keep each division healthy for successful replanting—gardening tips make all the difference! Incorporating soil health through organic amendments can also promote vigorous growth in your divided hostas.
Planting and Spacing Your Hosta Divisions
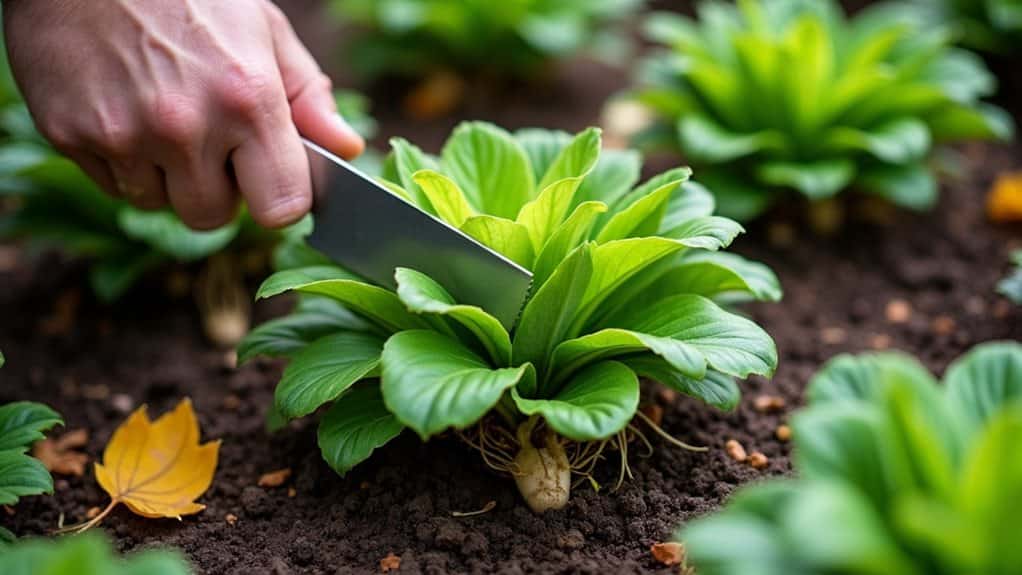
Now that you’ve got your hosta pieces ready, let’s talk about how and where to plant them so they don’t end up squished like campers in a crowded tent! You’ll want to set each division at the same depth it was growing before, and space them a good 18 to 24 inches apart—trust me, your hostas will thank you later when they’ve room to spread out like they’re on a camping trip with extra marshmallows. Remember to check your soil and site for proper plant safety to ensure healthy growth. Ready to get those roots settled in their new home and give your garden a fresh, organized look?
Proper Planting Depth Guidelines
Although it might sound as tricky as pitching a tent in the dark, getting your hosta divisions planted at the right depth is actually pretty straightforward, and I promise it’s way less likely to end with mud on your face!
When you divide hostas, just plant each division so the crown sits right below the soil surface, roots fanned out, using well-drained, nutrient-rich soil for proper planting depth—don’t bury them too deep!
Optimal Spacing for Growth
Getting your hosta divisions tucked in at the right depth is just the first step—think of it like picking the perfect camping spot before you set up your tent, but there’s still more to do before you can roast marshmallows!
Now, focus on spacing those plant divisions about 12 to 24 inches apart, depending on their mature size. Proper placement guarantees airflow, healthy growth, and happy, thriving hostas—no squished campers here!
Aftercare: Watering, Mulching, and Protecting New Divisions
Even though dividing your hostas might feel like the big excursion is over, the real fun actually begins with taking care of your new leafy buddies! Keep watering those new divisions so the soil moisture stays just right—think of it like refilling canteens on a camping trip.
Add mulching to help regulate temperature, and don’t forget to protect those hostas from pesky slugs with barriers or diatomaceous earth!
Avoid These Mistakes When Dividing Hostas
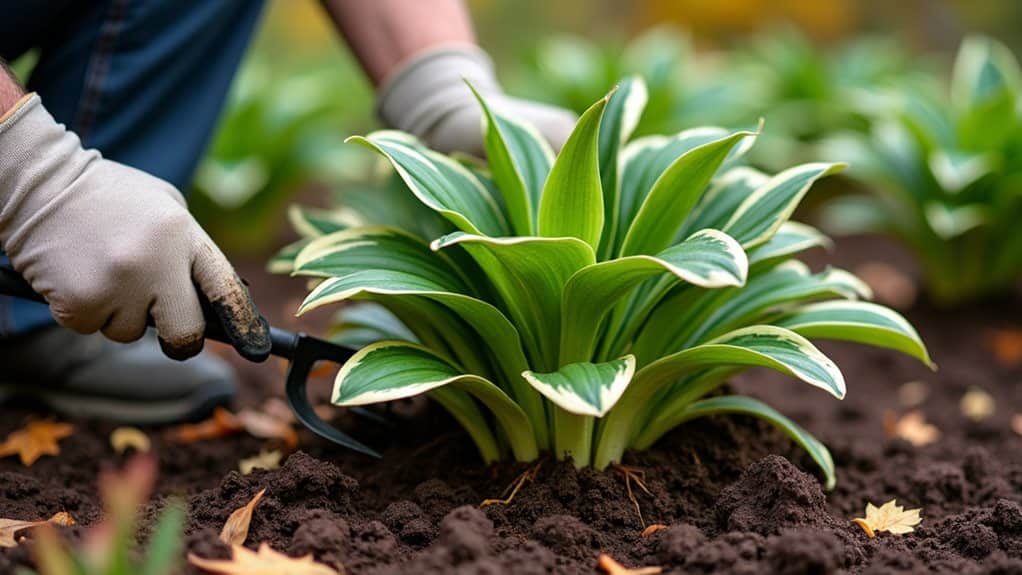
Since you’ve made it this far in your hosta expedition, let’s make sure you don’t get tripped up by some common pitfalls along the trail! When dividing hostas, always watch out for plant damage—don’t cut roots when the soil’s soggy or frozen. Using the correct water depth around the plant can help prevent stress and damage during the process. Use proper timing, give each piece enough shoots and roots, and replant quickly to prevent transplant shock. Your plant health will thank you!
Troubleshooting Common Problems After Division
While dividing hostas in fall can feel like a grand expedition—almost like pitching your tent under a woodland canopy—sometimes the trek doesn’t go exactly as planned, and that’s totally normal!
Be vigilant about watering, but don’t drown them or you’ll risk root rot.
Keep an eye out for signs of disease or pest activity, like sneaky slugs, and always remove any damaged leaves to support plant health.
Pay attention to proper tapping techniques to ensure healthy root development and prevent issues during replanting.
Overall
So, are you ready to grab your trowel and become the ultimate hosta-splitting champion? Dividing hostas in fall isn’t rocket science—it’s more like a backyard escapade, with a little dirt, a few tools, and maybe a worm or two. Just follow the steps, give your new plants some TLC, and you’ll have a garden that’s lusher than a campsite after a rainstorm. Trust me, your hostas (and maybe your neighbors) will thank you!