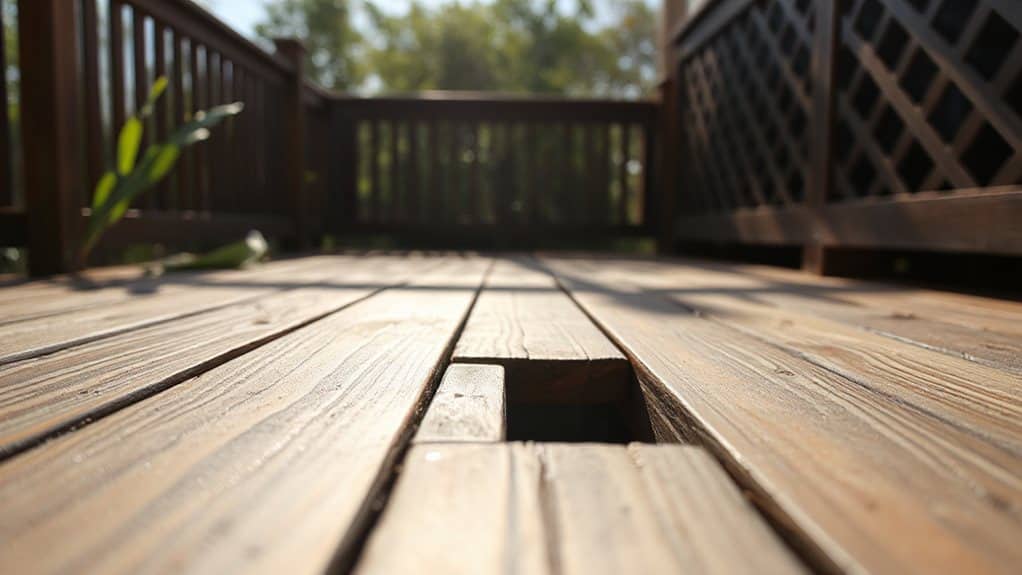
How to Stop Deck Boards From Warping
Pick a stable wood—ceder, redwood, or Accoya—so it won’t twist after a rainstorm, and cut each board with a ¼‑inch gap and a ½‑inch deep groove near the middle to let moisture escape; store the planks flat on blocks for a week, seal them with a UV‑blocking finish, and use 16‑dime nails or hidden clips with a little extra length in dry climates; keep joists 16 inches apart, slope the deck away from the house, and add vented plastic barriers for airflow, then you’ll see a flat, sturdy surface that stays cool on camping trips, and the next steps will show you even more tricks.
TLDR
- Choose dimensionally stable lumber (quarter‑sawn, pressure‑treated softwood, cedar, redwood, or Accoya) and seal it regularly.
- Install boards with bark side up, grain perpendicular to joists, and leave a ¼‑inch expansion gap between each board.
- Space joists 16 inches (or 12 inches for diagonal layouts) and provide airflow with vents and a slight deck slope away from the house.
- Pre‑drill or groove board ends (½‑inch deep, ⅛‑inch wide, 8 inches from edges) to allow controlled movement and prevent cupping.
- Store boards flat on elevated blocks, allow 7‑14 days acclimation, and keep them dry with a protective barrier and proper ventilation.
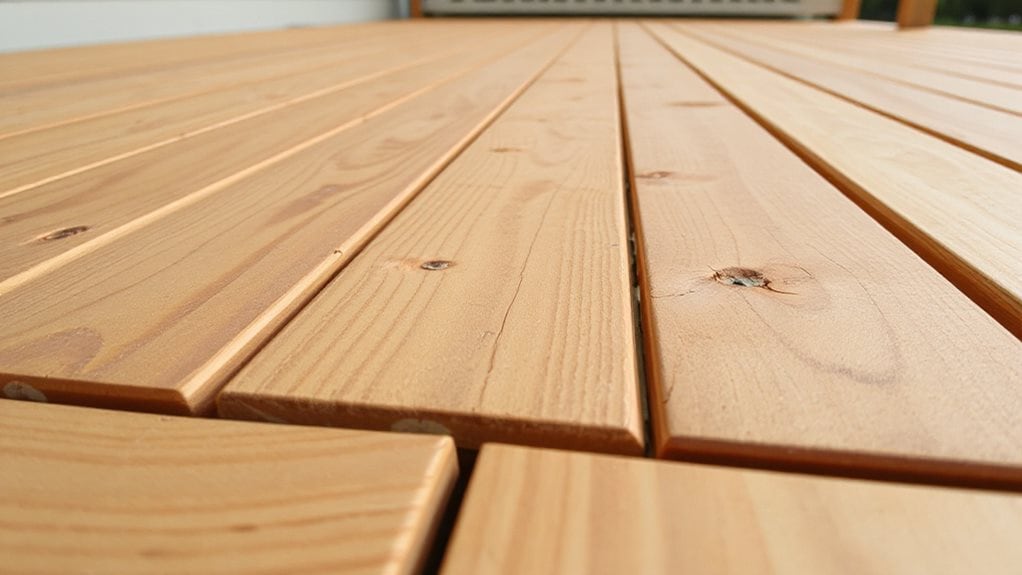
How to Choose Wood That Prevents Deck Warping
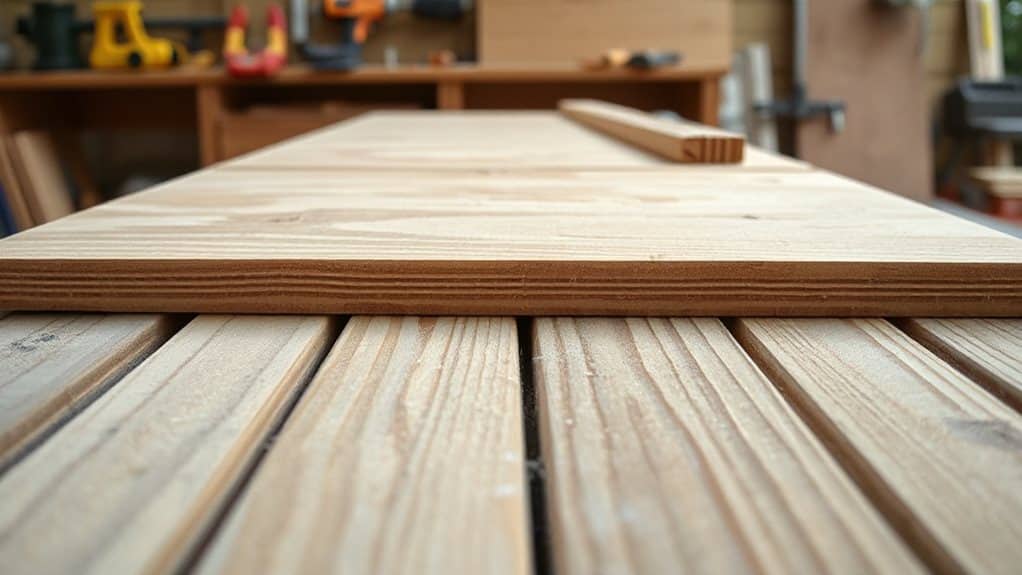
So, how do you pick the perfect wood that won’t turn your deck into a wavy surfboard? Choose pressure‑treated softwoods for budget‑friendly durability, but seal them often to avoid warping. Go for naturally resistant cedar or redwood for oil‑rich protection, or premium Accoya for cool, stable decks. Opt for dense, quarter‑sawn lumber, and skip flat‑sawn planks that love to twist. Use dimensional stability to ensure the wood resists warping over time. Many indoor gardening kits recommend coconut coir as a stable, low‑shrinkage growing medium that illustrates the same principle of choosing materials with minimal movement as they dry.
How to Orient and Space Deck Boards for Stability
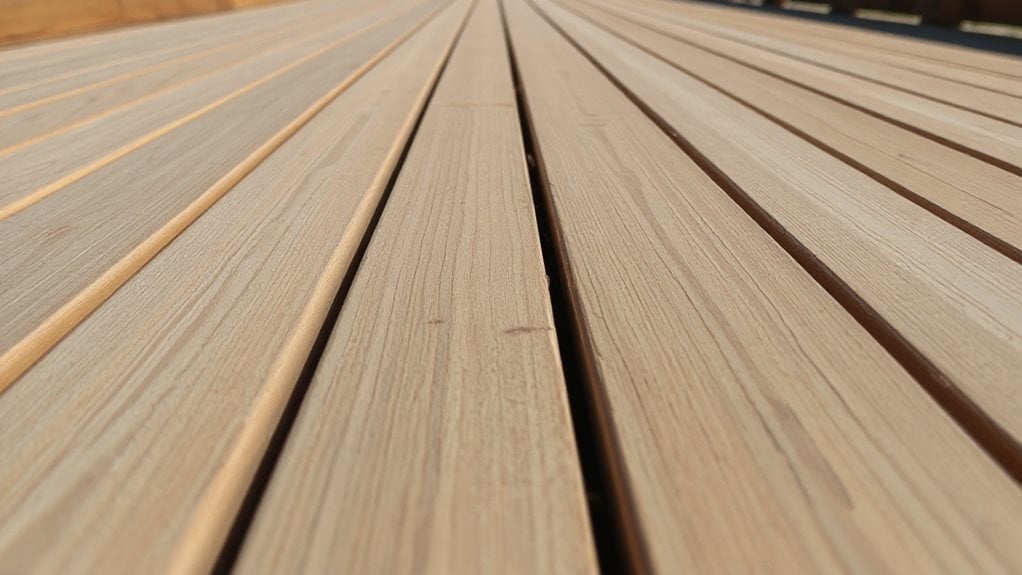
You’ll want to line up each board so the bark side faces up and the grain runs perpendicular to the joists, because that orientation lets water drain off the edges instead of soaking the middle, which keeps the deck from cupping like a soggy sandwich.
Have you tried leaving a ¼‑inch gap between boards and spacing the joists 16 inches apart (or 12 inches for a diagonal pattern) to give the wood room to breathe and expand without warping?
Give it a go, and you’ll see the deck stay flat and sturdy—plus you’ll have more space for your camping gear and a good laugh when the boards stay put!
Also, if any nearby outdoor outlets are buzzing or showing signs like warmth or burning smells, shut them off and call an electrician to avoid a potential fire hazard.
Directional Board Placement
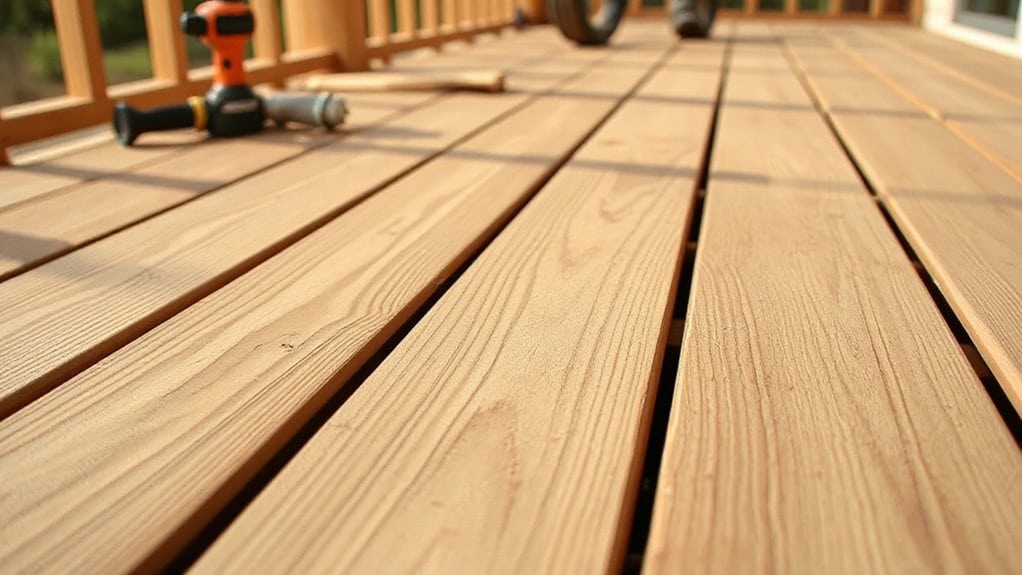
A lot of people think the only way to lay deck boards is straight across the joists, but actually you’ve got three solid options—perpendicular, parallel, or even diagonal—each with its own tricks for keeping the surface stable and looking sharp.
Choose perpendicular for strength, parallel for siding harmony, or diagonal for flair; always slope away from the house, add blocking when mixing directions, and double‑check joist spacing before cutting, so your deck stays flat and fun for every backyard adventure.
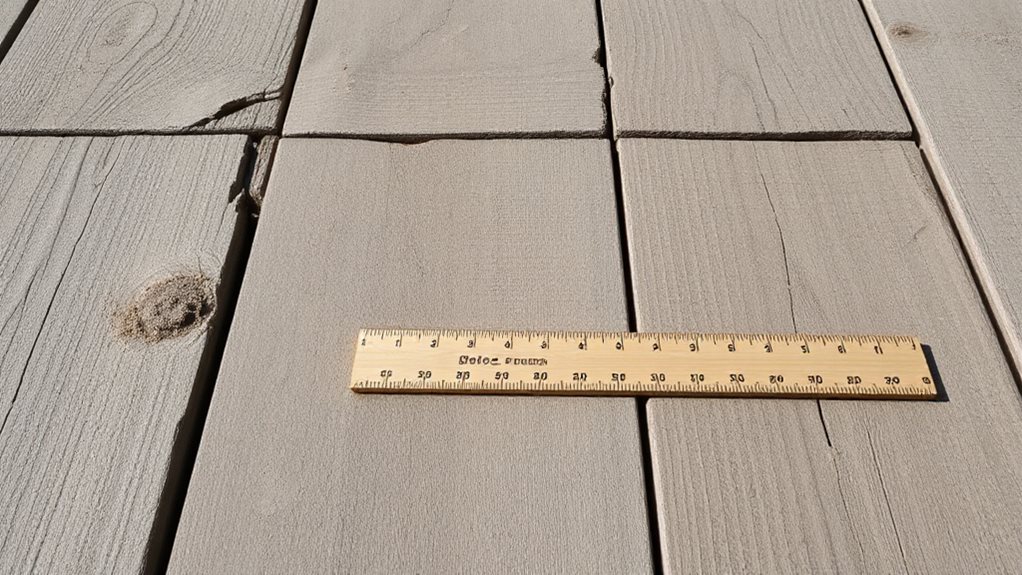
Optimal Gap Spacing
Ever wondered why a perfectly laid deck can suddenly look like a wavy surfboard after a rainy weekend?
You’ll keep boards happy by leaving a 3/16‑inch gap for dry wood, or no gap at all for freshly treated boards that will shrink later. Use 16D nails as spacers, add 1/16‑inch extra in dry climates, and start each row 1/8‑inch from the siding for drainage and airflow.
How to Cut Grooves That Stop Warping and Cupping
You’ll want to space the grooves about the middle of each board, stopping roughly eight inches from each edge so they stay hidden, and make them half an inch deep and a eighth of an inch wide to let the wood breathe without looking like a pothole.
Have you tried using a circular saw with a fence or a router set to 13/32″ from the bottom—both give you that neat, even kerf that eases internal stress and keeps cupping at bay?
Go ahead and mark the spots, clamp the boards, and cut those slots in one smooth pass; you’ll feel like a camping‑trip carpenter, and the deck will stay flat as a lake on a windless night.
For outdoor decks, also consider installing corrosion-resistant hardware and proper connectors like galvanized hangers to ensure long-term structural durability.
Groove Placement Guidelines
When you’re gearing up to build a deck that won’t turn into a wavy sea of wood, the secret sauce starts with where you cut those little relief grooves on the underside of each board—think of them as tiny “breathing passages” that let the fibers expand and contract without throwing a tantrum. Place two 1/8‑inch kerfs, eight inches from each end, spaced evenly along the board’s length, and avoid fastener zones; this keeps stress balanced, prevents cupping, and lets the wood breathe while you serve your guests.
Depth and Width Standards
After you’ve nailed the groove placement, the next step is figuring out just how deep and wide those slots should be so the boards stay flat and happy. Aim for a 13/32‑inch depth, half‑through the board, using D = (C‑A)/2 to center it, and cut a ½‑inch (13 mm) width for hidden clips; adjust angle for wider cuts, keep tolerances tight, and double‑check manufacturer specs before you start.
How to Store Deck Boards Flat Until Installation
Ever wonder why your deck boards end up looking like a wonky roller coaster?
Store them flat in a cool, dry spot near the future deck, elevate each board 4‑12 inches on sturdy blocks, and keep a consistent height so weight spreads evenly.
Slip shims between layers, leave gaps for airflow, and cover the top to shield from rain and sun, then let them acclimate 7‑14 days before you install.
Also inspect for dark stains or soft spots on stored boards, since moisture damage can lead to warping and rot.
How to Add Barriers and Ventilation for Moisture Control
Ever wondered why a deck can feel like a soggy campsite after a rainstorm? You’ll love installing a heavy‑duty plastic barrier, overlapping seams a few inches, then sealing edges tight so water can’t creep up.
Add vents and space gaps—1/8” to 5/16”—so fresh air whisks moisture away, like a breezy campfire night, and use joist tape plus a slight slope to keep the whole thing dry and happy.
How to Seal, Prime, and Coat Deck Boards for UV Protection
Ever wonder why a sun‑baked deck can turn into a faded, splintered mess faster than a campsite tent in a storm?
First, clean and dry the boards, fill cracks, then test a tinted or solid‑stain sealer that contains zinc nano‑particles or iron‑oxide.
Apply a thin morning in the morning, brush edges, roller the rest, back‑roll for even absorption, and repeat for a second coat—your deck stays vibrant and war‑free. Courts favor evidence‑backed solutions when documenting property damage.
How to Select Fasteners That Keep Boards From Moving
Now that you’ve got your deck sealed and protected from the sun’s UV punch, the next step is making sure the boards don’t start doing the hokey‑pokey when the weather changes.
Choose hidden fasteners for thick, narrow boards, but skip exotic hardwoods—face‑screw those instead.
Stainless steel resists traffic, nylon avoids rust, and star‑drives keep cam‑out low.
Add construction adhesive, space screws evenly, and enjoy a deck that stays tight, just like a well‑packed camping tent.
Seasonal Deck Maintenance Checklist to Prevent Warping
Some folks think a deck is just a place to sit, but it’s actually the backstage crew that keeps your camping escapades from turning into a soggy disaster. In spring, sweep debris, wash gently, tighten screws, and seal with UV‑resistant coating.
Summer: sweep, rinse, re‑seal, check water‑beading, and inspect hardware.
Fall: clean, seal, inspect gaps, and use deck‑safe cleaners.
Winter: clear snow, use pet‑safe melt, and keep ventilation open.
How to Repair or Replace Warped Deck Boards Safely
After you’ve swept away the leaves and sealed the boards for each season, the next step is tackling those pesky warps that can turn a perfect campsite into a wobble‑world. Inspect every board and hidden screw, clamp or pry a twisted plank, then re‑screw it snugly; if the bow or cup is severe, pry it out, trim the ends for proper gaps, and reinstall with fresh fasteners and sealant, keeping expansion space generous to stop future warps.
Overall
You’ve got the tools and tricks to keep your deck boards flat, so you’ll spend more time lounging and less time fixing warps—sounds like a win, right? Picture yourself sipping cocoa on a sturdy, sun‑kissed porch, knowing the wood won’t twist under the summer heat. Remember to cut those neat grooves, store boards flat, and seal them tight; it’s like giving your deck a superhero cape. Keep an eye on fasteners and ventilation, and you’ll enjoy a warp‑free haven for years, no camping‑trip repairs needed.