Why Did My Herbs Suddenly Stop Growing?
You’ve probably hit a roadblock because the soil got compacted, the water’s off‑balance, or the herbs are missing nitrogen, phosphorus, or potassium, so the roots can’t breathe or soak up nutrients; check if water soil feels hard or soggy, do a quick finger‑moisture test, look for yellowing leaves or purple stems, and add a 3‑inch compost layer plus a pinch of rock phosphate or gypsum, and you’ll see the growth sprint back—keep going and you’ll uncover the exact fixes.
TLDR
- Soil compaction reduces aeration and water drainage, limiting root expansion and oxygen uptake.
- Over‑watering causes soggy soil, leading to root rot and stunted growth; check moisture with finger or probe tests.
- Nutrient deficiencies (N, P, K) manifest as yellowing, purple stems, or brown leaf margins, impeding development.
- Incorrect pH prevents nutrient availability; adjust with lime, sulfur, or gypsum based on testing.
- Insufficient light or improper light spectrum (less than 6 hours direct or unsuitable LED wavelengths) hampers photosynthesis.
Identify Soil Compaction and Drainage Problems
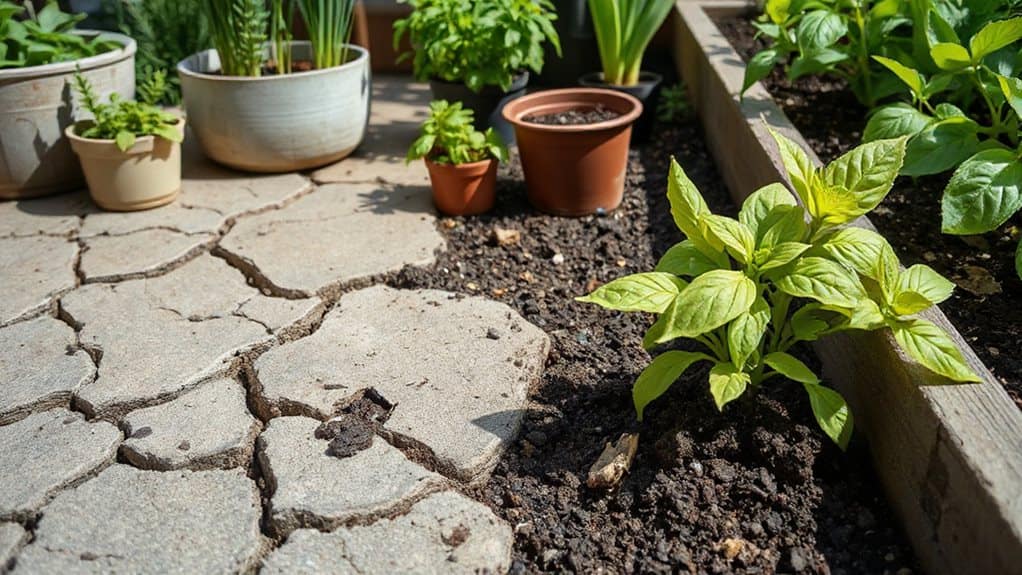
When you’ve got soil that feels as hard as a packed‑down sleeping bag after a weekend of camping, you’re probably dealing with compaction, and that’s a big red flag for drainage problems. You’ll notice water pooling, roots hugging the surface, and a drop in oxygen—your herbs can’t breathe or spread, so growth stalls. Check porosity, feel resistance, and imagine the soil as a cramped campsite: no room, no fun. Bulk density increases as a direct effect of compaction, reducing the space available for roots and water movement.
Adjust Watering to Prevent Over- or Under-Watering
If your soil feels like a packed‑down sleeping bag, the next step isn’t just to loosen it up—you’ve got to rethink how you water those herbs, because the right moisture level is the difference between a thriving garden and a wilted mess. Check moisture one inch down, group Mediterranean and moisture‑loving herbs, water roots until it drains, mist in dry months, and adjust seasonally—your herbs will thank you. If you’re disposing of dead garden wildlife, follow safe handling and disposal practices to protect soil and water, including wearing gloves and avoiding contact with nearby water sources, and consult local regulations before proceeding.
Spot Nitrogen, Phosphorus, and Potassium Deficiencies That Cause Stunted Herb Growth
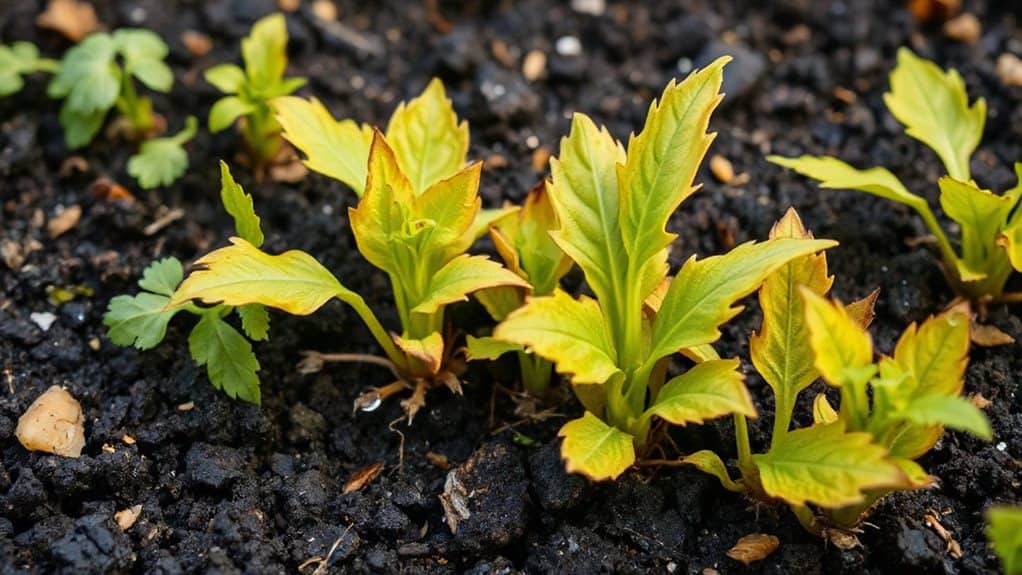
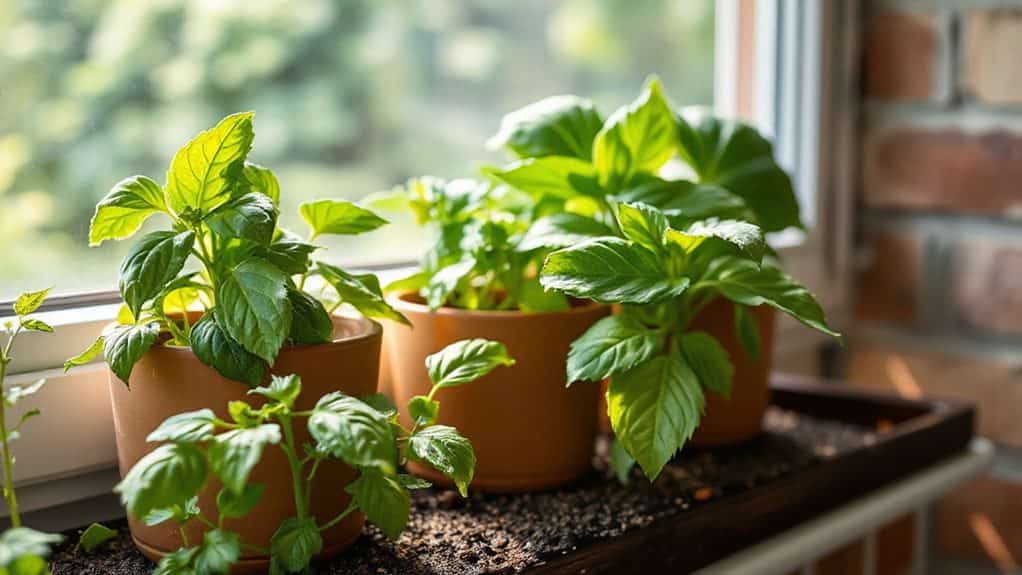
Envision this: your herb garden looks like a tired backpack after a long hike—everything’s a little flat, the colors are muted, and the growth just isn’t happening. You’ll spot nitrogen‑starved leaves turning yellow at the tips, phosphorus‑deficient stems turning purple, and potassium‑lacking edges browning and curling; check older leaves first, then compare stem color, leaf margins, and overall vigor to catch each deficiency early. Many herbs are shallow-rooted and benefit from enriched topsoil and proper drainage, so amend the top 6–12 inches with compost and monitor moisture to help recovery (topsoil depth).
Test and Balance Soil pH for Optimal Nutrient Uptake
You’ll want to test your soil’s pH regularly—just mix a scoop of dirt with water, stick in a meter or strip, and you’ll see if it’s too acidic or alkaline, which can make nutrients like phosphorus and iron disappear the the way a campsite’s map can hide a hidden trail.
If the numbers are off, adjust them with the right amendment: lime for acidic patches, sulfur for alkaline spots, and remember to work it in well before planting, because a well‑balanced pH is the secret sauce that lets your herbs soak up everything they need.
Keep an eye on the results, and you’ll catch any nutrient deficiencies early—think of it as checking your gear before a hike, so you’re never caught flat‑footed on the trail.
In very cold climates you may also need to monitor and protect nearby propane tanks to ensure consistent heat for overwintering herbs.
Test Soil pH Regularly
Ever wondered why your herbs sometimes look like they’ve taken a vacation? You should test soil pH regularly, because tiny pH shifts can starve roots of nutrients. Grab a kit or send a cup of air‑dried soil to a lab, sample at multiple spots, mix with distilled water, and record results. Consistent testing catches problems before yellow leaves appear, keeping your garden thriving.
Adjust pH With Amendments
Ever wondered why a simple tweak in soil chemistry can feel like packing a fresh map for a camping trip? You can lower pH with elemental sulfur—15‑20 lb per 1,000 ft² in loam—or speed it up using aluminum sulfate, especially for blueberries, then wait a month before planting.
To raise pH, sprinkle limestone: 2 lb for sand, 3.5 lb for loam, 5 lb for clay, mix 6‑12 inches deep, water thoroughly, and enjoy healthier herbs.
Monitor Nutrient Availability
After we’ve got the pH dialed in, the next quest is checking what nutrients are actually hanging out in the soil, because even a perfectly balanced pH won’t help if the herbs are starving for phosphorus or magnesium.
Sample the root zone, mix several spots, run a saturated‑media extract, compare P, K, Mg, Fe, Mn levels, then tailor your fertilizer blend, ensuring every herb gets its essential feast.
Provide Sufficient Sunlight or Supplemental Light for Healthy Herbs
You’ll want to make sure your herbs soak up at least six hours of bright, direct sunlight each day, because that much light fuels the photosynthesis they need to stay vigorous and aromatic.
If you’re stuck indoors or your garden’s in a shady spot, grab a full‑spectrum LED grow light and position it about a foot above the pots, running it on a 12‑hour cycle to mimic a sunny summer afternoon.
And don’t forget to check the light’s intensity—aim for a balanced mix of blue and red wavelengths, because the right spectrum keeps the leaves lush while the right placement prevents a scorched, camp‑fire‑like mess!
Consider energy-efficient, low-wattage USB or clip-on full-spectrum lights as a space-saving option for apartments and small indoor gardens.
Optimal Light Duration
So, how many hours of light does your herb garden actually need to thrive? Aim for 12–14 hours daily, never exceeding 18, and give at least six dark hours for recovery; seedlings love 18–20 hours, vegetatives 14–18 hours, and you’ll notice sturdier leaves and fewer leggy stems when you balance light and darkness, just like setting a perfect camp‑fire schedule.
Right Light Spectrum
Ever wonder why your basil looks like a sleepy camper who missed the sunrise?
You need full‑spectrum LEDs that mimic natural light, especially 400‑500 nm blue for leafy growth and a touch of 600‑700 nm red for balance.
Aim for 400‑600 PPFD, 6‑8 hours daily, and adjust distance so leaves stay lively, not burned—think campsite lighting, just for herbs.
Strategic Light Placement
After you’ve nailed the right blue‑red mix, the next step is getting that light where the herbs actually soak it up, and it’s a lot like setting up a campsite: you want the fire (or LED) in the perfect spot, not too close to burn the tent and not too far that the marshmallows stay cold. Position herbs near south‑facing windows, use white walls or foil to bounce light, keep LED fixtures 12‑14 inches above, rotate pots weekly, and give each plant 12‑14 hours daily for thriving growth.
When Light and Water Are Adequate: Detect and Treat Common Pests and Diseases
Ever wonder why your thriving herbs suddenly look like they’ve been hit by a tiny army of invaders, even though you’ve nailed the light and water?
Spot aphids, mealybugs, thrips, spider mites, or whiteflies by checking leaves, sticky cards, and honeydew; zap them with a strong water spray, insecticidal soap, neem oil, or introduce lady beetles, then keep scouting weekly to protect your garden crew.
Plant aromatic herbs like rosemary or mint nearby to help confuse pests and attract pollinators, acting as a fragrant protective shield for your vegetables and herbs.
Repot Root-Bound Herbs Properly to Restore Growth
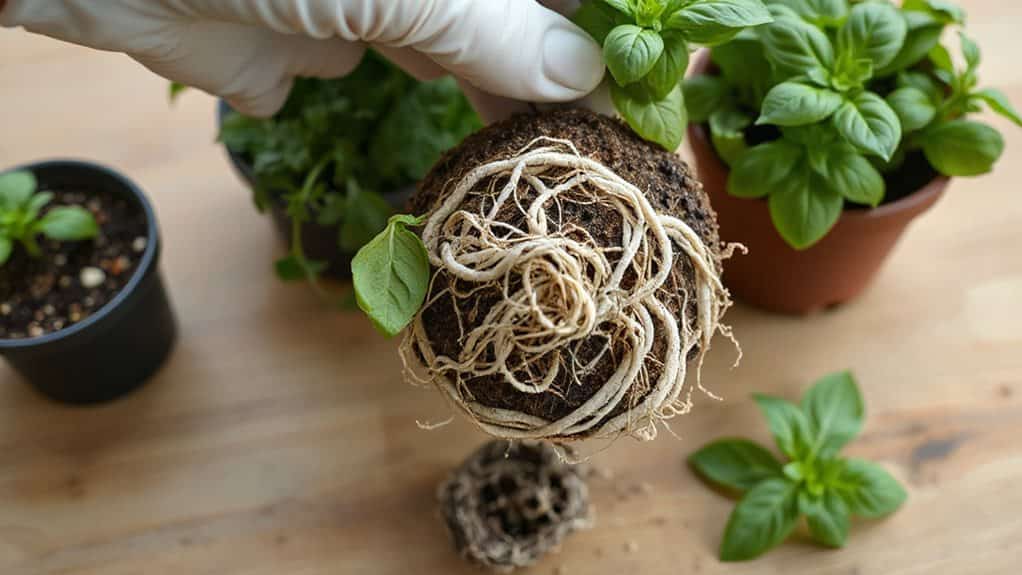
If your herbs look like they’re stuck in a tiny, cramped bunker, it’s probably because they’ve become root‑bound, and the good news is you can free them up and watch them bounce back faster than a squirrel on a zip‑line.
Water them before you move them, gently massage or slice the tangled roots, trim away a third at most, then repot into a pot two inches larger with fresh soil, and they’ll perk up, ready to share their flavor.
Amend Soil to Fix Stunted Herb Growth With Compost and Organic Fertilizers
When your herbs look like they’ve been stuck in a tiny, cramped bunker, the real culprit is often soil that’s run out of life, but you can revive them by amending the ground with compost and organic fertilizers—think of it as giving your plants a nutrient‑packed backpack for a hiking excursion.
Spread a 3‑inch compost layer, work it into the top 10 inches, sprinkle worm castings for mint or parsley, and add a pinch of rock phosphate or gypsum in spring.
Your herbs will thank you, and you’ll feel like a camp‑cook serving a feast.
Fast Soil-Moisture Tests for Busy Gardeners
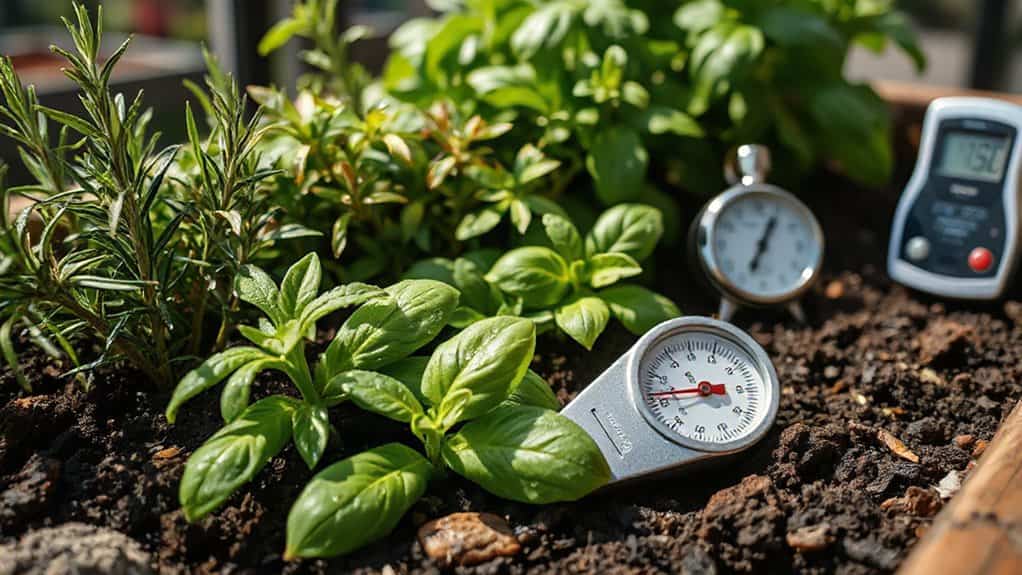
You can just stick your finger into the soil a couple of inches deep and feel whether it clumps or crumbles—if it sticks together, you’ve got moisture, and if it falls apart, it’s bone‑dry, which is perfect for a quick check while you’re out on a camping hike.
Have you tried a cheap soil probe, like a bamboo stick or a screwdriver, and watched the dirt cling to it after a 30‑second wait?
Give it a go next time you’re setting up camp, and you’ll know instantly if your herbs need a drink without lugging around fancy gadgets.
Finger Moisture Check
Ever wondered why a quick finger‑dip can feel like a secret shortcut for busy gardeners? You push your index finger 1‑2 inches into the soil near the stem, feeling for that clean, dry tip that screams “water now,” while a moist fingertip tells you to hold off.
It works for houseplants, seedlings, and tall crops alike, preventing over‑watering, saving pests, and keeping growth happy.
Quick Soil Probe Test
After you’ve refined the finger‑moisture check, the next shortcut for busy gardeners is the quick soil probe test—think of it as the “speed‑run” version of a full soil analysis, letting you gauge moisture levels without a lab coat or a day‑long experiment. You push a simple probe into the dirt, watch the resistance, note how wet it feels, then compare to your garden’s watering schedule, ensuring herbs stay happy and hydrated.
Run a Step-by-Step Diagnosis of Stunted Herb Growth
So, what’s the first thing you should check when your herbs start looking like they’ve taken a permanent vacation? Feel the soil—if it clings to your finger, you’re probably overwatering, so pull the plant out, trim mushy roots, and look for brown, water‑soaked tips.
Next, size the pot; if roots crowd drainage holes, upgrade to a larger container with fresh, airy mix.
Finally, sniff for humidity and spot any fuzzy mold or tan‑brown spots, because damp air invites mildew and fungal rot, which you’ll need to prune away and improve airflow.
Overall
Now that you’ve checked the soil, water, light, and pot size, you’ve got the tools to rescue those sleepy herbs—so grab a trowel, add some compost, give them a good soak, and watch them bounce back like a camper finding a perfect campsite. Remember, a little tweak here or there can turn a wilted mess into a thriving garden party, and you’ll be bragging about your herb‑heroics at the next backyard BBQ!