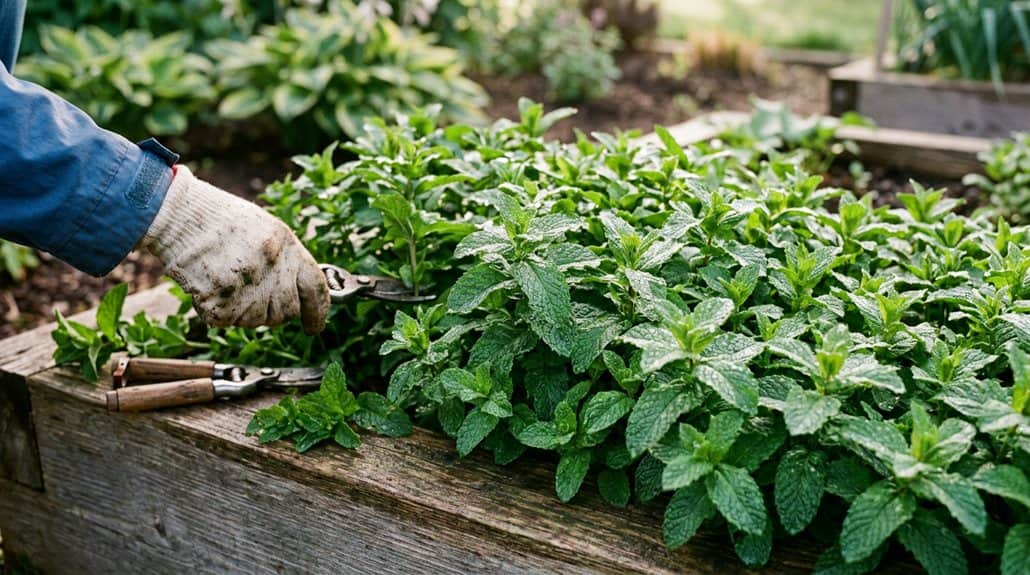
Mint Taking Over Your Garden? How to Control It for Good
Mint taking over your garden? Don’t freak out—grab some cardboard or old newspapers, soak them, and smother those mint patches like you’re packing for a rainy camping trip—it really works! Yank out every root you can, whack mint back before it gets wild, and pour boiling water or vinegar on the escapees (just don’t splash your other plants!). Growing mint in pots or with sturdy barriers is a *transformative* solution; trust me, persistence pays off. Want more clever tricks? Stick around!
TLDR
- Dig out all visible mint and root fragments to prevent regrowth and spread.
- Smother mint patches with soaked cardboard or newspaper and mulch to block sunlight.
- Grow mint in containers or raised beds to confine roots and prevent invasion.
- Regularly harvest and trim mint to stop flowering and seed dispersal.
- Use vinegar or boiling water on mint patches for deep and targeted control.
How to Quickly Control Mint in Your Garden
Ever wondered why mint seems determined to conquer every inch of your garden, like it’s launching its own little minty invasion?
To quickly control mint plants, cover small patches with soaked newspaper, cardboard, and wood chips to block sunlight—trust me, your chocolate mint won’t like it!
Cut mint back before it flowers, dig out roots, try vinegar or boiling water, and make sure your garden space stays mint-free.
Additionally, preventing mint from spreading by removing root fragments can help keep it from regrowing and taking over new areas.
Contain Mint With Pots, Raised Beds, or Barriers
If you love to travel or camp and want to come back to a garden that’s not completely taken over by mint, you’ve got to try growing it in pots or raised beds.
Because trust me, letting those roots run wild is like inviting a herd of goats into your tent—total chaos! Have you ever buried a pot in the ground or set up a plastic edge around your plants?
Give it a shot, since these barriers act like invisible fences, keeping your mint exactly where you want it (and saving the rest of your veggies from a minty invasion).
Growing Mint in Containers
Honestly, have you ever tried to keep mint from invading every inch of your garden, only to find it popping up like an uninvited guest at a campsite?
Try growing mint in containers or pots! Use planters with drainage holes, sink them into the soil or set them on bricks, and trim around the edges regularly.
You’ll keep those sneaky roots from crashing the rest of your plants’ party!
Installing Physical Root Barriers
Pots and planters are awesome for keeping mint in check, but sometimes you want your garden to look a little more wild and free—without actually letting mint go on a full-blown camping trip across your backyard!
Try sinking containers or raised beds with barriers like buried slabs or thick plastic. Trust me, mint roots are sneaky campers, so inspect those barriers often to stop escapees!
Harvest Regularly to Prevent Mint From Spreading

Whenever you’re out camping or traveling, you know the importance of keeping your backpack organized—well, mint in your garden is a bit like that one friend who tries to sneak extra snacks into every pocket, and before you know it, there’s mint everywhere!
To tame it, harvest those stems weekly. Snip them often, keep it bushy, and don’t let flowers set seeds—your garden will thank you!
Dig Up Mint Roots for Deep Removal
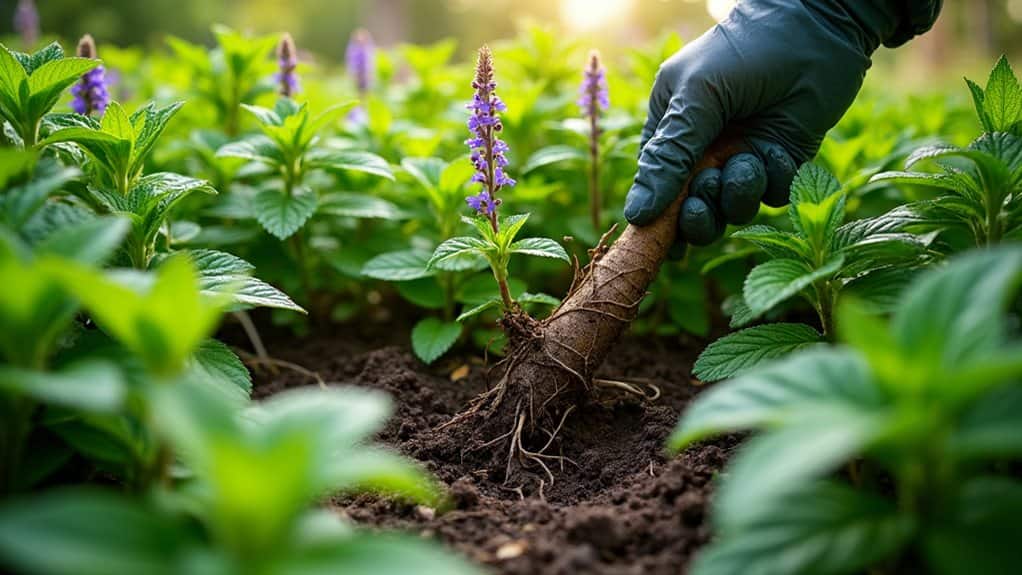
Ready to tackle those sneaky mint roots that seem to pop up everywhere, even when you’re dreaming of camping out in a mint-free wilderness? First, let’s spot those stubborn underground runners.
Then you’ll want to grab a sharp trowel or shovel—trust me, yanking them out is almost as satisfying as finding the last s’more at a campsite! Don’t forget, you’ll need to check for hidden root pieces and get rid of every bit, or else your mint will stage the ultimate comeback, like a green villain in a garden escapade movie. Be mindful of toxic plants that might grow nearby, which can cause health issues for pets or humans if ingested.
Identifying Mint Root Systems
Imagine you’re on a backyard camping expedition, getting ready to pitch your tent—only to find that sneaky mint has been busy setting up its own underground campsites!
Mint roots, called rhizomes, stretch out sideways, sometimes several feet from where you last saw leaves. If you want to help your garden thrive, learn to spot these sneaky root runners, and don’t underestimate how far they’ll travel!
Effective Digging Techniques
Even if you think you’ve spotted every last mint leaf above ground, there’s a whole secret network going on just below the surface. So grabbing your favorite trowel or shovel is the first step to outsmarting these garden escape artists.
Dig deep, gently loosen the soil, and carefully pull out the root mass—trust me, those sneaky rhizomes can stretch far! Double-check for stragglers and remove them.
Preventing Regrowth After Removal
Once you’ve gone all Indiana Jones with your trowel and dug up what looks like every mint root in sight, it might feel like you’ve finally won the battle—but don’t let your guard down just yet!
Even the tiniest mint root piece can sprout again, so dig deep, check every crevice, and toss those roots far away or dry them out.
Keep revisiting—mint loves a comeback!
Smother Stubborn Mint Patches With Mulch or Cardboard
When mint just won’t quit trying to take over your garden, it’s time to fight back with a little undercover operation—literally! Grab some thick cardboard or a stack of soaked newspapers and blanket those pesky mint patches, making sure everything is soaked well so sunlight can’t sneak in. Keep it covered for 6-8 weeks, and watch the mint surrender—campfire stories not required, but highly recommended! To prevent regrowth, ensure the area has proper soil drainage and consistent moisture management.
Mow or Cut Back Mint Before It Seeds
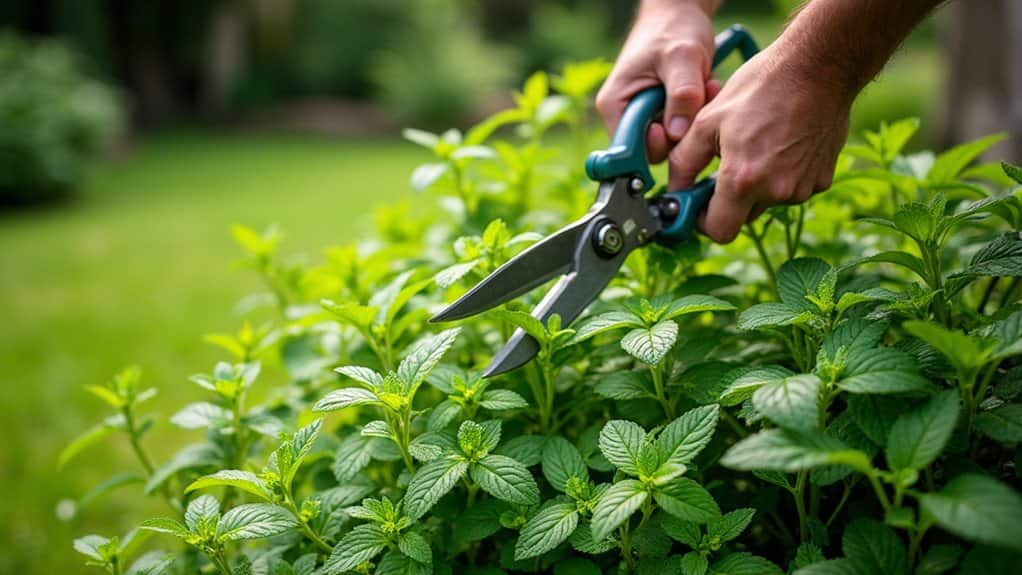
Before you let mint throw its wild seed party all over your yard, let’s talk about mowing and cutting it back—because trust me, this is one camping trip you don’t want to host!
Grab your mower, set it high, and chop the mint before it flowers.
Snip at the leaf nodes, and you’ll not only stop seeds from spreading, but also encourage bushier, friendlier growth.
Monitoring seed dispersal helps prevent unwanted spread and keeps your garden under control.
Kill Small Mint Patches With Vinegar or Boiling Water
Even though mint thinks it can set up camp wherever it pleases, you’ve got some powerful tricks up your sleeve to reclaim your garden!
Grab some concentrated vinegar and give those mint patches a good spray—don’t be shy, they need a few rounds.
Or, channel your inner camper and pour boiling water right on the stems and roots, but watch out—don’t scorch your favorite flowers nearby!
Keep Mint From Returning With Simple Maintenance

Although mint might look innocent waving in the breeze, you know it’s secretly plotting a garden takeover, so let’s make sure it doesn’t come back! Snip mint before it flowers, cut stems back to a leaf node, and keep those sneaky roots in check with containers. Cover leftover shoots with soaked cardboard. Regularly testing your soil’s pH and nutrients with soil test kits can help you better understand and manage your garden conditions. Trust me, this combo works wonders—just like prepping your campsite, maintenance makes all the difference!
Overall
So, you’ve wrangled that wild mint—awesome job! Now, don’t let it sneak up on you again, or your garden might just turn into a mint jungle (been there, trust me, my tent smelled like toothpaste for weeks). Keep harvesting, use barriers, and stay on patrol, especially before it flowers. Want your garden ready for a camping cookout, not a mint invasion? Stick with these tricks, and you’ll always have mint… but never too much!