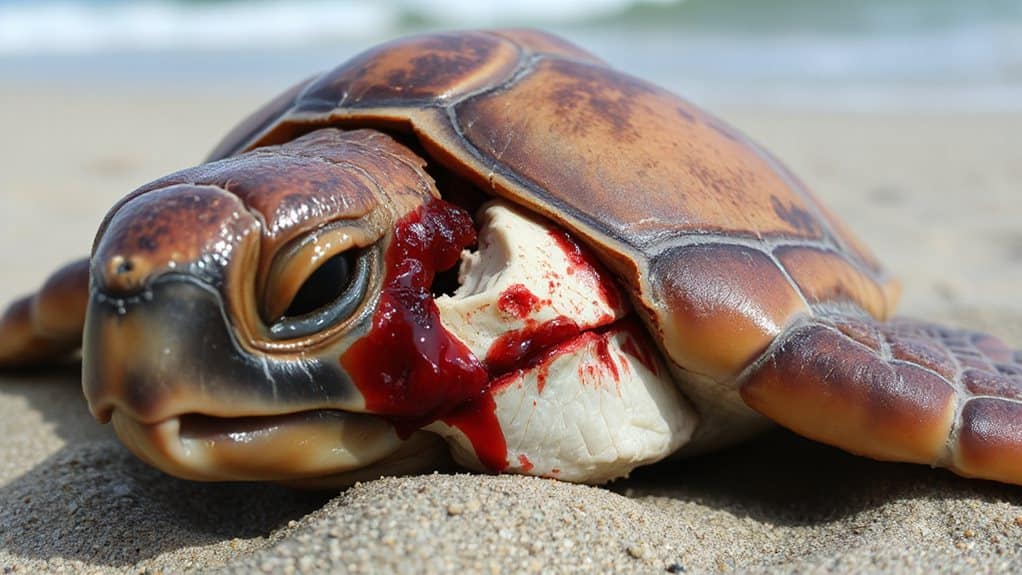
Turtle Shell Broken and Bleeding? How to Help
First, grab a clean towel or sterile gauze and press gently but firmly on the wound, keeping the pressure steady until the bleeding slows or stops—don’t move the turtle until it’s quiet, because a calm, quick response can save a lot of blood. Next, rinse the shell with a mild saline solution or reptile‑safe antiseptic, then pat it dry and let it air‑dry for about an hour before you spread a thin layer of Neosporin or Silvadene into every crack, covering the spot with soft gauze if needed. Keep the turtle warm, dry, and in a low‑stress habitat, checking daily for redness, swelling, or foul odor, and if anything looks off, call a vet ASAP. Stick with this plan and you’ll be ready for the next step in the healing quest.
TLDR
- Apply gentle, steady pressure with clean gauze to stop bleeding before moving the turtle.
- Scrub the wound surface with a soft brush, then rinse with sterile saline or reptile‑safe antiseptic.
- Dilute Nolvasan 1:100 (or use Betadine/Chlorhexidine) and rinse the wound every ten minutes for 30 minutes, repeating 2‑3 times daily.
- After the area dries (≈1 hour), apply a generous layer of antibiotic ointment (Neosporin or Silvadene) and cover with sterile gauze, reapplying 2‑3 times daily.
- Keep the turtle in a dry, warm, low‑light habitat (75‑85 °F) with UVB, monitor daily for infection signs, and seek veterinary care if symptoms appear.
Turtle Shell Wound Care: Stopping Immediate Bleeding
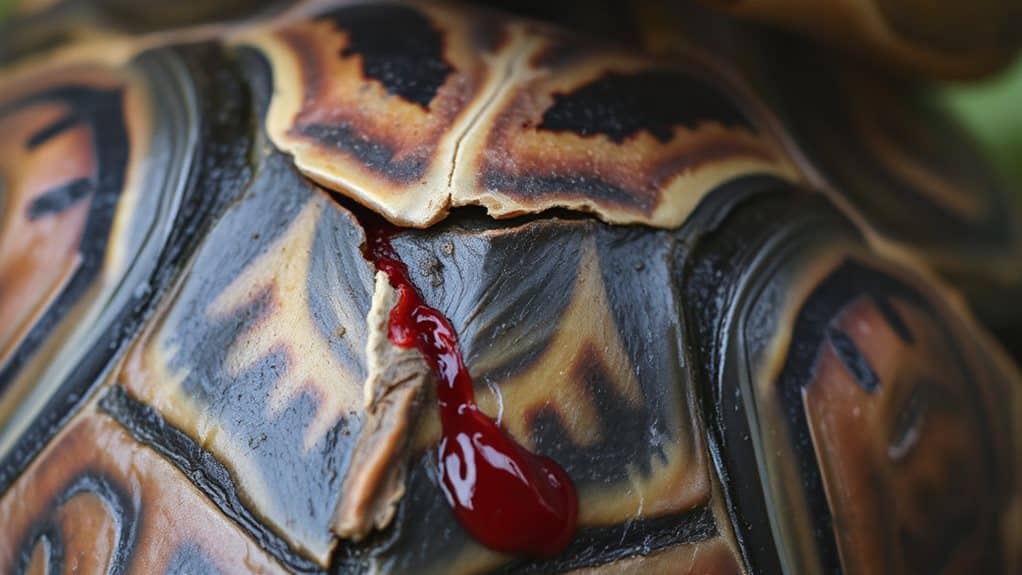
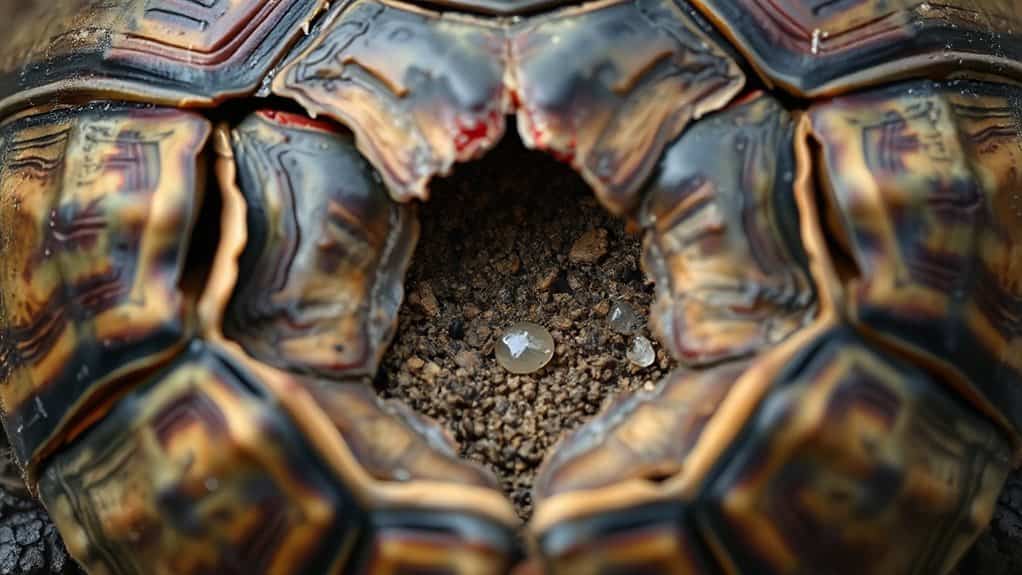
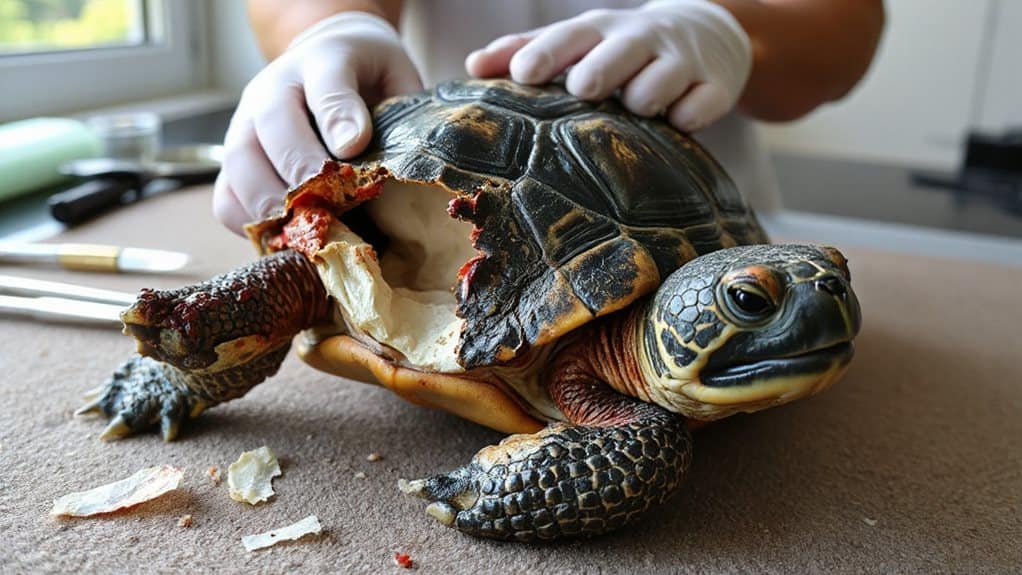
When you first spot a turtle’s shell cracked open and see a dark streak of blood seeping out, don’t panic—think of it like a little expedition where you’re the rescue ranger, because the first thing you need to do is stop that bleeding before it turns into a full‑blown river. Gently apply pressure to the wound using a clean towel or sterile gauze to help clotting and prevent further soil or debris from entering the crack, since proper drainage and cleanliness reduce infection risk.
Grab a clean towel or sterile gauze, press firmly under bright light, keep pressure steady, avoid water, and watch the flow cease before moving the turtle to a warm, dry box. Any injury intruding into the body cavity is not minor and requires immediate veterinary attention.
Turtle Shell Wound Care: Cleaning the Wound Safely
You’ll start by giving the turtle a gentle surface scrub, using a soft brush or even a toothbrush to lift algae and dirt without pushing anything deeper, which feels a lot like cleaning your camping gear after a muddy hike.
Then you’ll rinse the area with a sterile saline solution or a reptile‑safe antiseptic, making sure the liquid flows over the wound to wash away microbes while you watch the bubbles rise—kind of like watching a campfire’s sparks dance.
Finally, after the scrub and rinse, you’ll pat the shell dry with a soft towel, keeping the area dry and ready for any follow‑up care, because a clean, dry shell is the best base camp for healing.
Avoid leaving the area damp or covered for long periods to reduce the risk of mold growth and secondary infection.
Gentle Surface Scrubbing
Even if your turtle’s shell looks like a tiny, cracked treasure chest after a rough trip, you can clean it safely with just a few simple steps that feel almost as fun as setting up a campsite.
Grab an old soft‑bristle toothbrush, hold your turtle steady, scrub up and down gently, rinse with a hose, then pat dry.
Keep it calm, avoid hard bristles, and enjoy the “camp‑cleaning” experience!
Appropriate Antiseptic Rinse
After you’ve given your turtle a gentle scrub‑down, it’s time to bring in the antiseptic rinse, because a clean shell is the foundation of a speedy recovery—just like packing the right gear before a weekend trek.
Dilute Nolvasan 1:100, swab each spot every ten minutes for half an hour, or soak shallowly; Betadine works too, but Chlorhexidine heals faster.
Keep eyes safe, dry afterward, and repeat two‑to‑three times daily.
When Should You Use Antibiotic Ointment, and How Do You Apply It Right?
When you spot a cracked or bleeding shell, you’ll want to slap on antibiotic ointment right after you’ve given the wound a good betadine scrub, because that combo stops germs before they throw a party; do you know the right timing?
First, let the shell air‑dry for about an hour, then spread a generous layer of Neosporin or Silvadene into every crack, even the tiny ones you can’t see, and cover severe spots with sterile gauze; remember, a little extra goes a long way.
Keep reapplying two to three times a day, keep the turtle warm and dry, and you’ll see the healing start—just think of it as a mini camping expedition where the tent (the shell) gets patched up before the nightfall!
Prune spring-blooming shrubs immediately after flowers fade to avoid removing next year’s buds, which are formed on one-year-old stems during summer and fall.
To Wound Types
If you’ve ever watched a turtle wobble around a campsite after a rough tumble, you know a broken shell can be as alarming as a busted tent pole, but don’t panic—knowing when to slap on antibiotic ointment and how to do it right can make all the difference between a quick recovery and a full‑blown emergency.
For minor scratches, clean, then spread triple‑antibiotic; for deep cuts, skip ointment and call a vet; for shell rot, swab, apply, and watch for fungal signs.
Remember: you care, you act, you save.
Proper Application Technique
Imagine you’ve just set up camp by a crystal‑clear lake, and your turtle buddy—who’s been waddling like a tiny seeker—suddenly shows a gash on its shell that looks more like a fresh‑painted road map than a smooth hide.
Clean it with betadine, let it dry 45 minutes, then spread a generous layer of Silvadene or Neosporin.
Keep the turtle dry, warm for 18‑21 hours, reapply 2‑3 times daily for a week, and watch the healing journey unfold.
Setting Up a Dry, Warm Recovery Habitat for Your Turtle
Even if you’ve never set up a turtle “campsite” before, you’ll find that creating a dry, warm recovery habitat is almost as fun as packing for a weekend trek—just swap the sleeping bag for a sturdy basking platform and the campfire for a gentle heat lamp.
Choose a ramp‑filled dock, set a heat lamp 10‑12 inches above, keep ambient 75‑85°F, add UVB covering half the tank, and maintain water at 73‑84°F; your turtle will feel like a seasoned camper.
Cold frames create cozy microclimates, keeping temperatures about 10–15°F warmer than outside, which can help you mimic steady warmth for a recovering turtle.
Daily Monitoring: Spotting Early Signs of Infection
You’ll probably notice the little warning signs before anything gets serious, so keep those eyes peeled like a scout on a trail.
Check for red patches, soft spots, or white flaking on the shell, and sniff for any foul odor or slime.
Watch your turtle’s appetite, energy, and swimming balance—if it’s lethargic, refuses food, or basks unusually, note it right away.
Maintain stable temperature and humidity to reduce stress and support healing, especially since environmental comfort can affect recovery.
What to Do If You Spot Signs of Infection?
If you spot those tell‑tale signs—white or yellow patches under the shell, a smelly ooze, or a soft, pitted area that looks like a tiny crater—don’t wait for the situation to snowball; act fast, because a healthy turtle can bounce back quicker than a camper finding a shortcut through the woods.
First, gently rinse with tepid water, pat dry, then apply iodine or betadine, followed by a thin layer of triple‑antibiotic ointment.
Call your vet ASAP for antibiotics, pain meds, and a possible X‑ray, and isolate the turtle in a clean tank to prevent spreading.
How to Minimize Handling Stress While Observing the Wound?
A quick look at the wound can feel like checking a campsite for bears—better to stay calm, keep the turtle’s world low‑key, and avoid turning a simple check‑up into a full‑blown experience.
Use a tall, lid‑covered container, line it with dry towels, and peek through a small opening, not opening it.
Keep lights dim, stay quiet, and limit checks to once daily, noting any changes without moving the shell.
How to Provide Proper Nutrition and Hydration While Healing?
When your turtle’s shell is busted, thinking about food and water can feel like planning a camp‑out after a rainstorm—there’s a lot to sort out, but you’ve got this!
Skip meals until vets say it’s safe, then feed calcium‑rich greens, fortified pellets, and protein treats; keep hydration via syringe fluids, 25‑40 ml/kg daily, and maintain warm POTZ for immune support.
Supporting Shell Regeneration and Preventing Re‑injury
Even though a cracked shell feels like a busted campsite tent, you can still turn the recovery zone into a cozy, low‑stress “base camp” that lets your turtle rebuild its armor faster than you can set up a pop‑up.
Keep the enclosure dry, warm, and dark; line it with a clean towel, and limit handling.
Use Hibiclens or Betadine with a soft brush to clean debris, then apply sterile gauze with gentle pressure.
Check daily for odor or swelling, and adjust stabilization devices to prevent re‑injury.
And Finally
You’ve got this! By cleaning the wound, applying the right ointment, and setting up a cozy, warm spot, you’ll keep the bleeding under control and help the shell heal faster—think of it like camping for your turtle, only with more band‑aids and less marshmallows. Keep an eye out for any redness or swelling, stay calm, and remember: a little patience and proper care go a long way, so your shelled buddy will be back to exploring the backyard in no time.