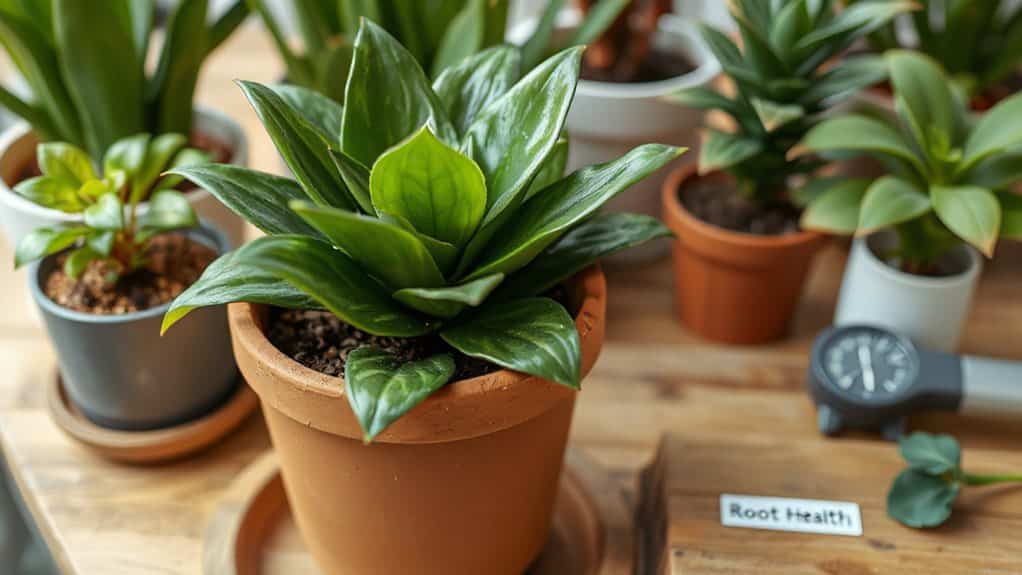
How to Prevent Root Rot in Houseplants
You’ll keep root rot at bay by treating your plants like campers on a dry trail: pick a light, airy potting mix with sand, perlite or pumice, and add a splash of bark or coco‑coir for balance, then choose a pot with real drainage holes (terracotta works great because it “sweats” excess water). Check the soil with a finger or a moisture meter before you water, and when it’s dry, give a good soak for 10‑20 minutes, letting excess drain away. Keep the pot on a saucer that empties, space plants for airflow, and rotate them so no spot stays soggy. If you spot wilted, mushy roots, prune the dead bits, rinse the healthy ones, and repot in fresh, sterile mix—think of it as a quick campsite clean‑up. Stick to a routine, log moisture levels, and you’ll spot problems before they turn into a swampy disaster, plus you’ll discover even more tricks ahead.
TLDR
- Use a well‑draining potting mix (coarse sand, perlite, pumice, bark) and a pot with drainage holes to avoid waterlogged soil.
- Water only when the top inch of soil is dry; check moisture by finger test or a moisture meter, not on a calendar.
- Provide good airflow and space between plants; avoid crowded, humid conditions that promote fungal growth.
- Repot promptly into fresh, sterile medium if roots show rot, and trim any mushy, blackened roots before replanting.
- Use bottom‑watering or short, controlled watering sessions, and never reuse drained water to prevent fungal spores.
What Causes Root Rot? Over‑watering & Poor Drainage
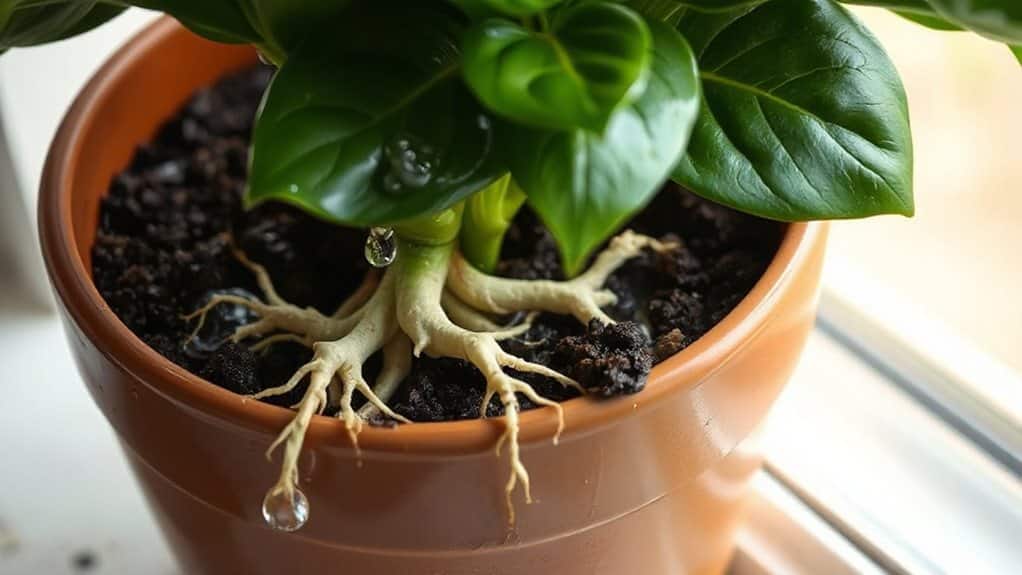
When you water your plant too much, it’s like setting up a campsite in a swamp—everything gets soggy, the air gets thin, and the tiny roots start to gasp for oxygen, so they turn brown and mushy, right?
Over‑watering floods the soil, suffocating roots and inviting pathogens like Pythium and Phytophthora. Fungi thrive in these wet conditions, spreading disease quickly. Poor drainage compounds the problem, letting water pool, compacting soil, and letting spores linger, which quickly turns a happy pot into a soggy disaster. Cold, wet conditions can also worsen root rot by reducing oxygen and slowing plant recovery, so keeping soil from staying overly cool and saturated helps prevent problems poor drainage.
Choose the Right Potting Mix to Prevent Root Rot
Ever wondered why a plant in a soggy pot feels like a camper stuck in a rain‑soaked tent? Choose a mix that’s light and airy—think coarse sand, perlite, or pumice for quick drainage, plus a dash of bark or coco coir for moisture balance. Add vermiculite for extra aeration, and sprinkle worm castings for microbes and nutrients. Avoid dense, sticky soils that choke roots, and remember: a well‑ventilated mix keeps your green friends thriving, just like a well‑packed campsite. Test your potting mix pH regularly to ensure nutrient availability and avoid conditions that favor root rot.
Pick Drainage‑Friendly Pots to Stop Root Rot
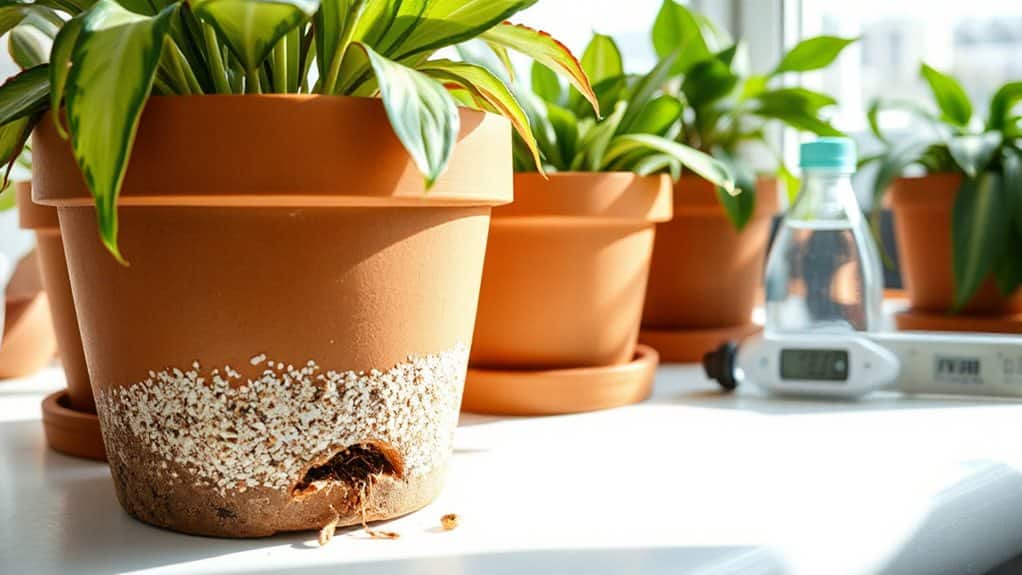
If you’ve ever set up a campsite where the tent floor stays soggy after a rainstorm, you know how miserable that feels—so pick a pot with real drainage holes, and your plants will thank you.
Choose pots that let water escape freely, skip rock “drainage layers,” and never let saucers pool; double‑pot decorative vessels work too, keeping roots happy and your gardening crew proud.
Proper ventilation under and around plant containers helps keep moisture moving and prevents the trapped dampness that leads to root rot, so ensure good airflow ventilation where you store your pots.
Water Wisely to Avoid Root Rot
Ever wondered why a plant can feel like a soggy campsite after a rainstorm? Check moisture before you water—stick a finger an inch deep, feel for dryness, or lift the pot to gauge weight.
When it’s dry, water evenly, preferably by bottom‑watering for 10‑20 minutes so roots sip just enough.
Skip calendar timers; let the soil tell you when it’s thirsty.
Airflow & Humidity Tips to Reduce Root Rot
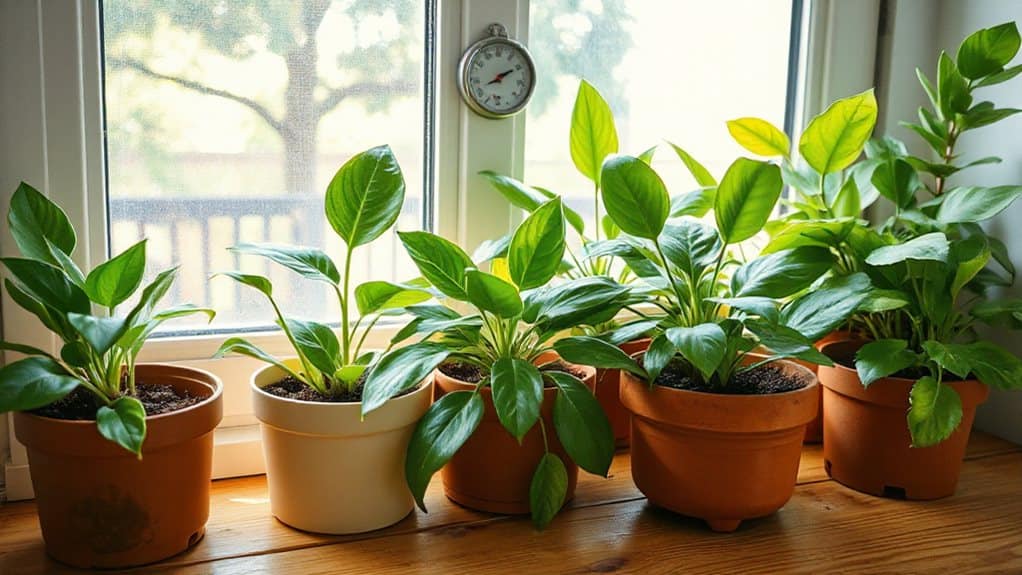
You’ve got the watering down, now let’s talk about giving your plants some fresh air and the right humidity—think of it as setting up a campsite where the tent stays dry and the campfire isn’t smothered by mist.
Keep 5‑10 cm gaps, spin a low‑speed fan, open windows ten minutes daily, and rotate pots.
Aim 40‑50 % RH, use a hygrometer, group plants for micro‑humidity, and mist early so leaves dry by night. Avoid radiators and drafts.
Overfilling a tank can cause pressure issues in warm weather, so always ensure proper headspace when storing or using propane.
Monitor Soil Moisture to Detect Root Rot Early
Because a plant’s roots can’t scream for help, you’ve got to become a soil‑detective, and the best way to catch root rot before it spreads is to keep a close eye on moisture levels. Stick your finger a couple inches deep, feel for that walnut‑sized, moist clump, or grab a cheap moisture meter and watch the blue zone. Check weekly, test after watering, and compare visual cues like PlantDoc’s color shift—quick, fun, and saves lives! Improve drainage and avoid overwatering to prevent soggy soil that weakens roots and promotes rot, especially when plants sit far from bright windows or have poor-quality soil.
Sterilize Tools & Soil to Block Root Rot Pathogens
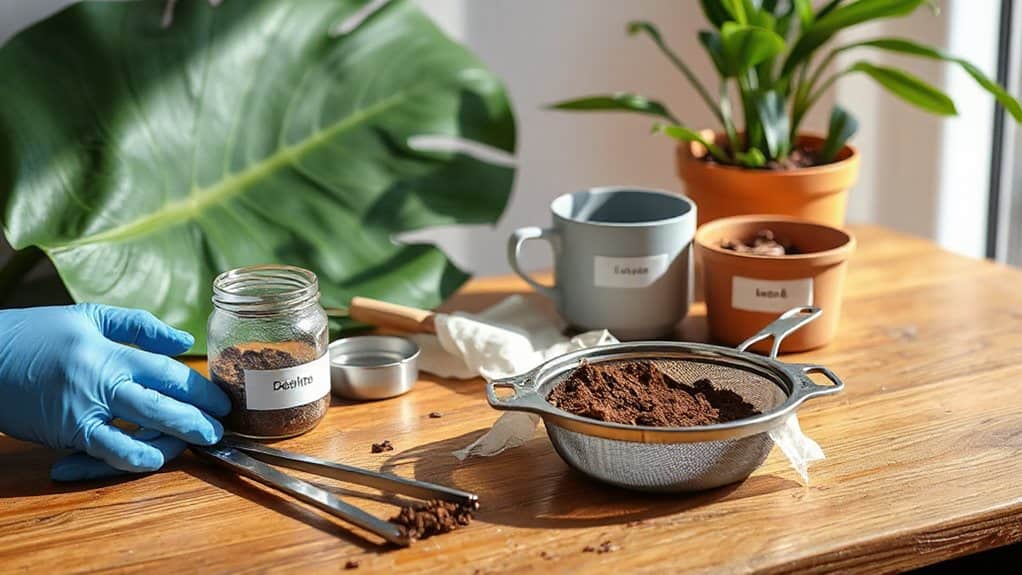
A quick, science‑y hack you can try before you even think about repotting is to sterilize every tool and every handful of soil, because those hidden microbes love a cozy, unprotected root system. Mix 1 part hydrogen peroxide, 1 part white vinegar, 2 parts water, mist it, then gently stir; or heat soil to 180°F for half an hour on a grill—both zap fungi, keep seedlings happy, and let you share thriving plants with friends.
Identify Early Signs of Root Rot
Ever wondered why your favorite pothos looks droopy even after you’ve given it a generous drink? You’ll spot wilting leaves that stay limp despite moist soil, yellowing at the base, a musty, soggy‑soil smell, and mushy, blackened roots or stems that pull away easily.
Stunted growth, leaf curling, and tiny fungus gnats also scream early rot, so keep an eye out!
Immediate Actions When You Spot Root Rot
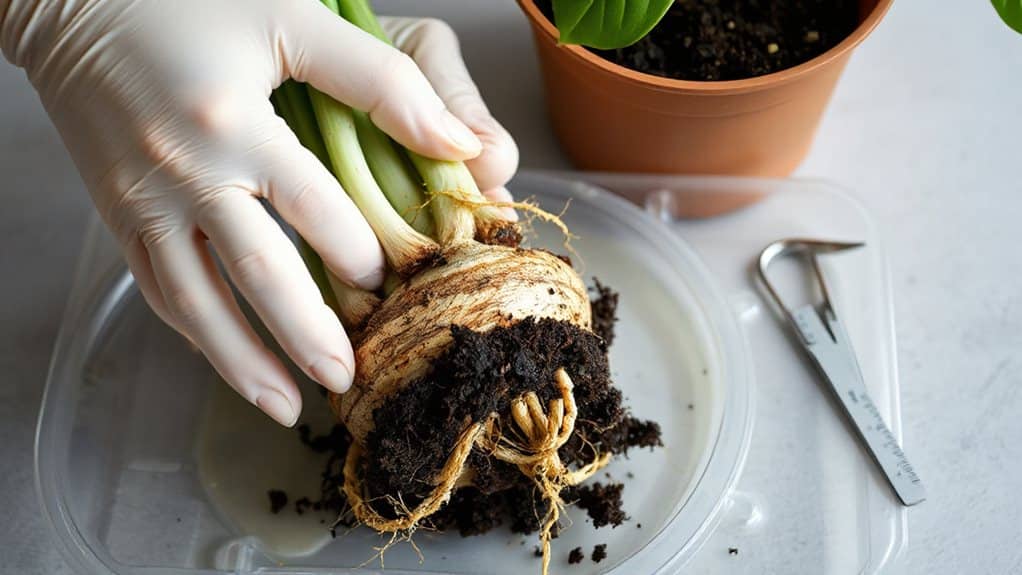
Spotting those soggy, smelly, black‑ened roots means it’s time to spring into action like you’d rush to set up a tent before a rainstorm—grab the plant, pull it out of its pot, and give those roots a good, cool‑water rinse while you’re humming your favorite camp‑fire song.
Then, shake off old soil, soak roots in a 2:1 water‑to‑3% hydrogen‑peroxide mix, spray neem oil if you prefer, and dry the pot on a towel before re‑potting with fresh, well‑draining mix.
Prune, Repot, and Recover Infected Plants
When you’ve finally rescued the soggy roots and gave them a cool‑water shower, the next step is to prune, repot, and help that plant bounce back—think of it like packing up your campsite after a rainstorm, only this time you’re trimming dead branches, swapping out the soggy ground, and setting up a fresh, airy tent for your green buddy.
Cut brown leaves near the base, sterilize tools, pull off rotting roots, replace soil with pasteurized mix, add drainage pebbles, and give a gentle mist.
Keep it bright, warm, and lightly moist while it recovers.
Establish a Routine to Prevent Future Outbreaks
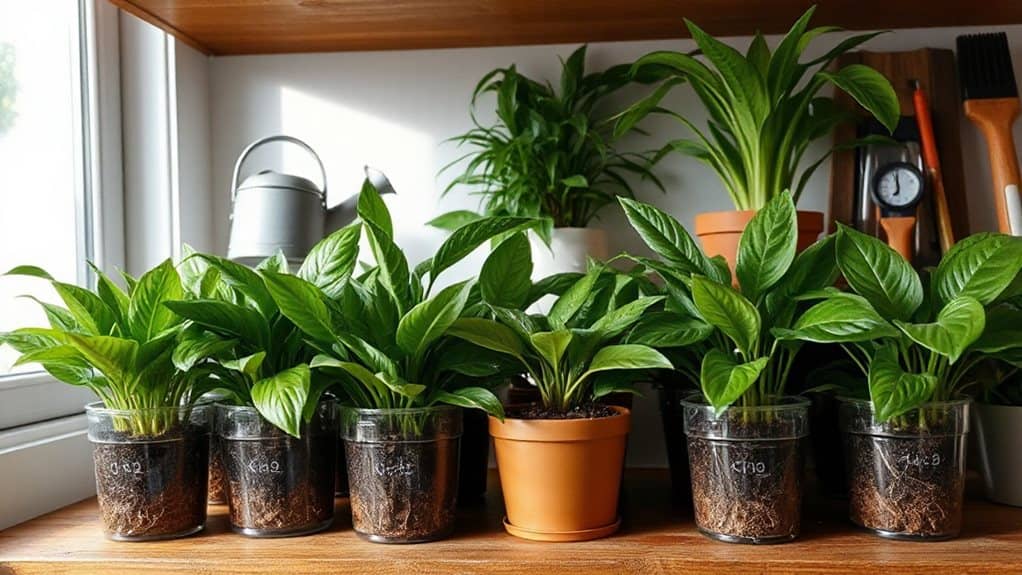
You’ll want to set a regular watering schedule—maybe every few days on the same weekday—so you never forget to check the soil, and you can even rotate your plants like you’d move a campsite tent to give each one a fresh spot for sunlight and airflow.
Have you tried logging soil moisture levels in a notebook or phone app? It’s a quick habit that lets you spot trends, and you’ll feel like a plant‑care explorer charting the terrain.
Finally, keep a simple checklist: water, rotate, log—tick each off and you’ll stay ahead of rot like a seasoned camper avoiding soggy gear.
Set Watering Schedule
Setting a watering schedule can feel a bit like planning a road trip— you want to map out the stops so you don’t run out of gas, but you also need to stay flexible for unexpected detours. Check soil moisture first, lift the pot to feel weight, and adjust for season: water less in winter, more in summer, and always water deep, not just a splash.
Rotate Plant Positions
After you’ve nailed down a watering schedule, think of your plants like a road‑trip crew that needs a fresh view of the scenery every few days—so give them a spin!
Rotate pots weekly to equalize airflow, dry soil, and light, breaking up fungal hotspots, letting you spot early rot signs, and keeping roots happy, just like a well‑planned campsite adventure.
Log Soil Moisture Levels
Ever wonder why your houseplant sometimes looks like it’s stuck in a swampy campsite? You can avoid that by logging moisture levels like a campsite ranger: finger‑test weekly, note dry or clinging soil, or use a probe for precise readings, then jot date, time, and scale into a notebook or app. Comparing logs to watering dates reveals patterns, so you water only when topsoil’s truly dry, keeping roots happy.
Your Top Root‑Rot Questions Answered
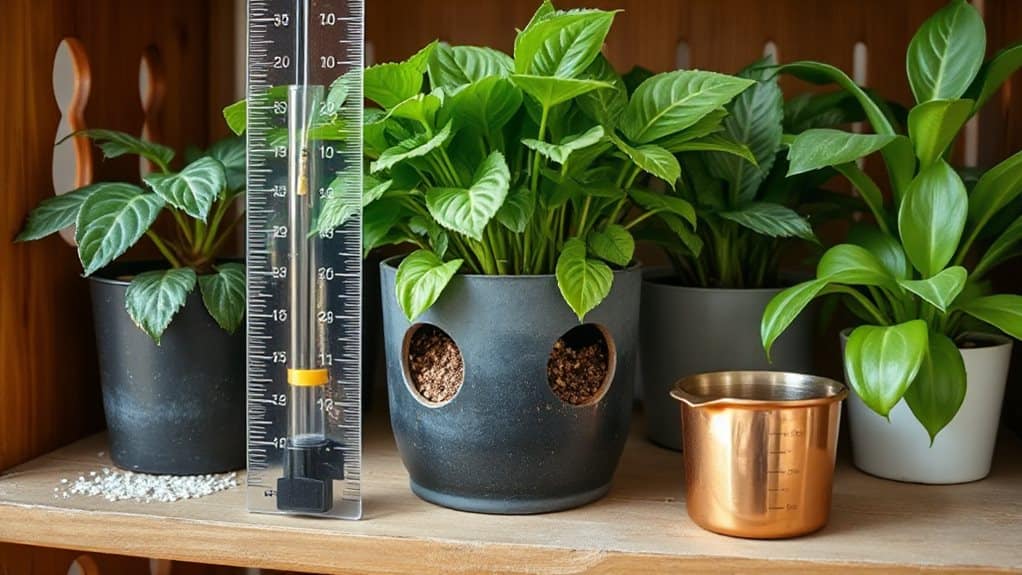
Ever wondered why your favorite pothos suddenly looks droopy and the soil smells like a swamp? You ask, “Can I reuse drained water?” No—fungi love it.
“What pot is best?” Choose drainage holes, unglazed terracotta, avoid rocks.
“How do I treat it?” Rinse roots, spray peroxide, repot in sterile mix.
Check airflow, space plants, and keep watering disciplined.
Overall
Now you’ve got the know‑how to keep your greens thriving, so ditch the soggy roots and give those plants the fresh air, proper soil, and smart watering they deserve—think of it like packing the perfect camping gear: you wouldn’t bring a leaky tent, right? Keep an eye on drainage, prune any brown bits, and you’ll watch your foliage bounce back like a camper spotting a sunrise. Happy planting, and may your houseplants stay as vibrant as a campfire story!