How to Fix Low Spots in Your Lawn the Easy Way
Mow your lawn low, rake away all the thatch and dead grass, then walk the yard with a level‑stick to spot each depression; for shallow pits (under 2 inches) toss a half‑inch layer of sand‑topsoil mix, for deeper holes use clean fill dirt, compact it, and top with screened topsoil, repeating the half‑inch layers like building a campfire until it’s level; keep the grass blades peeking so you don’t smear the surface, then roll or rake to compact, seed at two‑to‑three pounds per thousand square feet, water daily, and make sure the slope and drainage keep water away—keep going and you’ll discover even more tricks.
TLDR
- Walk the lawn, flag depressions, and measure depth with a level‑stick before starting repairs.
- Fill shallow pits with half‑inch layers of a sand‑topsoil mix, adding a new layer every six weeks.
- For deeper holes, use clean fill dirt compacted in thin layers, then top with screened topsoil.
- Compact each layer with a roller or garden rake, then seed at 2‑3 lb per 1,000 sq ft and water daily.
- Maintain proper drainage and a slight slope (≈2 %) away from the house to prevent future low spots.
Let’s Fix Those Low Spots in Your Lawn
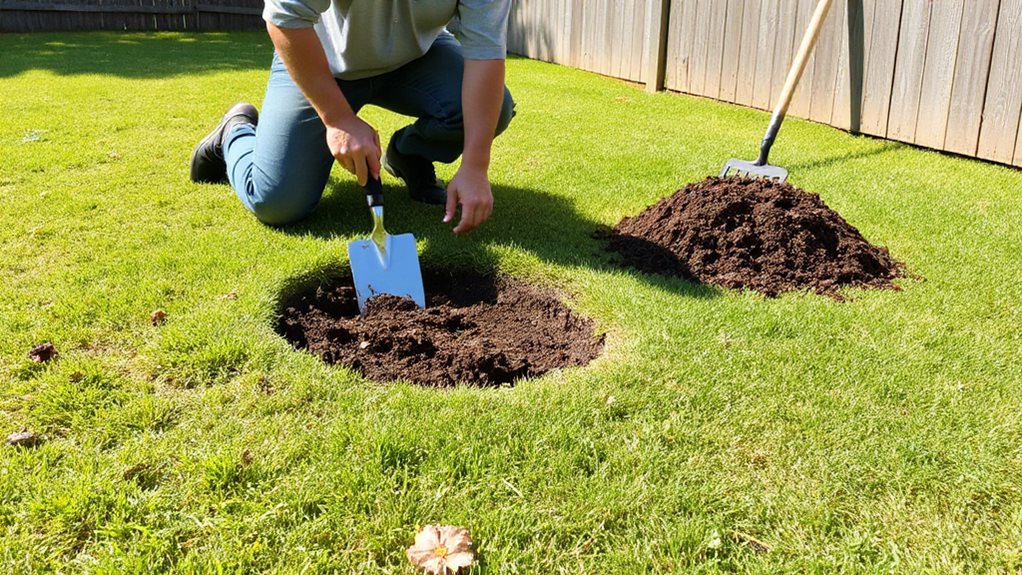
Ever noticed those little dips in your lawn that look like mini craters after a rainstorm, and wondered why they’re there? You’ll walk the grass, flag each depression, then use a level‑stick to measure depth—shallow ones need just topsoil, deeper pits demand a matching fill. Grab a flat shovel, a bag of dry topsoil, and start cutting a sod pad; flip it, pack the soil, and replace the grass, tamping as you go. It’s best to moisten the soil before you begin to help the topsoil settle evenly. If you live in a community with an HOA, check your association’s enforcement process to know timelines and avoid potential fines.
Get Your Lawn Ready: Mow, Rake, Aerate
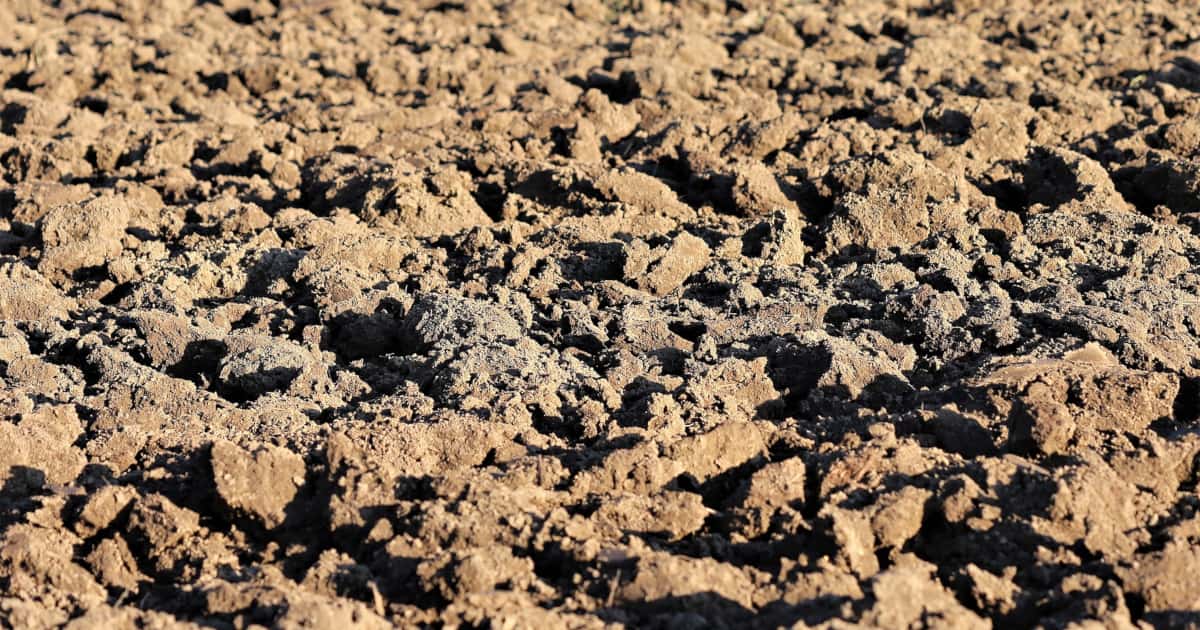
You’ll want to cut the grass down close to the soil, then grab a rake and sweep away every clump of clippings, thatch, and debris so the surface is as smooth as a freshly‑packed sleeping bag; have you ever tried mowing a lawn that feels like a tangled campsite tent, and how crazy does it feel when you finally clear it? Improve drainage first by checking for spongy soil and addressing any persistent sogginess before filling low spots.
Mow Low to Ground
Mowing your lawn low to the ground is the first step in turning those pesky depressions into a smooth, image‑perfect yard, and trust me, it’s easier than you think—just set your mower to its lowest setting (usually about an inch to an inch‑and‑a‑quarter), give the grass a clean cut, and you’ll instantly expose the roots so the new soil can hug them tightly. When you mow at this height, the blades stay upright, letting you fill spots without smushing grass, and a reel mower can slice even lower, perfect for precise work. This prepares the soil for fluffy raking and aeration, ensuring the filler settles nicely.
Rake Debris Thoroughly
After you’ve given the grass a clean, low‑cut shave, the next step is to clear away every leaf, twig, and clump of dead grass that’s been hiding in those little depressions—think of it as packing your backpack before a camping trip, you don’t want any stray rocks rattling around.
Grab a sturdy rake, sweep each dip, shake out the debris, and smile, knowing you’re prepping a smooth trail for future lawn heroes.
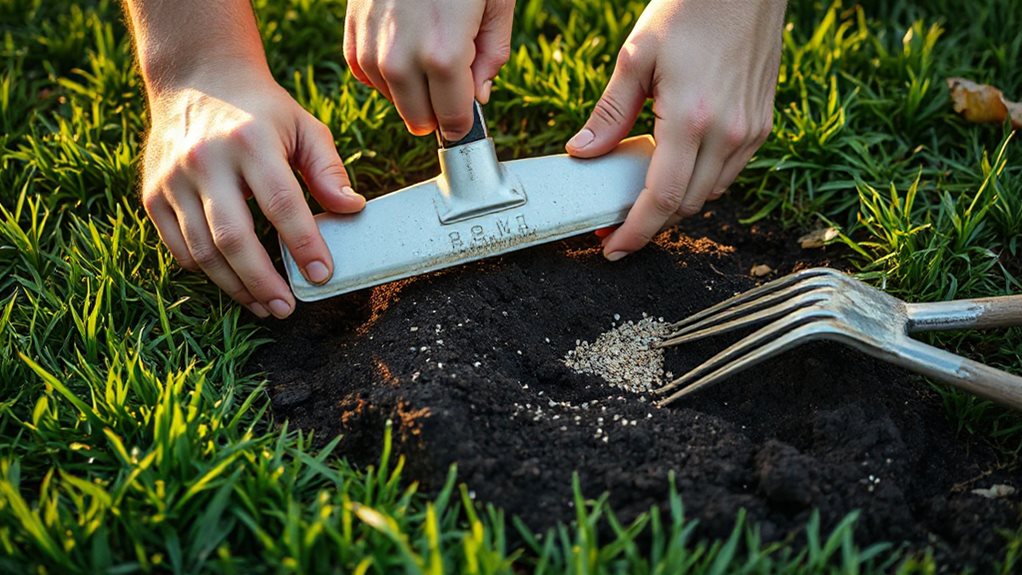
Pick the Right Fill for Shallow or Deep Low‑Spot Pits
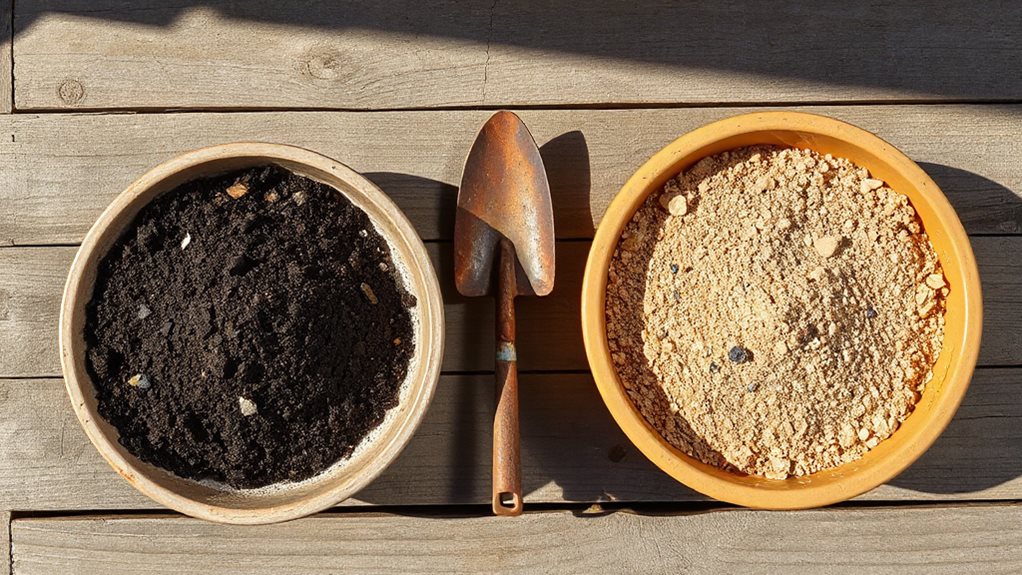
Ever wondered why some lawn dents act like tiny valleys while others feel like deep craters? For shallow pits under two inches, grab sand‑topsoil mix—sand self‑levels, topsoil adds nutrients; spread half‑inch dry material, repeat every six weeks.
For deeper holes, use clean fill dirt, compact in layers, then top with screened topsoil. Skip plaster, silica, or compost; they’ll just settle and cause more trouble. Increase soil stability by ensuring proper drainage and avoiding waterlogged conditions that can cause settling over time, which relates to drainage and root/soil health.
Fill and Level Low‑Spot Depressions, One Layer at a Time
A good way to fix those pesky low‑spot depressions is to tackle them one thin layer at a time, just like building a campfire— you’t dump a whole log in at once or the flame sputters, you add kindling, then a few sticks, and finally the big logs.
You spread a 50/50 sand‑compost mix half an inch, rake it in, keep grass blades peeking, repeat until level, and enjoy watching the lawn level like a well‑packed trail.
Be mindful that nearby pavers can harbor ants that may undermine the repaired soil, so check seams and joints for ant entry points before you finish.
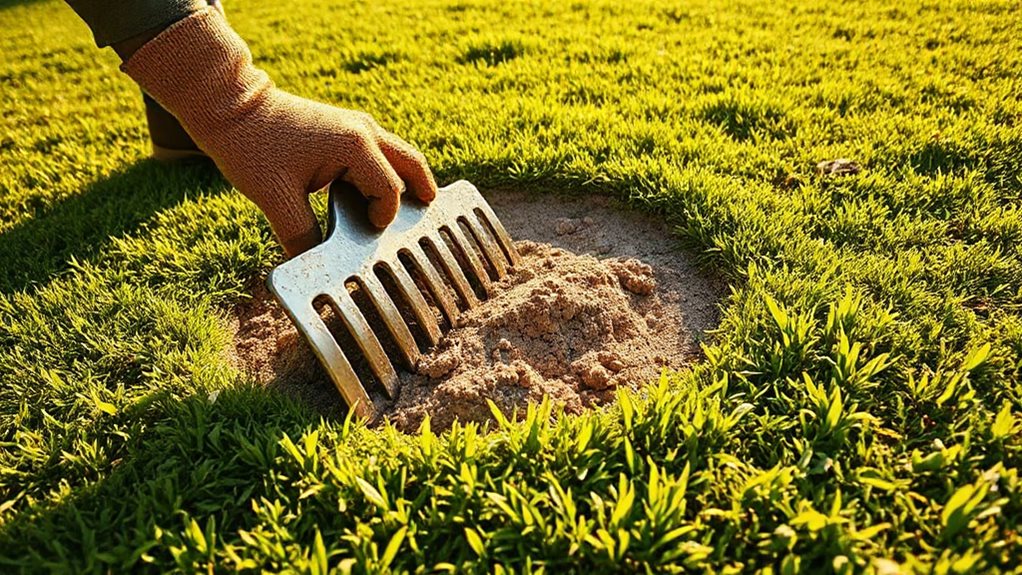
Compact, Level, and Seed Low‑Spot Repairs
Ever wondered why a low‑spot can feel like a pothole on a hiking trail, making your lawn look more “bumpy road” than “smooth campsite”?
You’ll compact the fill with a roller or a back‑of‑the‑garden‑rake, layer sand‑topsoil no more than two inches, then seed at two‑three pounds per thousand square feet, water daily, and watch the grass pop up like a campsite sunrise. Using proper materials and techniques helps prevent future settling and shrinkage of the fill so your repair lasts.
Keep Your Lawn Even: Maintenance & Drainage Tips for Low‑Spot Prevention
You’ll want to set up a regular aeration schedule, because punching tiny holes in the soil lets air, water and nutrients zip straight to the roots and keeps the ground from turning into a soggy pancake.
Have you ever thought about grading your yard like a mini‑mountain trail, sloping it just enough so rain runs off toward the side instead of pooling under your favorite oak?
And don’t forget to manage water efficiently—install downspout extensions, catch basins, or even a tiny rain garden, because directing runoff the right way is the secret sauce that keeps your lawn flat and ready for your next backyard camping adventure.
Regular Aeration Schedule
Ever wondered why your lawn sometimes looks like a bumpy road after a rainstorm? You should aerate annually if you have clay or heavy traffic, and twice a year in spring and autumn when the soil’s soggy but not drenched.
For sandy or low‑traffic yards, every two years works fine. Schedule aeration during active growth—late spring for warm‑season grass, fall for cool‑season—to keep drainage smooth and low spots at bay.
Proper Grading Techniques
So, how do you keep your lawn from turning into a miniature obstacle course after a storm? Start by measuring a 2% slope—about a quarter‑inch per foot—away from the house, then use a landscape rake to spread soil, pressing down dips with material from higher spots. Add compost to clay, set stakes and string for visual cues, and double‑check with a laser level to ensure water runs off, not into your yard.
Efficient Water Management Strategies
When you’ve nailed the slope and smoothed out those dips, the next battle is keeping water from turning your yard into a soggy obstacle course, and that’s where smart water‑management tricks swoop in like a trusty camping kettle on a rainy night. Install a French drain, add a catch basin in low spots, extend downspouts, and create a rain garden—each step channels runoff, prevents pooling, and lets you share a dry, happy lawn with neighbors.
Overall
Now you’ve got the know‑how to banish those pesky low spots, so grab your rake, spread that fill, and watch your lawn level out like a fresh canvas. Remember to compact each layer, seed it evenly, and water it like a thirsty camper on a trail—steady and generous. Keep an eye on drainage, and you’ll avoid future dips, turning your yard into a smooth, green playground. Happy fixing, and enjoy the brag‑worthy, even lawn!