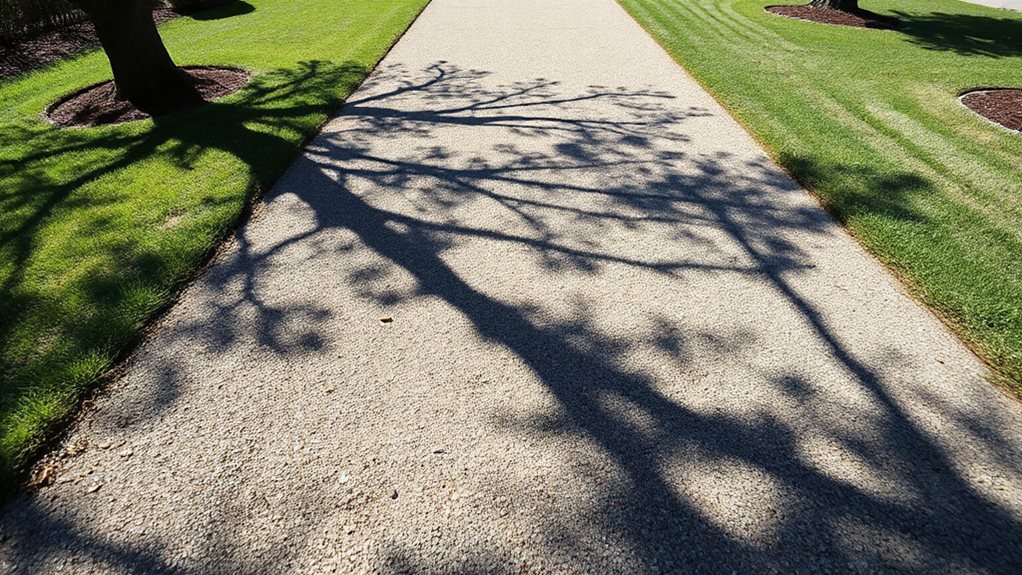
How to Stop Mud From Forming in Yard Pathways
First, dig a shallow trench with a 1% slope, lay perforated pipe, gravel, and filter fabric, then backfill and test the flow so water rushes away instead of pooling. Next, spread a three‑inch layer of crushed stone or pine straw—something you love for camping trips—to let rain slip through, and top it with wood chips or coarse gravel for extra drainage. Aerate the soil, add compost or peat, and plant deep‑rooted perennials like switchgrass to hold the ground together. Lay cardboard, then 4–6 inches of mulch or bark, sprinkle straw or mushroom compost for moisture‑holding power, and consider geocells with stepping stones for a sturdy, mud‑free path. Keep checking French drains each season, rake mulch, and replace soggy mats before guests arrive; if you stick with these steps, you’ll uncover even more tricks ahead.
TLDR
- Install a properly sloped drainage system with perforated pipe and filter fabric to divert water away from the path.
- Add a coarse‑gravel or crushed‑stone base at least three inches deep to promote infiltration and prevent pooling.
- Aerate compacted soil regularly and incorporate organic matter or compost to improve structure and drainage.
- Apply a thick layer of mulch, wood chips, or geocell‑filled gravel, using cardboard underneath to separate material from soil.
- Perform seasonal maintenance: clean French drains, reseed low spots, and replace soggy mats before heavy use.
Build a Drainage System for a Mud‑Free Pathway
Ever wondered why your backyard path turns into a swampy mess after a rainstorm, and how you can fix it without turning your yard into a construction site?
You’ll start by spotting low spots, marking trench lines, and ensuring a 1% slope; then dig 18‑inch trenches, lay perforated pipe, add gravel and filter fabric, install catch basins, and finally test flow before backfilling. Improving soil health through practices like core aeration can also reduce surface water pooling and help drainage work more effectively.
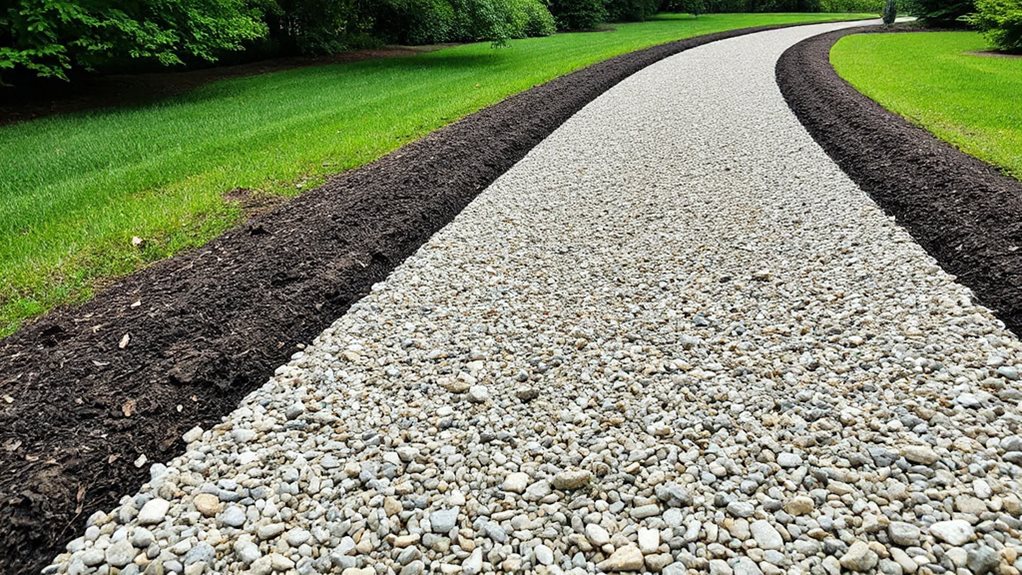
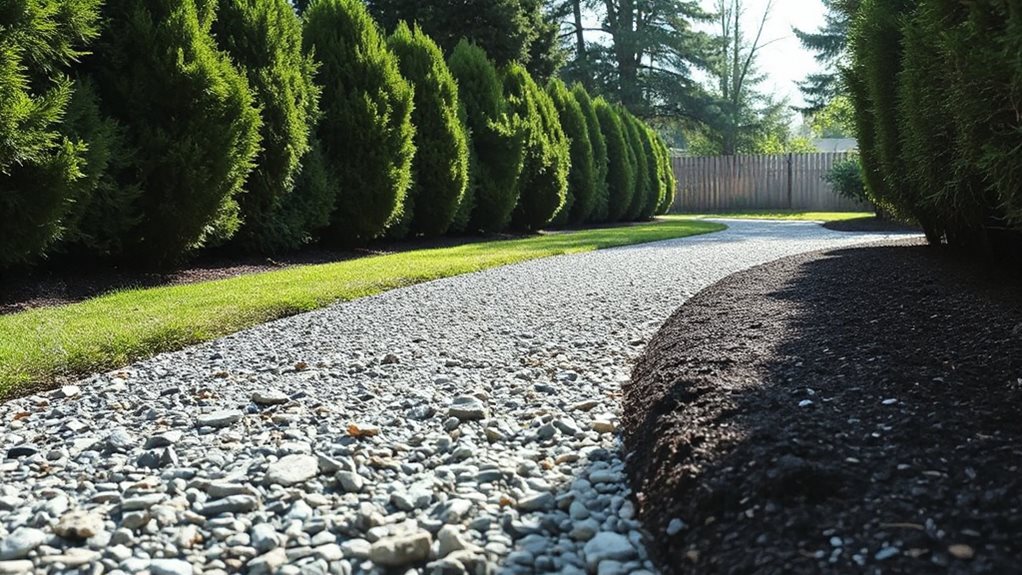
Choose Permeable Surface Materials for a Mud‑Free Pathway
After you’ve got your drainage trenches in place, the next step is picking a surface that lets water slip right through instead of pooling up—think of it as giving your path a pair of waterproof shoes.
Choose crushed stone, pine straw, or wood chips for cheap, natural feel; try permeable pavers, pervious concrete, or porous asphalt for a sturdy, slick look that still drains fast, keeping everyone’s footsteps mud‑free. Adding a three‑inch depth of material helps suppress weeds while allowing rapid infiltration. Consider timing installations in spring when the soil is primed for settling and drainage features establish most effectively.
Improve Soil Structure to Achieve a Mud‑Free Pathway

You’ll notice the ground gets way softer when you aerate it regularly, so grab a fork‑like aerator and punch those holes—think of it as giving your soil a breath of fresh air before a camping trip.
Adding a 2‑3‑inch layer of compost or peat moss is like sprinkling magic dust that breaks up compacted clods, creates drainage channels, and lets water slip through instead of pooling like a soggy backpack.
Try mixing in well‑rotted manure or organic matter now, and you’ll have a sturdy, mud‑free pathway that feels as solid as a campsite’s fire pit, plus you’ll get to brag about your soil‑science skills at the next campfire.
Including native, drought‑tolerant perennials can further stabilize soil and support local biodiversity, creating beneficial habitat for pollinators like native bee plants.
Aerate Soil Regularly
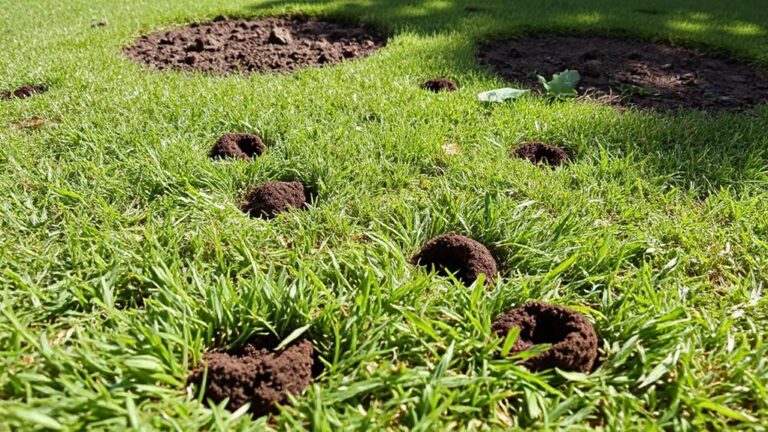
A little bit of regular soil aeration can turn a soggy, mud‑splattered pathway into a crisp, dry trail that barely gets a splash when it rains, and trust me, it’s easier than you think—just grab a core aerator or a simple spike tool, poke those holes down a quarter to half an inch, and watch the soil breathe, soak water better, and let roots stretch deeper, which means less compaction from foot traffic, fewer puddles, and a healthier lawn that practically thanks you for the extra oxygen and nutrient pathways you’ve given it. By aerating, you create channels for air, water, and nutrients, break up compacted layers, encourage deeper root growth, improve infiltration, boost nutrient uptake, and reduce thatch, making the pathway resilient and mud‑free for everyone who walks it.
Add Compost and Organic Matter
While you’re already giving the soil a breather with aeration, the next step is to feed it some tasty compost and organic matter so the pathway stays firm and mud‑free. Spread a few inches of compost, let it mingle with clay or sand, watch crumbs form, and notice water draining faster; microbes will buzz, roots will thrive, and you’ll keep everyone’s shoes clean, rain or shine.
Incorporate Peat Moss Amendments
Ever wondered why a simple walk through your backyard can feel like slogging through a swamp after a rainstorm? You can fix that by mixing a one‑inch layer of peat moss into the pathway soil, aiming for about 30 % moss.
This lightens heavy clay, enhances drainage, holds water like a sponge, and gives roots room to breathe, so mud disappears and your garden stays happy.
Add Vegetation and Ground Cover for a Mud‑Free Pathway
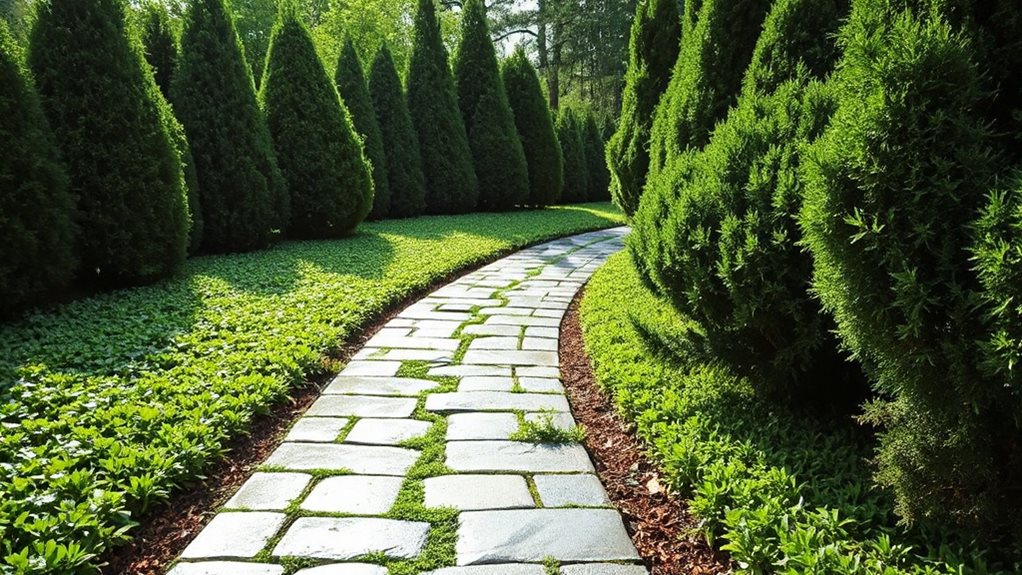
You’ll want to pick deep‑rooted plants like creeping thyme or clover, because their roots dig down and hold the soil together while you’re trekking across the yard; have you ever watched a mulch of groundcover spread like a living carpet?
Next, choose low‑maintenance groundcovers—think dwarf mondo grass or dymondia—so you spend less time weeding and more time enjoying the path, and don’t forget to toss a layer of mulch on top to lock in moisture and keep weeds at bay.
Finally, mix in a little mulch, because it’s the secret sauce that cushions your steps, reduces splash, and makes the whole setup feel as cozy as a campsite fire, all while looking cool and staying practical.
Choose Deep‑Rooted Plants
Ever wondered why a simple walk along your backyard path can feel like trekking through a swamp after a rainstorm? Choose deep‑rooted plants—native perennials like switchgrass, blue fescue, and black‑eyed Susan—because their sprawling roots hold soil, filter stormwater, and keep pathways dry. Plant them densely, water thoroughly, and mulch lightly; you’ll see mud disappear, wildlife thrive, and your path stay sturdy for everyone.
Use Low‑Maintenance Groundcovers
After you’ve got those deep‑rooted plants holding the soil together, the next trick is to carpet the path with low‑maintenance groundcovers that act like a living, moisture‑loving blanket. Plant miniclover for drought‑tolerance, silver‑carpet lamb’s ear to keep deer away, and Ajuga to choke weeds; they’ll hold water, curb runoff, and stay green without mowing, letting you enjoy mud‑free walks while you help the neighborhood stay tidy.
Incorporate Mulch Layers
A good mulch layer can turn a soggy, mud‑splattered path into a dry, walk‑able trail that feels as satisfying as finding a perfect campsite spot after a rainstorm, and the secret lies in picking the right material—think wood chips that hug the soil, bark that cushions every step, or straw that acts like a tiny, breathable blanket, all spread out four to six inches deep so the water spreads out instead of pooling, while a bit of cardboard or landscape fabric underneath adds an extra shield against weeds and mud tracking, giving you a sturdy, low‑maintenance surface that lets you stroll confidently even after a downpour.
Add wood chips, bark, or straw, then lay cardboard or fabric beneath; keep depth consistent, and enjoy mud‑free walks like a trail‑blazing camper.
Apply Mulch and Organic Layers to Keep Your Pathway Mud‑Free
So, ever wonder why a simple walk on a rainy day can feel like trekking through a swamp?
Spread two‑inch cardboard, then layer 4‑6 inches of wood chips or bark mulch; it soaks water, blocks weeds, and keeps feet dry. Add straw or mushroom compost for extra moisture‑holding power, and top up as it breaks down—your pathway stays mud‑free and welcoming for everyone. Combine these layers with gravel-lined edges or buried mesh to improve drainage and prevent materials from washing away, especially in high-traffic areas gravel-lined holes.
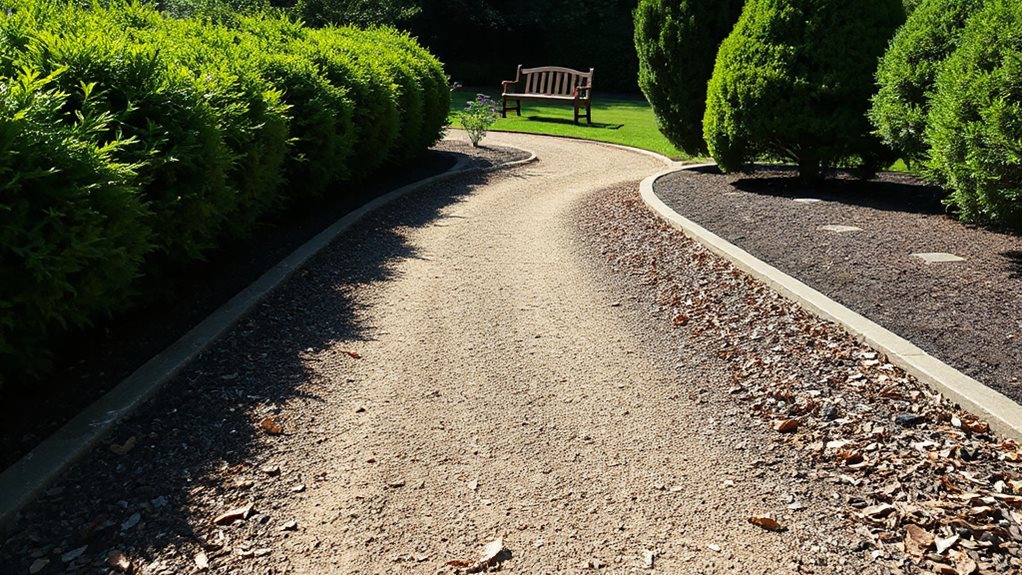
Install Geocells and Stepping Stones for a Mud‑Free Pathway
You’ve already turned your path into a dry, comfy carpet with mulch, but the next step to a truly mud‑free trail is to lock that ground in place—think of geocells as a honey‑comb of sturdy plastic boxes that hold gravel or sand like a puzzle, while stepping stones give you solid footholds that won’t sink under a rainy‑day sprint. Lay a geotextile, snap the cells together, fill with coarse gravel, then set flat stones on top; the cells prevent lateral movement, drain water, and cut erosion, so visitors stay safe and happy, even after a storm. For added resilience and drainage in wet climates consider incorporating coarse gravel to keep moisture from pooling.
Maintain Your Mud‑Free Pathway and Troubleshoot Issues
Ever wondered why your once‑dry trail suddenly turns into a squishy swamp after a rainstorm? Keep your path dry by aerating compacted soil, spreading wood chips or gravel, and checking French drains each season, then reseed low spots, rake mulch regularly, and replace soggy mats before guests arrive, because a well‑maintained trail lets everyone stroll safely and enjoy outdoor adventures.
Overall
Now you’ve got the tools to keep your yard pathways dry, so you can stroll, bike, or set up a camp‑fire without slipping into a mud pit. Remember, a good drainage system, the right surface, and a splash of plants or geocells are the secret sauce—think of it as a mini‑adventure for your garden. Got a soggy spot? Fix it fast, then enjoy the crisp, clean path on your next backyard trek. Happy, mud‑free exploring!