Why Deck Stains Peel Early and How to Prevent It
You slap on stain without prepping, and boom—peeling city, right? Don’t worry, it’s not magic, just science! Power wash grime away, let new wood breathe for a few months, and *please* skip that flimsy film-forming junk. Grab a moisture meter, aim for under 15%, and use a killer oil-based stain that soaks in deep. One thin coat, cool dry day—game changer! Oh, and never stain in the blazing sun… trust me, I learned the hard way. Stick around—you’ll pick up a few pro secrets that’ll make your deck the envy of the block.
TLDR
- Peeling occurs when mill glaze or contaminants prevent stain absorption; always clean and weather new wood before application.
- Use penetrating oil-based stains instead of film-formers to reduce flaking and ensure long-term adhesion.
- Apply only a thin, even coat and wipe off excess to prevent sticky, peeling layers from buildup.
- Ensure wood moisture is below 15% and surface is fully dry before staining to promote proper bonding.
- Power wash, scrub cracks, and use brightener after cleaning to remove grime, mildew, and old residues for better adhesion.
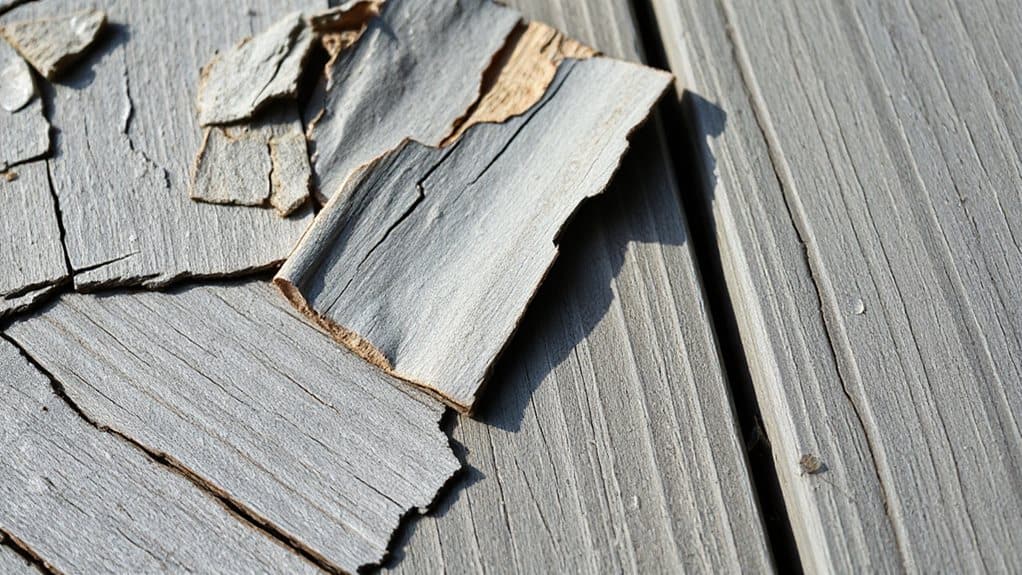
Fix the Real Causes of Peeling Deck Stain
So, if you’ve ever stepped onto your deck only to find the stain peeling like sunburnt skin after a camping trip gone wrong, don’t sweat it—this isn’t a lost cause, and I’ve totally been there (spoiler: I once thought “more stain = more protection” and ended up with a sticky, flaky mess that looked like a science experiment gone rogue).
You can fix peeling by weathering wood first—seriously, let it breathe for a few months—so the stain actually soaks in, not sits on top. Pick a penetrating stain, not that flimsy film-forming junk, and match it to your wood type and climate so it lasts. Apply just one even coat in the shade when it’s cool and dry—no baking in the sun! Your future self, sipping lemonade on a smooth, protected deck, will thank you. Weathering the wood allows surface fibers to break down and increases absorbency for better stain adhesion.
Also, clean and remove the old finish and loose paint or stain from gaps and surfaces before recoating to ensure proper adhesion and longevity, especially in tight spaces where moisture can hide; use a crack-and-groove brush or scraper to reach between boards and eliminate trapped debris for best results with sealants and fillers.
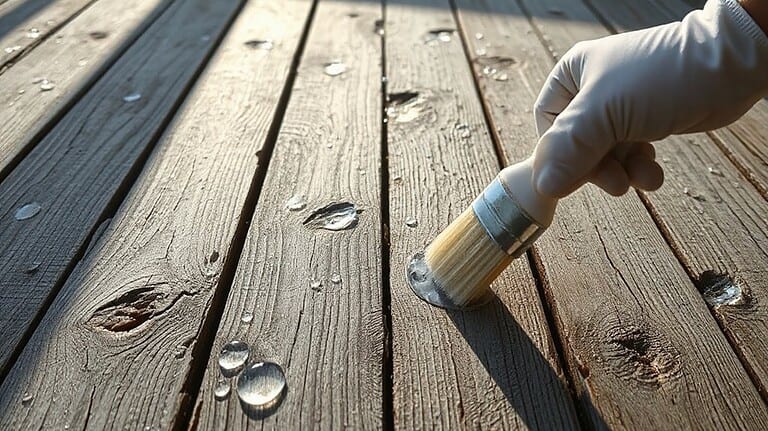
Clean Your Deck for Better Stain Penetration
You wouldn’t pitch a tent on a pile of sticks, so why slap stain on a grimy, grayed deck?
Give your deck a serious scrub—power wash away the gunk, lift out old gunk with PPG cleaner, and say goodbye to mildew that’s been partying in the wood since last camping season.
Trust me, your stain will soak in deep and stick like a marshmallow on a summer s’more, not peel like sunburnt skin!
Also, make sure you clean and dry the surface thoroughly before staining so the finish penetrates properly.
Clean Before Staining
Let’s face it—your deck’s been through the wringer: sunbaked in summer, soaked in spring showers, and probably used as a snack drop-off zone during more BBQs than you can count.
You wouldn’t paint a wall without wiping it first, right? Same goes for staining! Skip the clean, and you’ll battle peeling, blotches, and sad-looking wood.
Scrub away gunk, algae, and old stain so the new stuff grabs on tight—your future self (and guests!) will thank you.
Remove Grime And Graying
That deck has seen some action—sunburned planks, mystery spills, and enough dirt buildup to host its own tiny ecosystem—but now that you’ve wiped the slate clean, it’s time to tackle the sneaky stuff hiding underneath: grime and that faded, chalky graying that makes your wood look like it’s given up on life.
You’ve gotta nuke those mildew, algae, and dirt bullies with a solid deck cleaner—they lift gunk right out of the wood, unlike bleach, which just ghosts on top. Use a pump sprayer, let it dwell, then scrub stubborn spots like you’re exfoliating a sunburnt face.
Rinse with a power washer (30-degree tip, please!), and boom: clean, bright wood ready to soak up stain like a sponge at a campfire cookout. Your deck’s not just clean—it’s *alive* again.
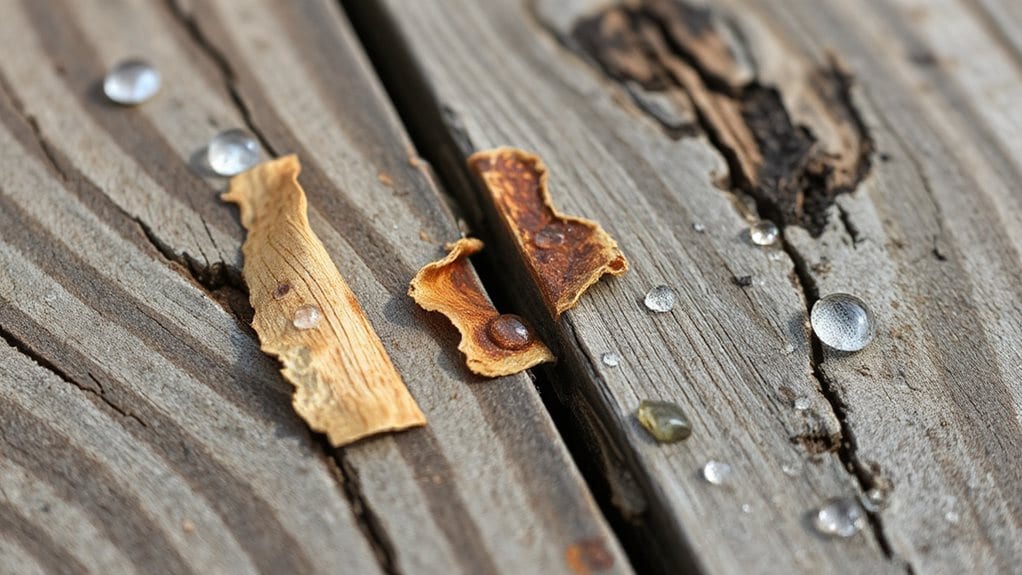
Let New Wood Weather to Remove Mill Glaze
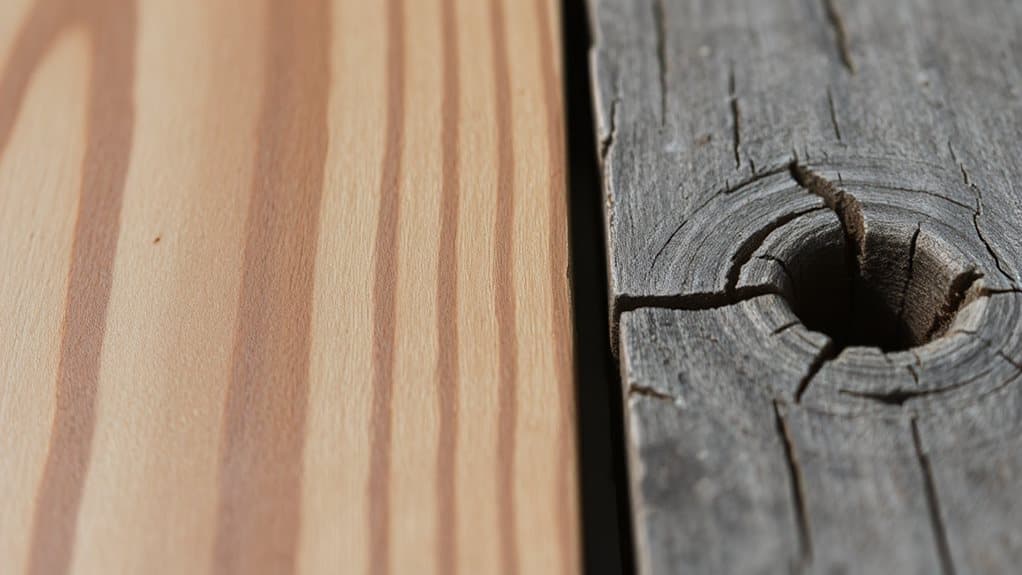
So you’ve got a shiny new deck, huh?
Before you even *think* about staining, let that wood chill out for a few months—seriously, fresh wood’s like a closed book, with mill glaze slamming the cover shut and natural moisture saying “nope” to stain.
Trust me, I learned the hard way: skip the wait, and your stain might flake off faster than sunscreen on a camping trip in July—just give it time, scrub it down with a brightener, and wait for that sweet, dry surface before diving in. Letting the wood weather and dry also helps ensure better absorption and long-term durability.
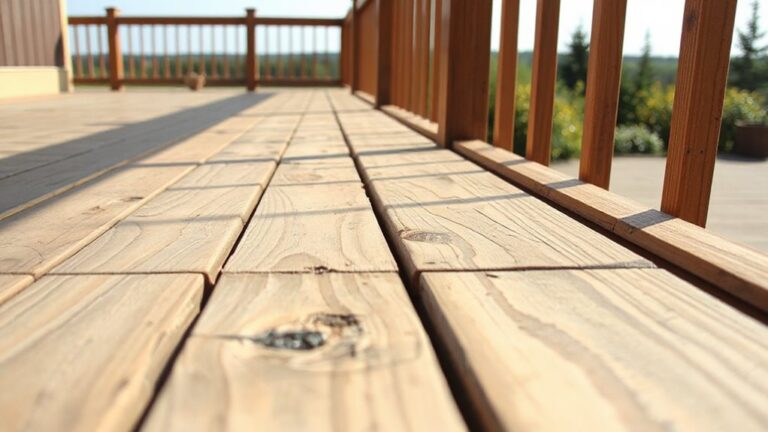
Let New Wood Weather
Even though your brand-new deck boards might look ready to go straight from the lumberyard to a glossy finish, giving them a little time to chill out under the sun and rain is actually one of the smartest moves you can make—think of it like letting a tent air out before packing it away, only this time Mother Nature’s doing the heavy lifting.
Letting wood weather 1–3 months breaks down that sneaky mill glaze, so your stain won’t peel like sunburnt skin. You’ll get better absorption, longer-lasting protection, and a finish that sticks—literally!
Plus, who doesn’t love a silver-gray patina? It’s low-maintenance magic.
Remove Mill Glaze First
Okay, let’s plunge right into the nitty-gritty: if you skip tackling that slick, shiny mill glaze on your brand-new deck boards, you might as well be slapping stain onto a greased-up water slide—good luck getting anything to stick!
Wait For Dry Surface
While you’re itching to plunge in and give your deck that rich, protective stain right after installation, hold your horses—because fresh wood needs a little “me time” under the sun and rain before it’s ready to soak up that color like a sponge.
Let it weather 3–6 months, then check moisture readiness with a water droplet test—no beading, please!
Sand lightly, keep it dry, and you’ll set the stage for a stain job that lasts, just like a well-packed camping trip always starts with the right prep.
Test Deck Moisture Before Staining
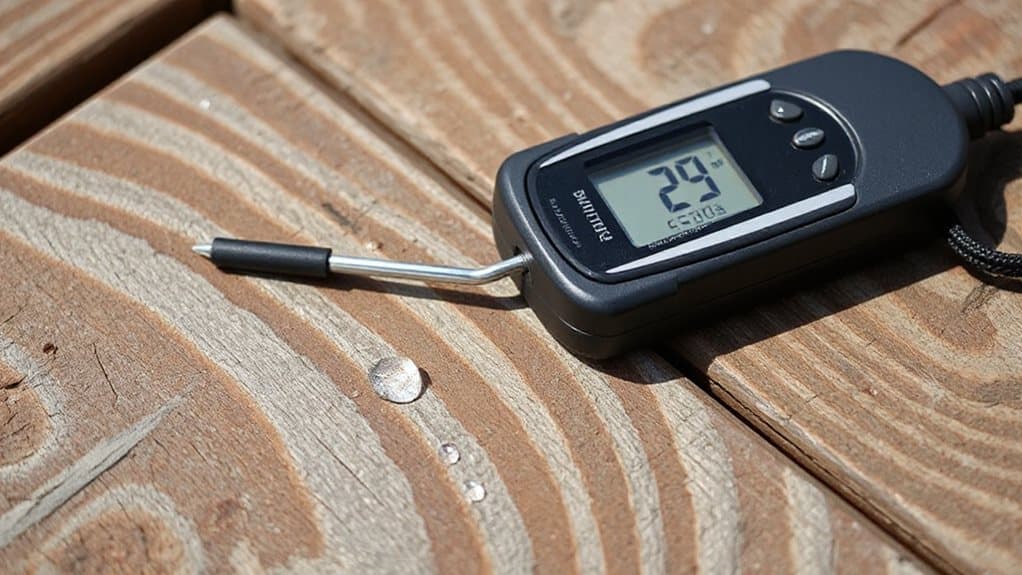
Getting your deck ready to stain? Don’t guess—test the moisture! Grab a meter, poke a few spots, and aim for 12–15% or less—trust me, your stain will thank you.
See dusty residue on your hand? That’s a good sign! If tape stays dry after 24 hours, you’re golden.
Skip this step, and your beautiful stain might peel like sunburned skin—yikes!
Also keep in mind that using a moisture meter helps measure wood moisture accurately before staining.
Choose a Penetrating Stain for Long-Lasting Protection
Let’s plunge into the good stuff—picking a stain that doesn’t just sit on your deck like a clueless houseguest, but actually *gets* the wood. Go oil-based, and let it penetrate deep, locking out moisture like a boss.
No peeling, no warping—just tough, long-lasting armor that laughs at rain and sun. You’ll protect not just wood, but memories, like s’more nights and backyard campouts. Win!
Also, be sure to seal and maintain the deck regularly to keep moisture levels stable and reduce expansion and contraction.
Don’t Overapply: One Coat Is Usually Enough

You know that excited feeling when you’re piling extra marshmallows into your s’more because more = better, right?
Well, deck stain isn’t like that—too much causes peeling, stickiness, and uneven spots. One thin coat is usually perfect, especially on new wood. Wipe off the excess, let it soak in, and trust the process. Your deck will thank you!
Stain in Cool, Dry Weather for Best Results
Alright, you’ve nailed the one-and-done stain rule—no extra coats, no gooey mess, just smooth, even coverage that soaks in like your favorite trailside stream welcomes a thirsty hiker.
Now, time it right: aim for cool, dry days between 50°F and 85°F, low humidity, and zero rain for 48 hours—your deck’s like a campfire meal, best when conditions are just right, not rushed, not soggy, but perfectly seasoned.
Overall
So, now you know the secrets to a deck stain that *actually* lasts—no more peeling like old sunburnt skin, yikes! Clean well, check moisture, pick a stain that soaks in, and skip the extra coats. Trust me, your future self (and your weekend camping trips) will thank you. No more stressing over flaky decks when you could be roasting marshmallows instead. Go fix that wood right, and soon you’ll have a deck as ready for exploration as you are!