Should You Remove Old Mulch Before Adding New?
You don’t have to haul out every old layer—just rake it loose, toss any moldy bits, and add a fresh 1‑2 inches on top, keeping the total under three inches, because the existing mulch still holds moisture, smothers weeds, and slowly turns into nutrient‑rich humus as microbes work, which is like camping with a fresh blanket without tearing down the tent, and if you’re curious about which mulches need a full strip‑down or how to spot spongy, compacted trouble, keep going for the details.
TLDR
- You usually don’t need to remove old mulch; simply top‑off with up to two inches of fresh material.
- Keep total mulch depth under three inches for beds and four inches for trees to avoid compaction.
- Old mulch continues to decompose, enriching soil with humus and maintaining moisture and weed suppression.
- Remove mulch only if it’s synthetic, overly compacted, water‑logged, or chemically treated.
- Regularly check moisture, depth, and decomposition; fluff or thin old mulch before adding more if it becomes spongy or too thick.
Quick Answer: Should You Remove Old Mulch Before Adding New?
Ever wonder if you need to haul away that old, brown mulch before you toss on fresh material? You don’t have to—just keep the layer, add up to two inches of new mulch, and stay under three inches total.
Your soil will keep moisture, suppress weeds, and release nutrients, so you can focus on helping neighbors garden, not hauling old mulch. Mulch decomposition adds nutrients to the soil for plants. A breathable, organic layer like wheat straw also helps retain moisture while allowing air and nutrients to reach roots.
Why Most Gardeners Skip Full Mulch Removal
Why do so many gardeners just leave the old mulch in place and toss a fresh layer on top? You’ll love how it saves labor—no raking, no hauling, just a quick top‑off that keeps weeds down and moisture up, while the decomposing layer feeds soil microbes and releases nutrients. Think of it as a low‑effort, high‑reward campsite setup, where you add fresh blankets without tearing down the whole tent. This approach also encourages soil health by allowing decomposing mulch to continue improving water infiltration and nutrient cycling.
Mulch Types That Must Be Removed First
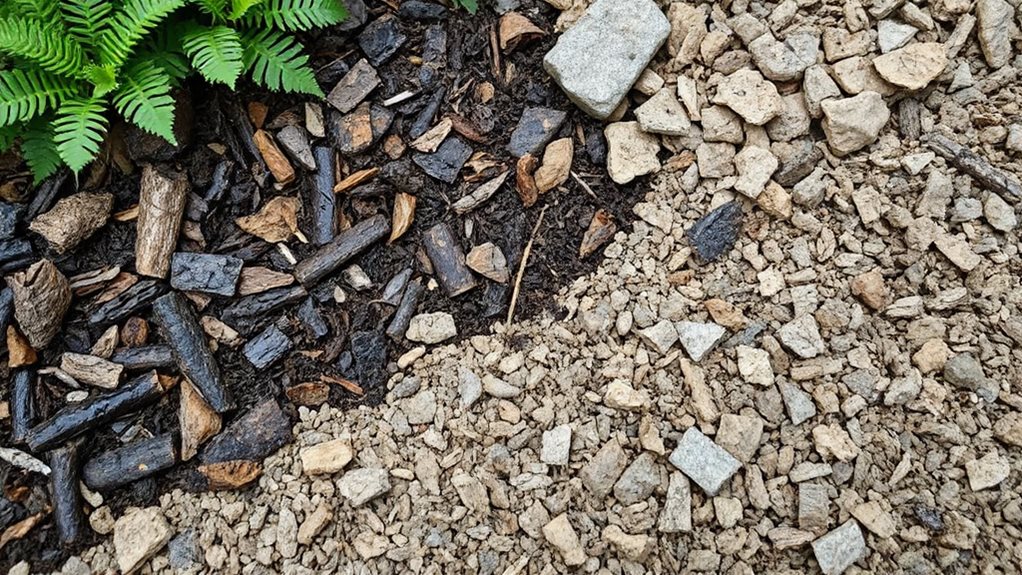
So, which mulches actually need to be ripped out before you lay down a fresh carpet of soil? You must yank out engineered wood fiber—its soggy, compacted mess kills roots—plus any synthetic, rubber, dyed, or overly compacted mulches that trap water, block air, or leach chemicals. Think of them as dead‑weight camping gear; ditch them, then you’ll enjoy healthier beds and happier plants. Over time, mulch can break down into a soil-like layer that allows grass and weeds to root and exploit weak spots.
How Organic Mulch Decomposes and Enriches Soil After Removal
After you’ve pulled out those stubborn synthetic and compacted mulches, the organic stuff you leave behind starts a quiet party underground that’s kind of like a campsite campfire—only the flames are tiny microbes and the smoke is nutrient‑rich humus.
Bacteria and fungi feast, turning bark, straw, and leaves into dark humus that loosens soil, holds water, and slowly feeds plants with nitrogen, phosphorus, and potassium, while you watch the soil breathe and thrive. Layering in native shrub support and choosing zone-appropriate organic materials can further boost soil health and long-term garden resilience.
When Old Mulch Turns Problematic – Spongy, Compacted, or Too Thick
You might notice your mulch turning into a squishy, soggy mess that feels like a marsh after a rainstorm, and that spongy texture can trap water and choke roots, so you’ll want to check for foul smells and a compost‑like look.
If the layer gets packed down like a road‑trip backpack, air and water can’t get through, which means you should fluff it up with a rake or even pull it out before adding fresh material.
And remember, keeping the depth between two and four inches is key—otherwise you’re basically building a mulch mountain that could drown your plants, and nobody wants a soggy campsite!
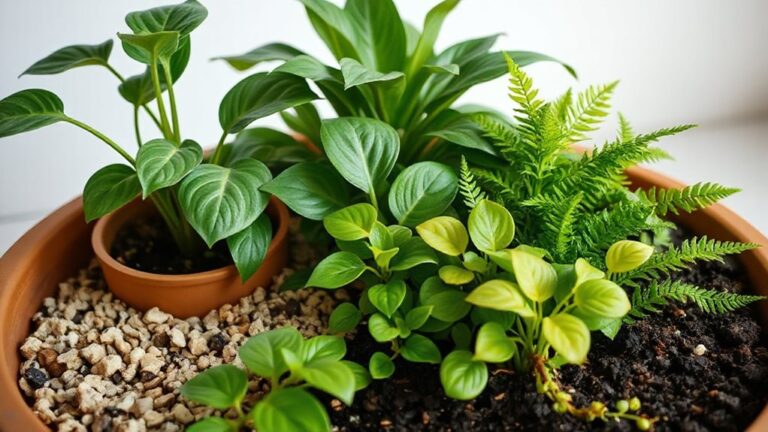
For container gardens, also consider using organic mulch to help retain moisture and reduce frequent watering needs.
Spongy Mulch Symptoms
Ever wonder why your garden mulch starts feeling like a soggy, spongy carpet after a rainstorm? You’ll notice bright yellow‑orange foam, like dog vomit, spreading across the wood chips, then turning brown and powdery within days.
This slime mold thrives in humid, rainy months, feeding on decaying mulch particles. It’s a tell‑tale sign your mulch is over‑wet, old, and needs a refresh before you help others enjoy a healthier garden.
Compacted Mulch Solutions
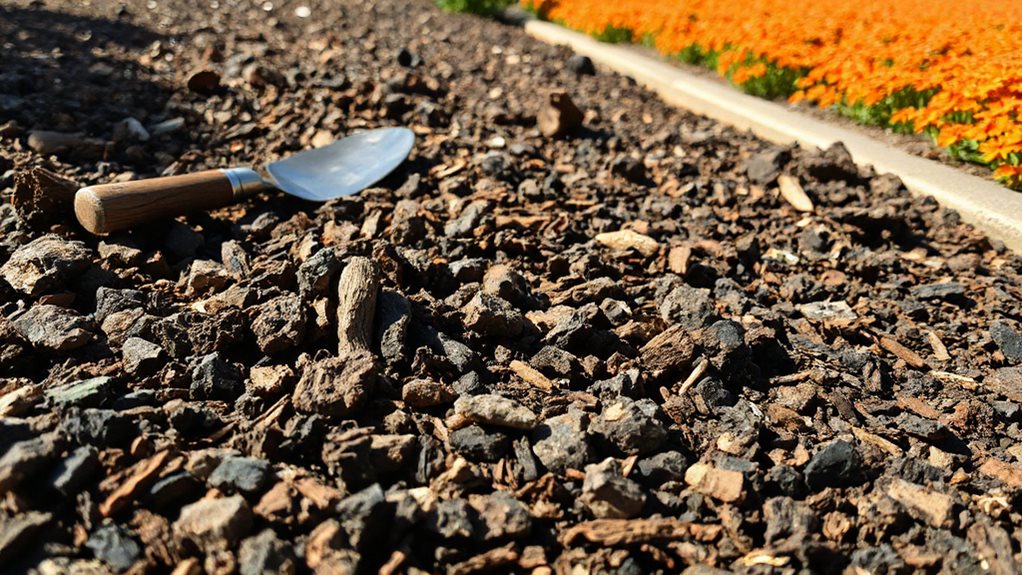
When the bright yellow‑orange foam from spongy mulch dries up, you might notice the wood chips feeling as hard as a packed campsite floor, and that’s a clear sign the mulch has turned compacted or too thick.
Flip it with a garden fork, add a couple inches of compost, sprinkle gypsum, plant deep‑rooted radishes, and keep traffic off the beds—your garden will breathe again, and you’ll feel like a campsite‑hero.
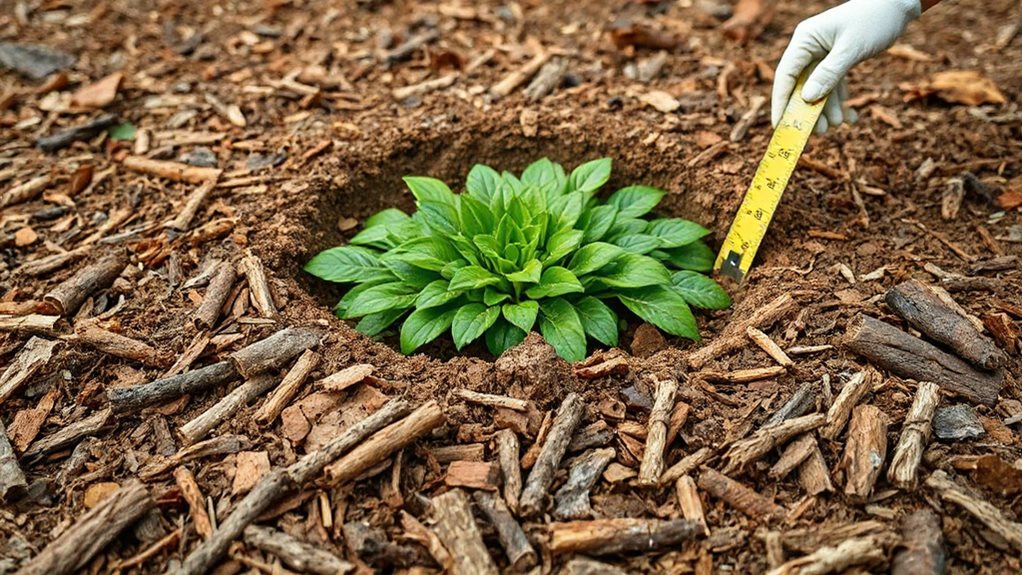
Ideal Total Mulch Thickness and Simple Measurement Tips
So, how thick should you actually pile that mulch to keep your garden thriving without suffocating the roots? Aim for 2‑3 inches in flower beds, 3‑4 inches for trees, and just 1‑2 inches in veggies; use a ruler or a sturdy stick to probe the depth, then rake if it’s matting, and keep a 6‑inch gap from trunks—think of it like packing a campsite tent, snug but breathable.
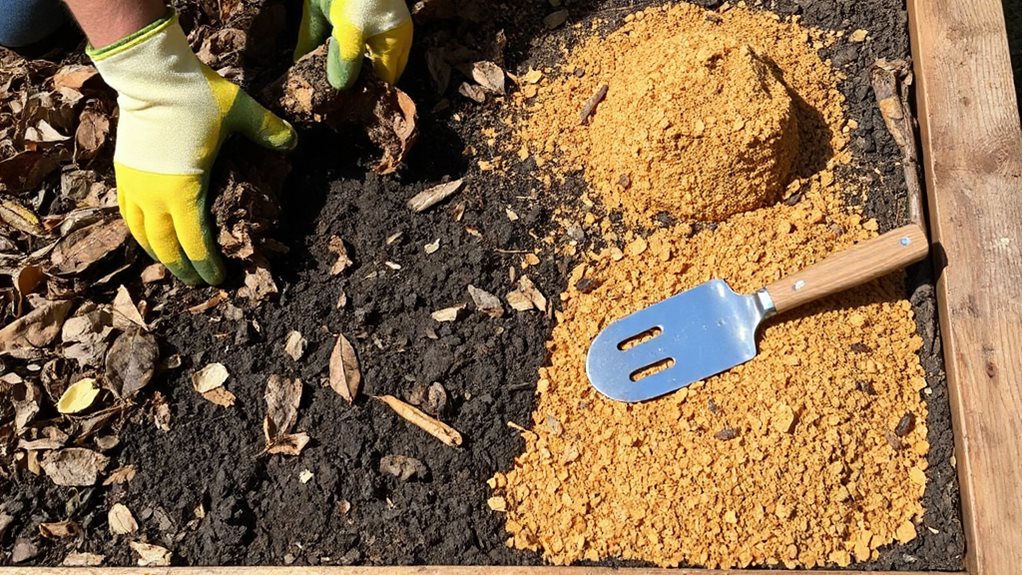
Step‑by‑Step: Adding a New Layer Without Removing the Old One
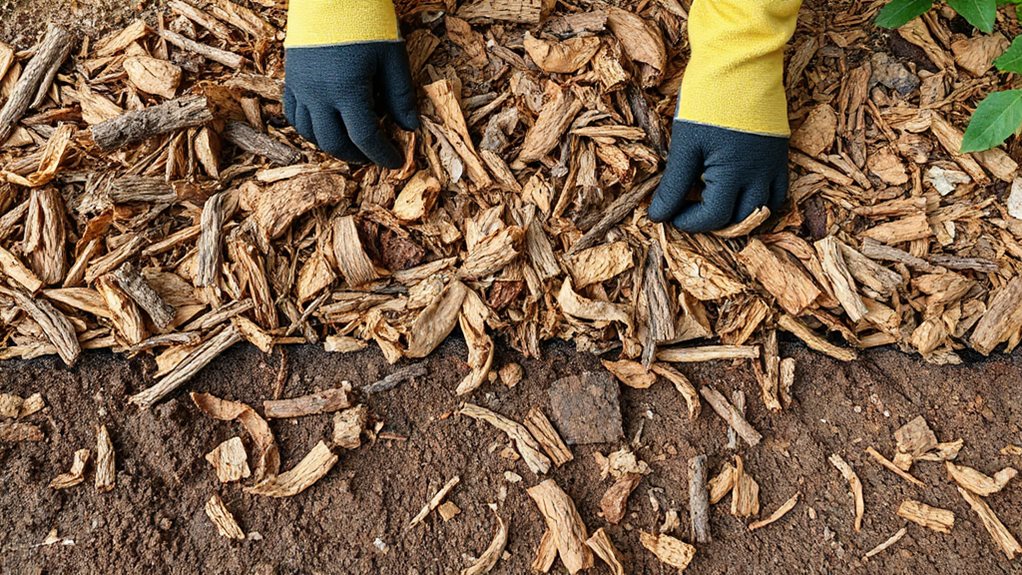
Ready to give your garden a fresh look without tearing out the old mulch? First, rake gently to gauge depth, then clear leaves or weeds so the surface is even.
Next, spread a thin new layer, aiming for a total of about three inches, and smooth it out with a rake, checking for pockets.
Finally, step back, admire the refreshed bed, and remember to revisit the thickness yearly.
Adjusting Mulch Thickness for New Plantings and Tree Bases
Ever wonder why a fresh garden bed feels like setting up a cozy campsite? You’ll want 4‑5 inches for new beds, but keep a uniform 2‑3 inch layer over the root ball and out to the drip line, and dig a hole twice as wide as the root ball. For trees, spread 3‑4 inches, pull back 6 inches from the trunk, and leave a 1‑inch air gap—this prevents rot, controls moisture, and makes your garden look as inviting as a campsite under the stars.
Risks of Adding Too Much Mulch and How to Avoid Them
You might think a mountain of mulch is like packing a comfy blanket for a camping trip, but when it gets too thick the roots start suffocating, water can’t get through, and rot sneaks in like an uninvited campsite critter—so how do you keep the soil happy?
Keep the layer under three inches, water it well, and pull back any extra piles that look like a mini‑volcano, because a little space lets oxygen flow, moisture soak in, and prevents the bark from turning into a soggy mess.
Trust me, I’ve seen a garden turn from a thriving oasis into a damp, stinky swamp when I ignored these rules, and I never want that back at my own backyard campsite.
Root Suffocation
So, what happens when you pile mulch deeper than three inches? You choke the roots, cutting oxygen below ten percent, so foliage yellows, growth stunts, and bark at the trunk suffocates; you’ll see tiny leaves, early drop, and maybe a dead branch.
Keep mulch under three inches, leave flares uncovered, and avoid piling on trunks—your plants will thank you.
Waterlogging and Rot
When you pile mulch deeper than three inches, the roots already start to gasp for air, and the next thing you’ll notice is the soil turning into a soggy sponge that refuses to drain—welcome to the world of waterlogging and rot.
Too much mulch traps rain, suffocates roots, sparks ethylene, and invites rot; keep layers thin, let water breathe, and check drainage after storms.
Season‑Long Mulch Maintenance Tips
Ever wonder how your garden can stay as cozy as a campsite all year long? In spring, you’ll rake the old layer, fluff it, then add a fresh 2‑3‑inch spread over compost, keeping pests at bay.
Summer calls for extra moisture‑holding depth and a pre‑emergent herbicide blanket.
In fall, pile on a protective coat before frost, and in winter, insulate roots after the ground thaws, never on frozen soil.
Keep mulch a few inches from stems, and you’ll nurture a thriving, guest‑ready oasis.
Decision Guide: Remove or Top‑Up Based on Your Garden’s Conditions
You can start by feeling the soil’s moisture—if it’s soggy, the old mulch is probably doing its job, but if it’s bone‑dry, you might need to thin it out before adding more. Have you ever checked how far the mulch has broken down?
If it’s turning into crumbly, dark material, just rake it flat and top‑up; if it’s still chunky and compacted, pull a few inches back to keep roots breathing. Give it a quick look, then decide: keep it, or give it a little makeover—your garden will thank you!
Assess Soil Moisture
Ever wondered how a simple squeeze of soil can tell you whether to pull out that old mulch or just give it a little top‑up? Grab a handful, squeeze—if it crumbles, it’s dry, so top‑up saves water and eases watering; if it feels sticky, it’s wet, and you should remove mulch to avoid compaction. Test often, especially after rain or scorching sun.
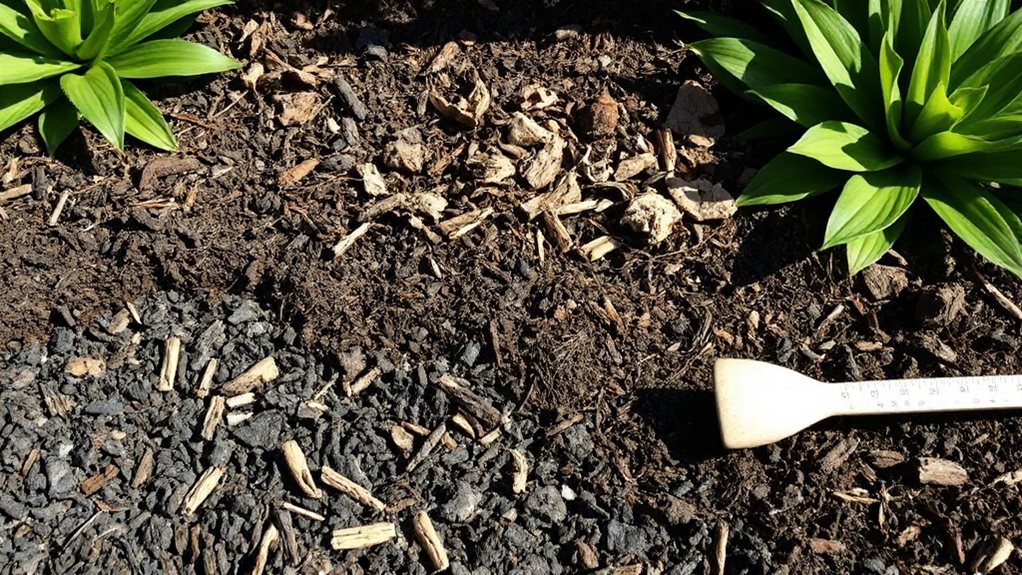
Check Mulch Decomposition
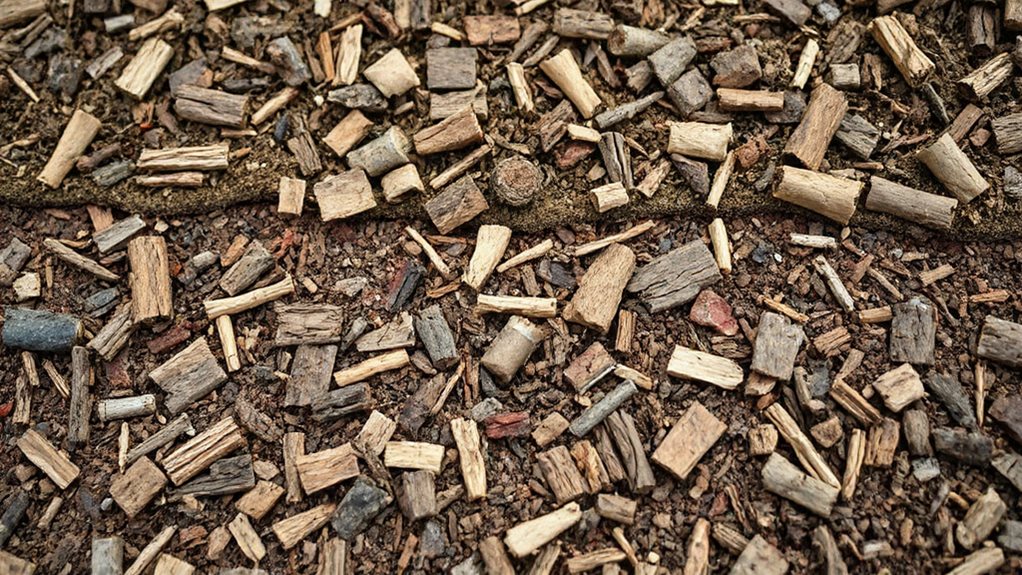
So, how do you know if your mulch’s done more than just looking good and actually needs a refresh? Check color—gray or black means it’s breaking down, and a crust or slime signals too much moisture.
Measure depth; under 2 inches, top‑up or replace.
Fast‑decomposers like straw decay quickly, while wood chips linger, so adjust based on temperature, rain, and the garden’s needs.
Quick Checklist for a Successful Mulch Refresh Without Unnecessary Removal
Ever wondered how you can give your garden a fresh look without hauling away every last crumb of old mulch? First, rake the current layer to loosen it, pull out any moldy spots and weeds, then edge the beds for crisp borders. Add 1‑inch fresh mulch, keep it 2‑6 inches from stems, water thoroughly, and fluff later—your garden stays tidy, healthy, and ready for the next journey.
Overall
So, after weighing the pros and cons, you’ve got a solid game plan: if the old mulch’s still fluffy, not too thick, and not turning into a soggy swamp, just top‑up and enjoy the instant garden upgrade—no need to haul it all away. But when it’s compacted, moldy, or choking your plants, pull it out, let the soil breathe, and start fresh for a healthier, happier yard. Happy mulching!